|
Back to page 1
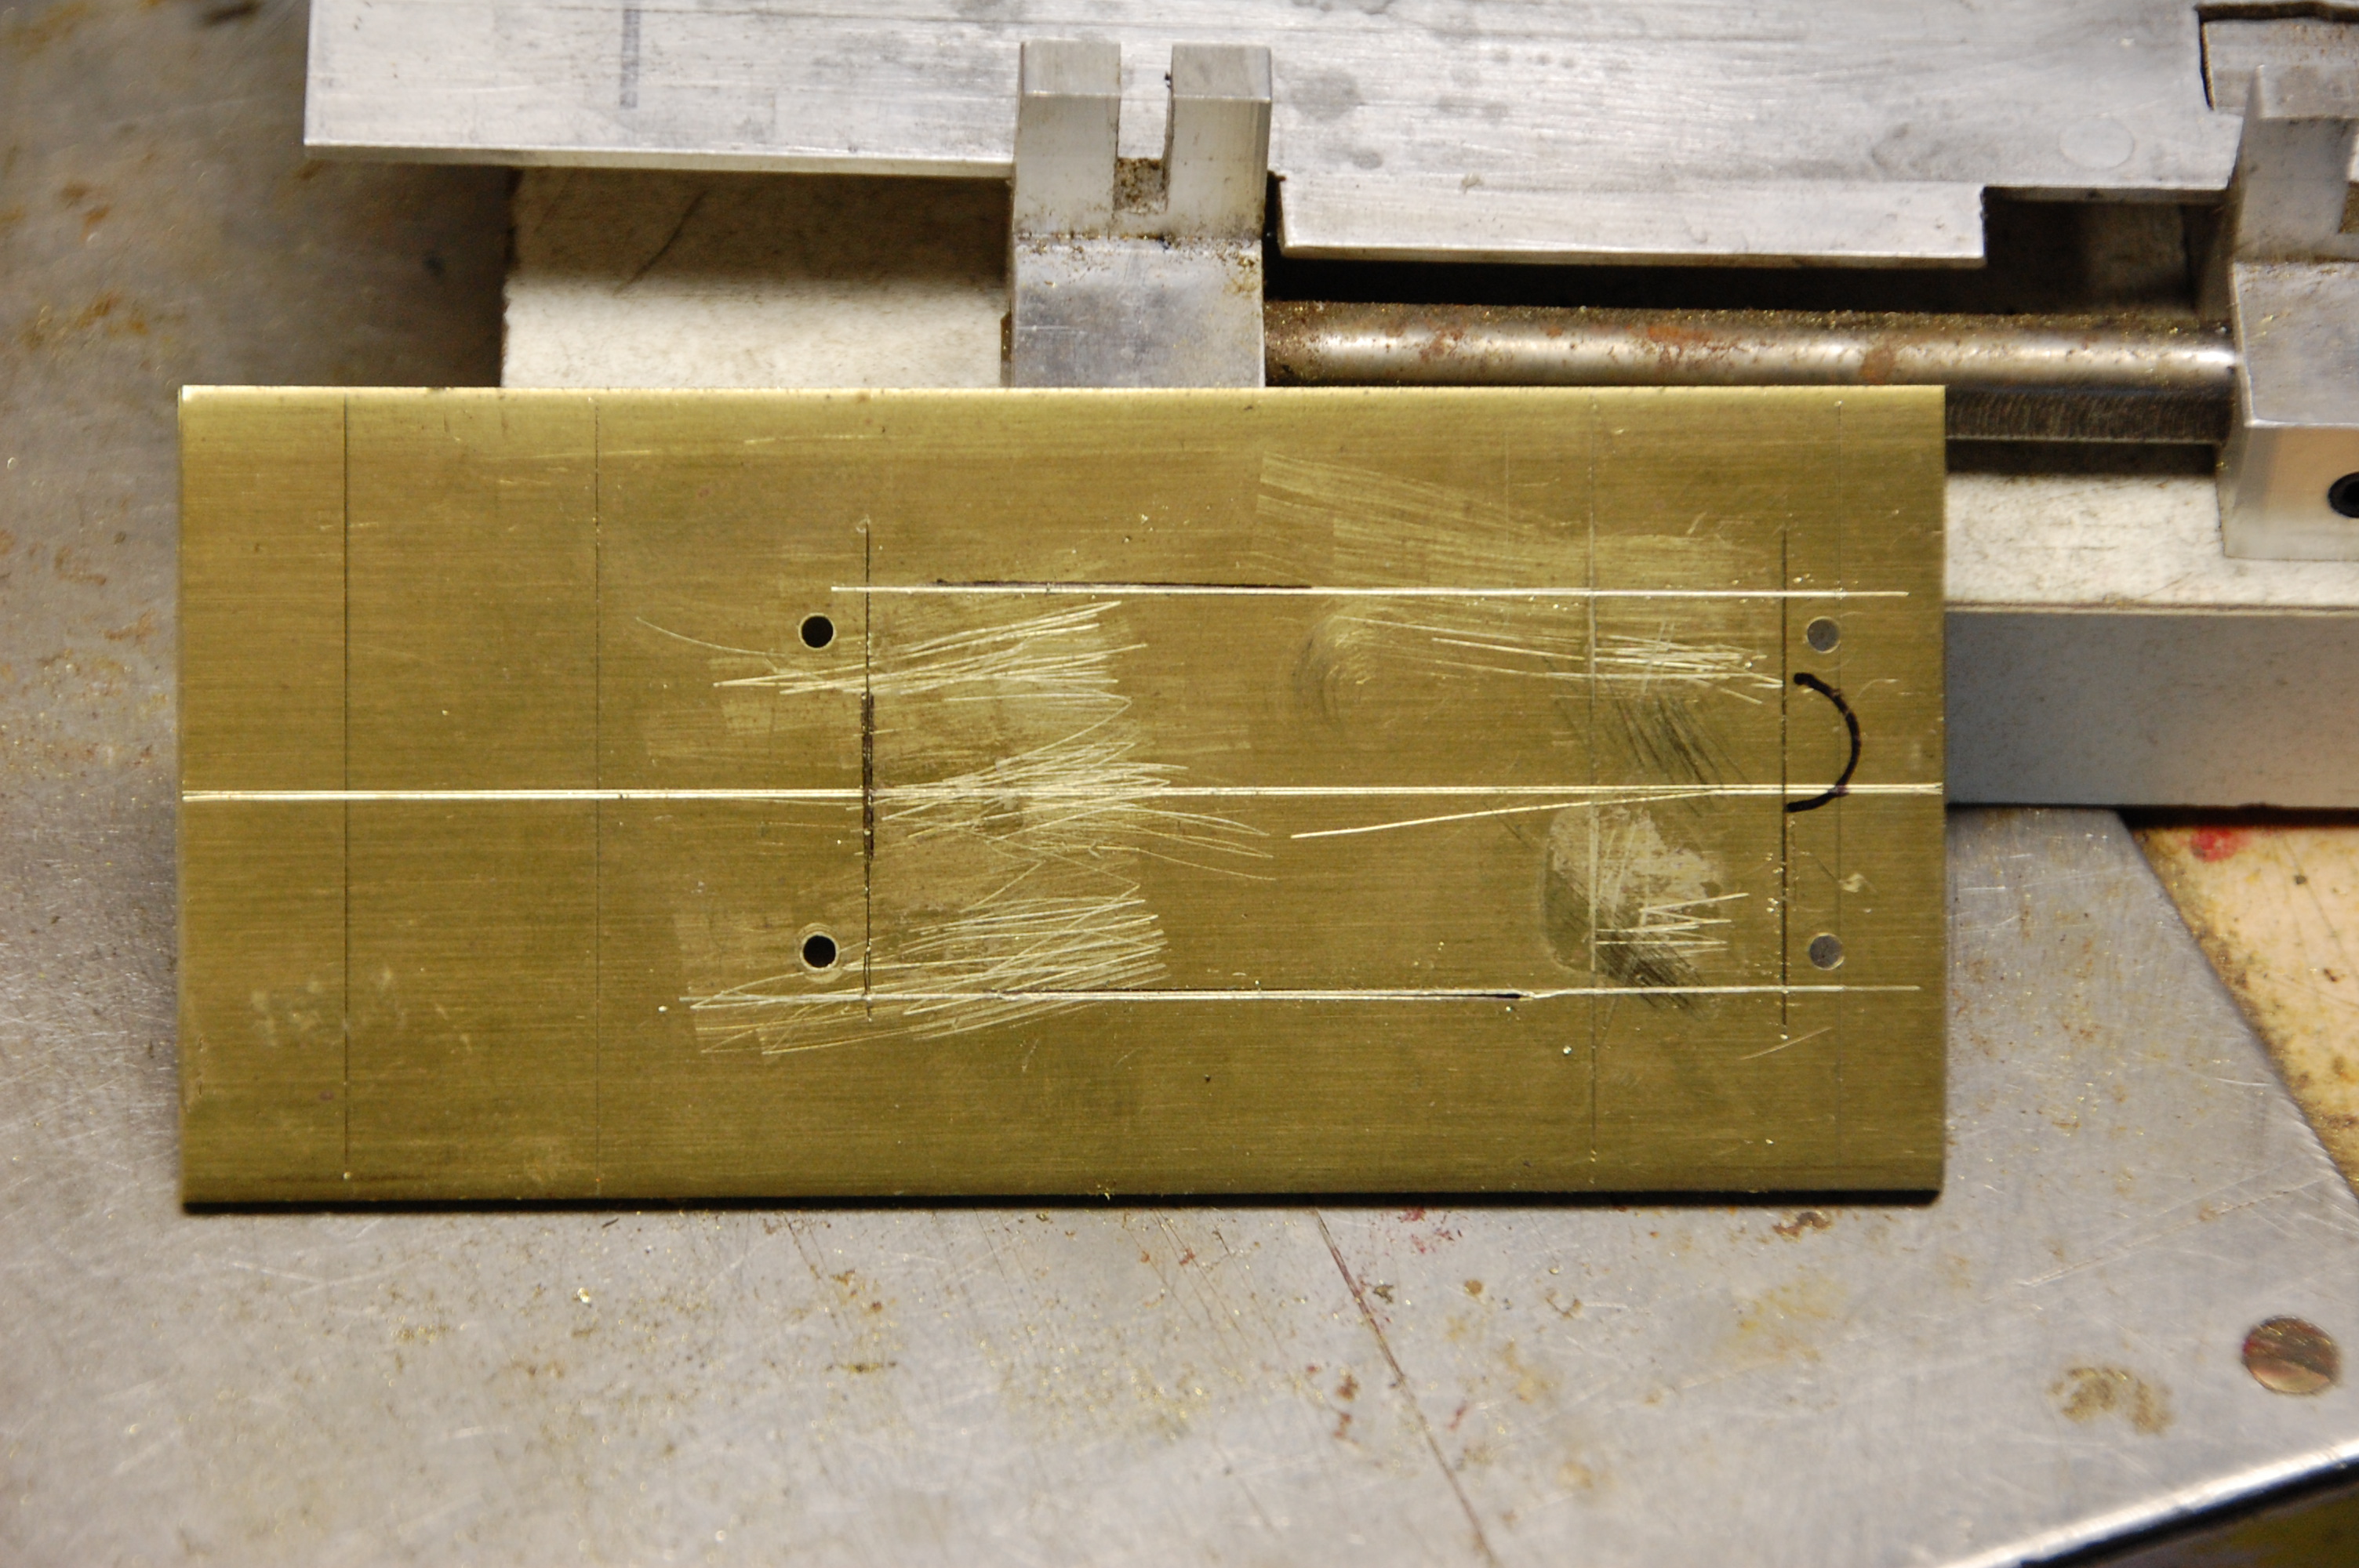
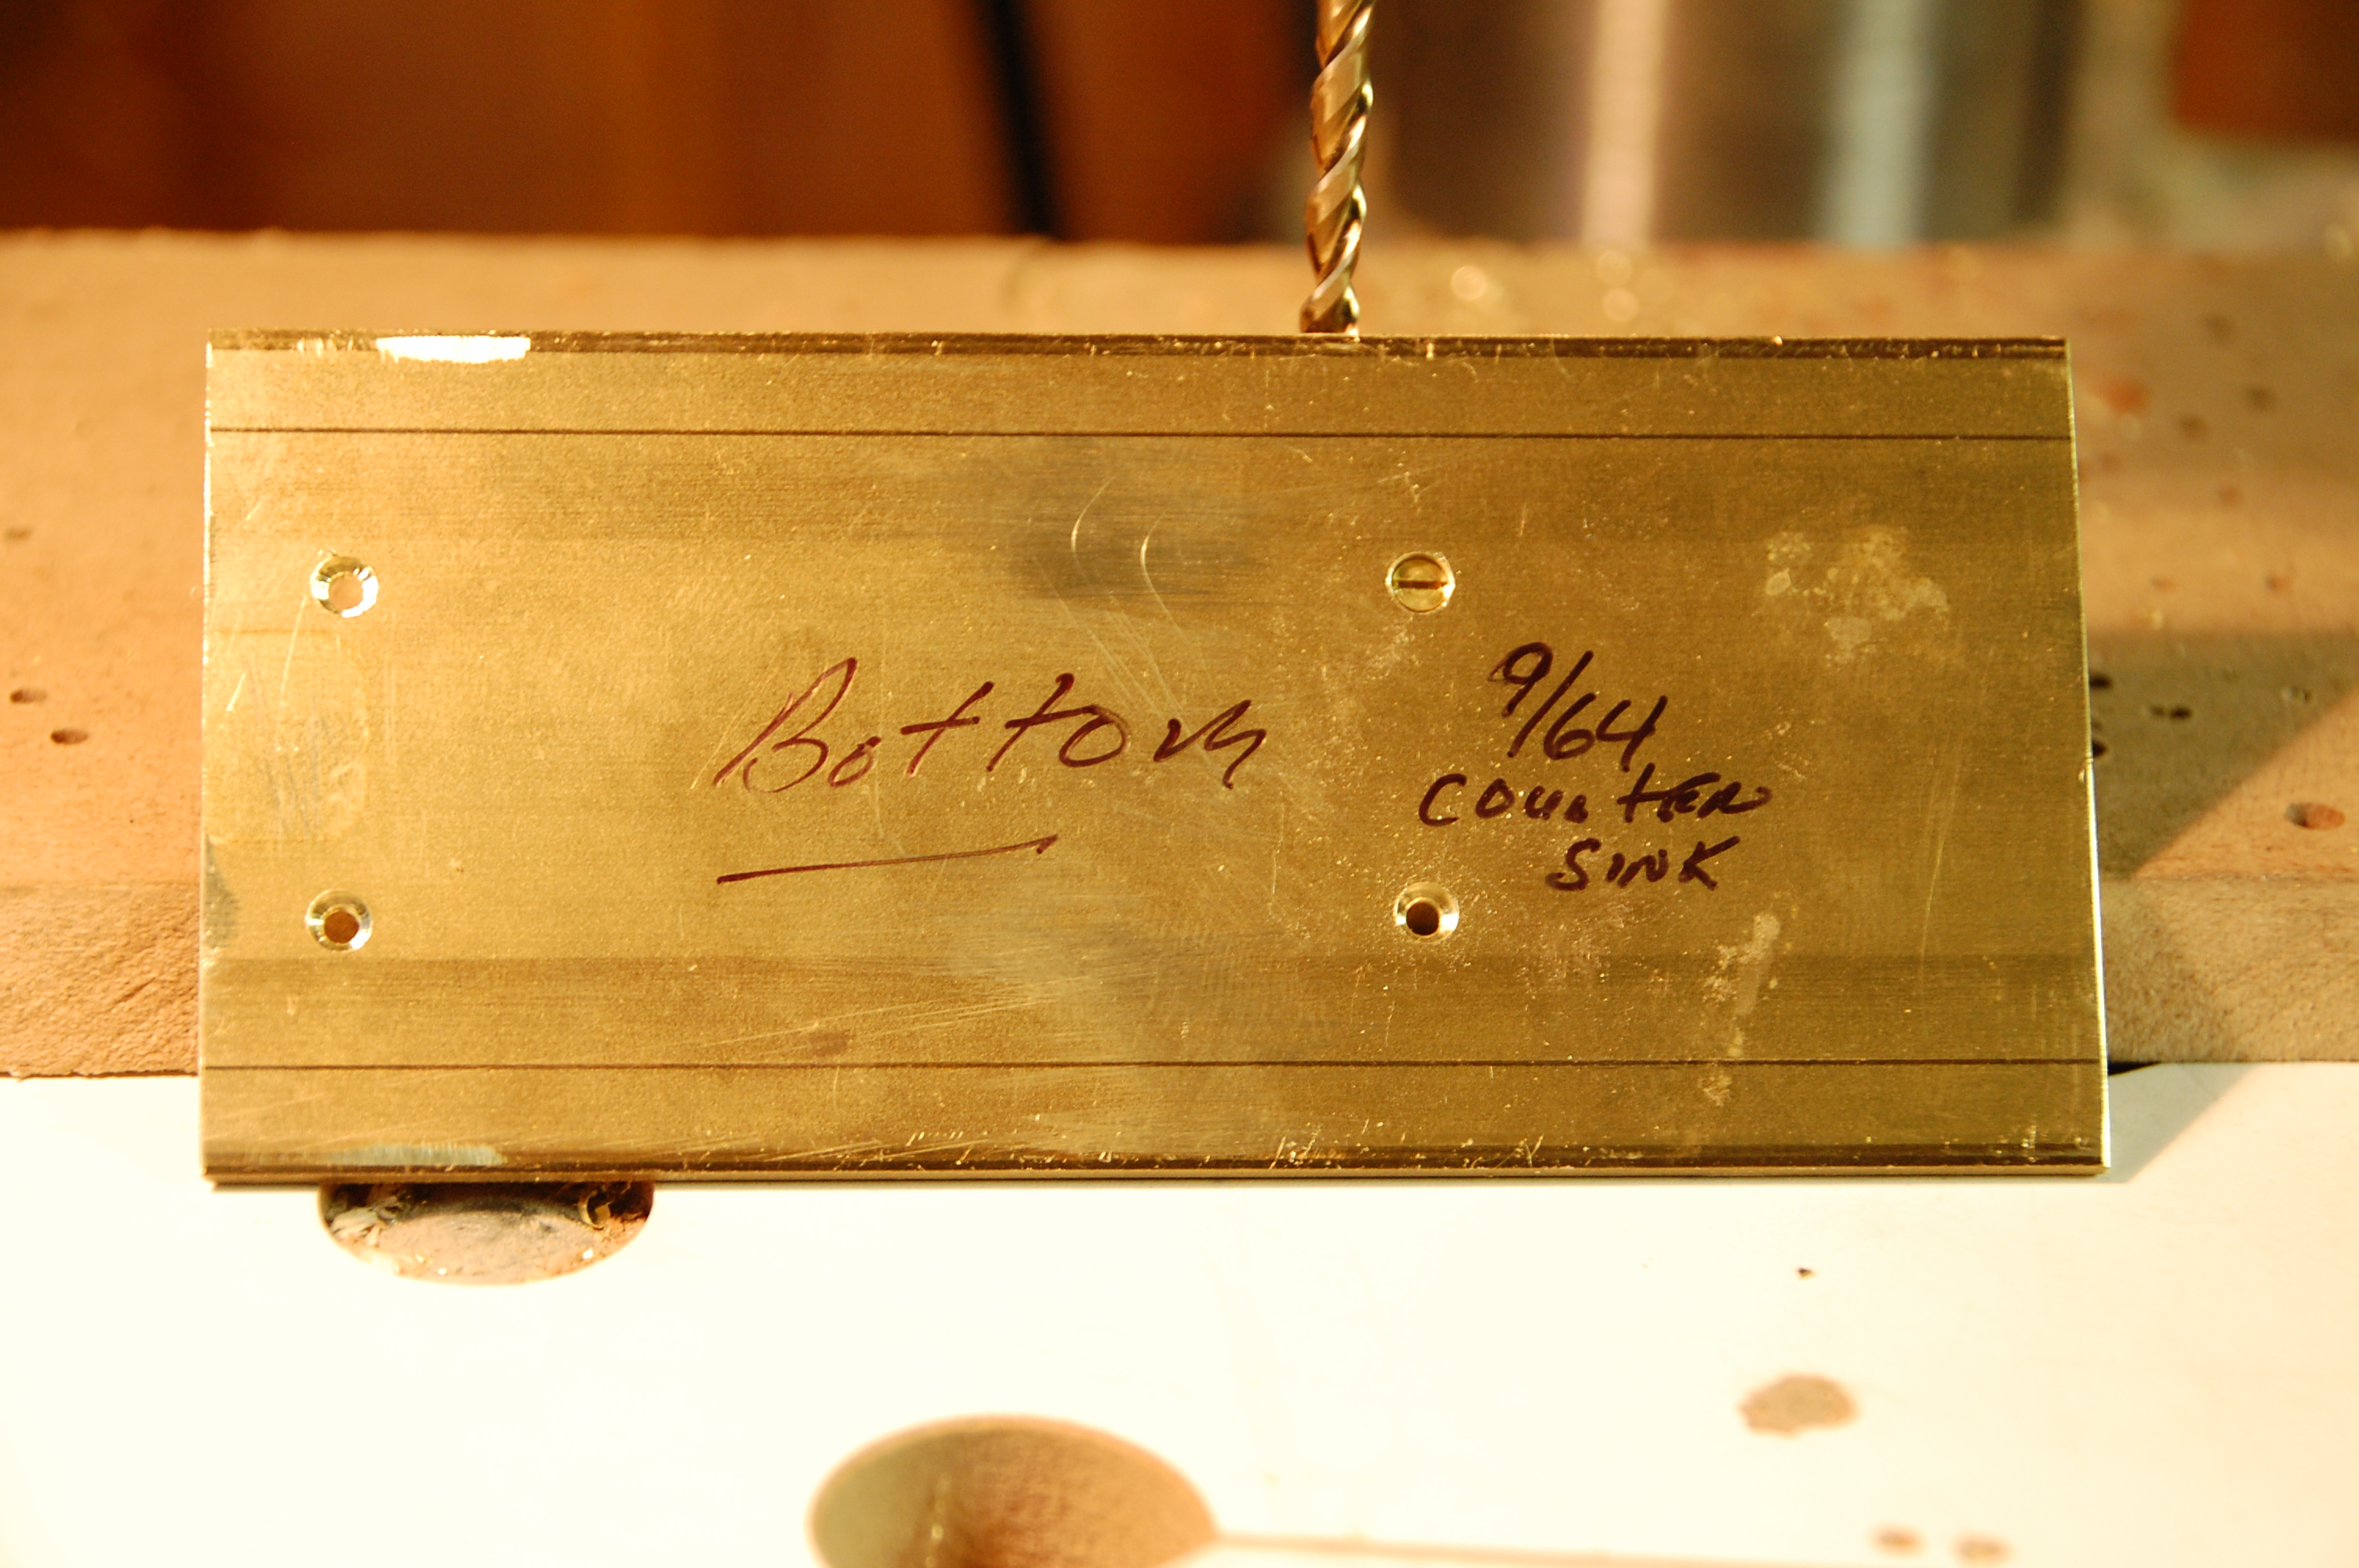
Now with the motor pod outlined, back to the drill press and make the counter sinks for the motor pod screws.
I use 1:72 flat head machine screws for my pod screws. So a 9/64 drill bit will give me the counter sink I am looking for.
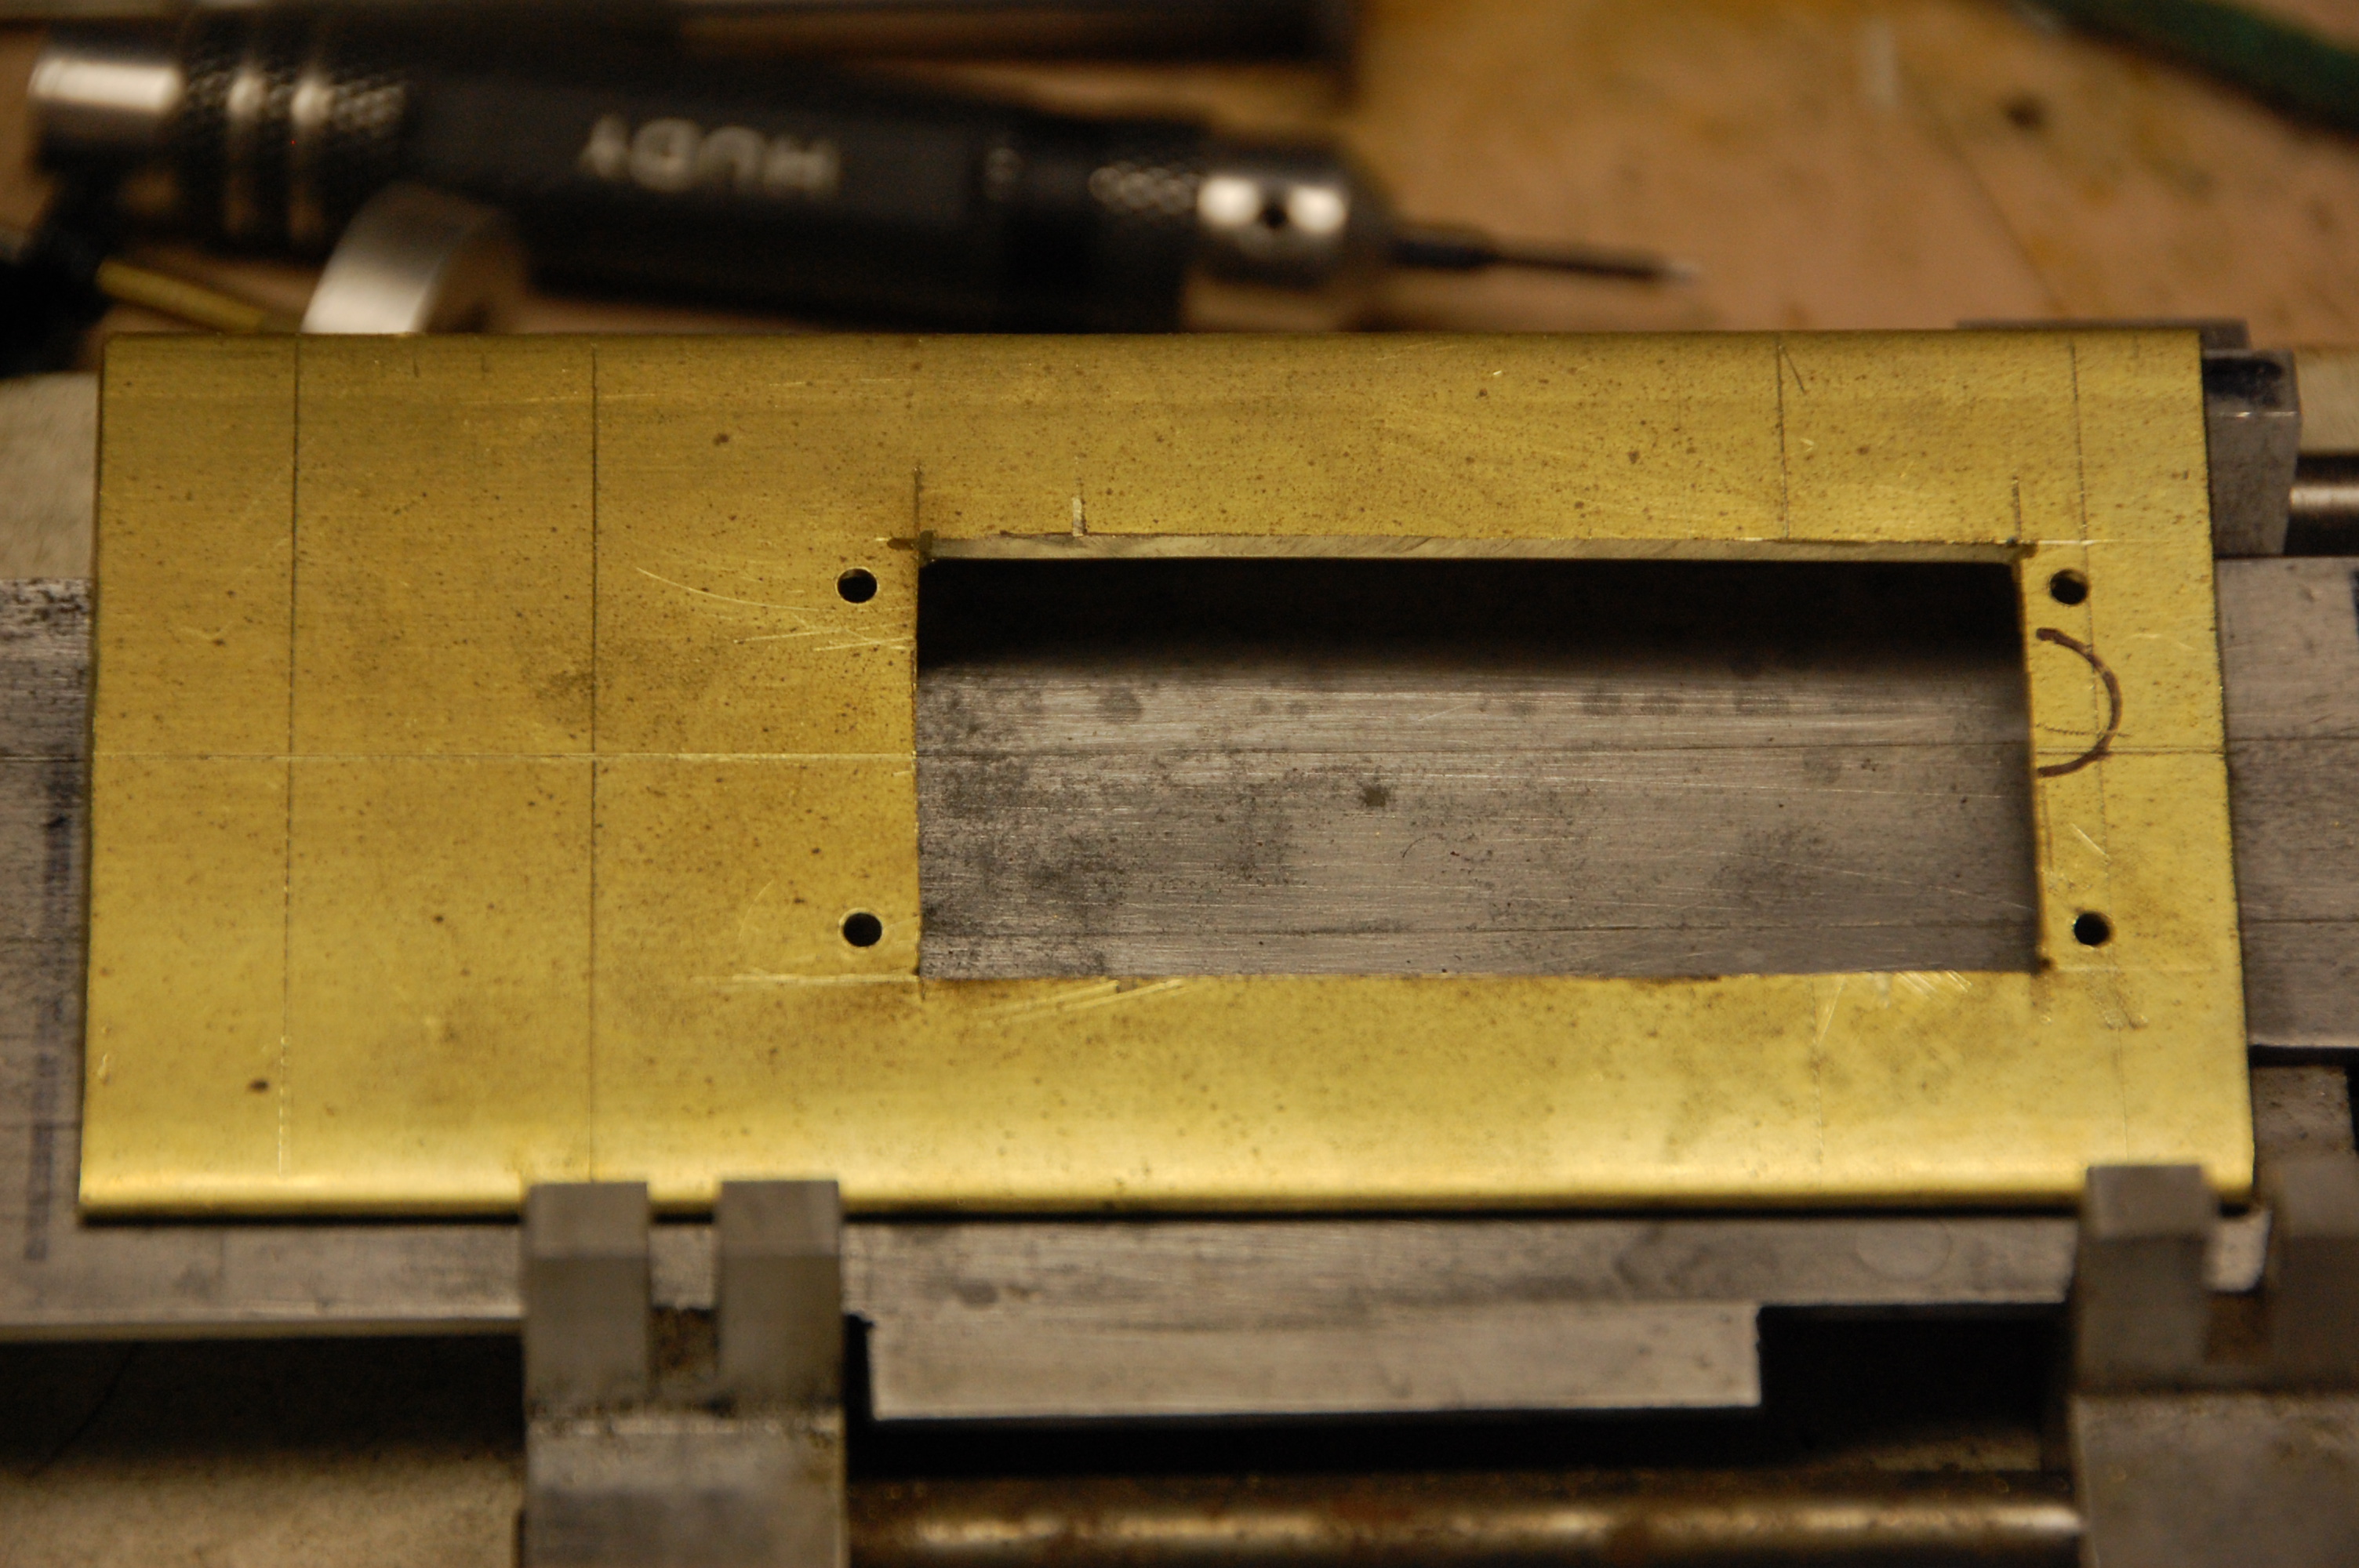
With a dremal tool make the motor pod cut out.. Please be sure to ware
safety glasses when making all cuts.. I like to use the thin cut off disks when making my cuts but any of the different
cut off disks will work fine.
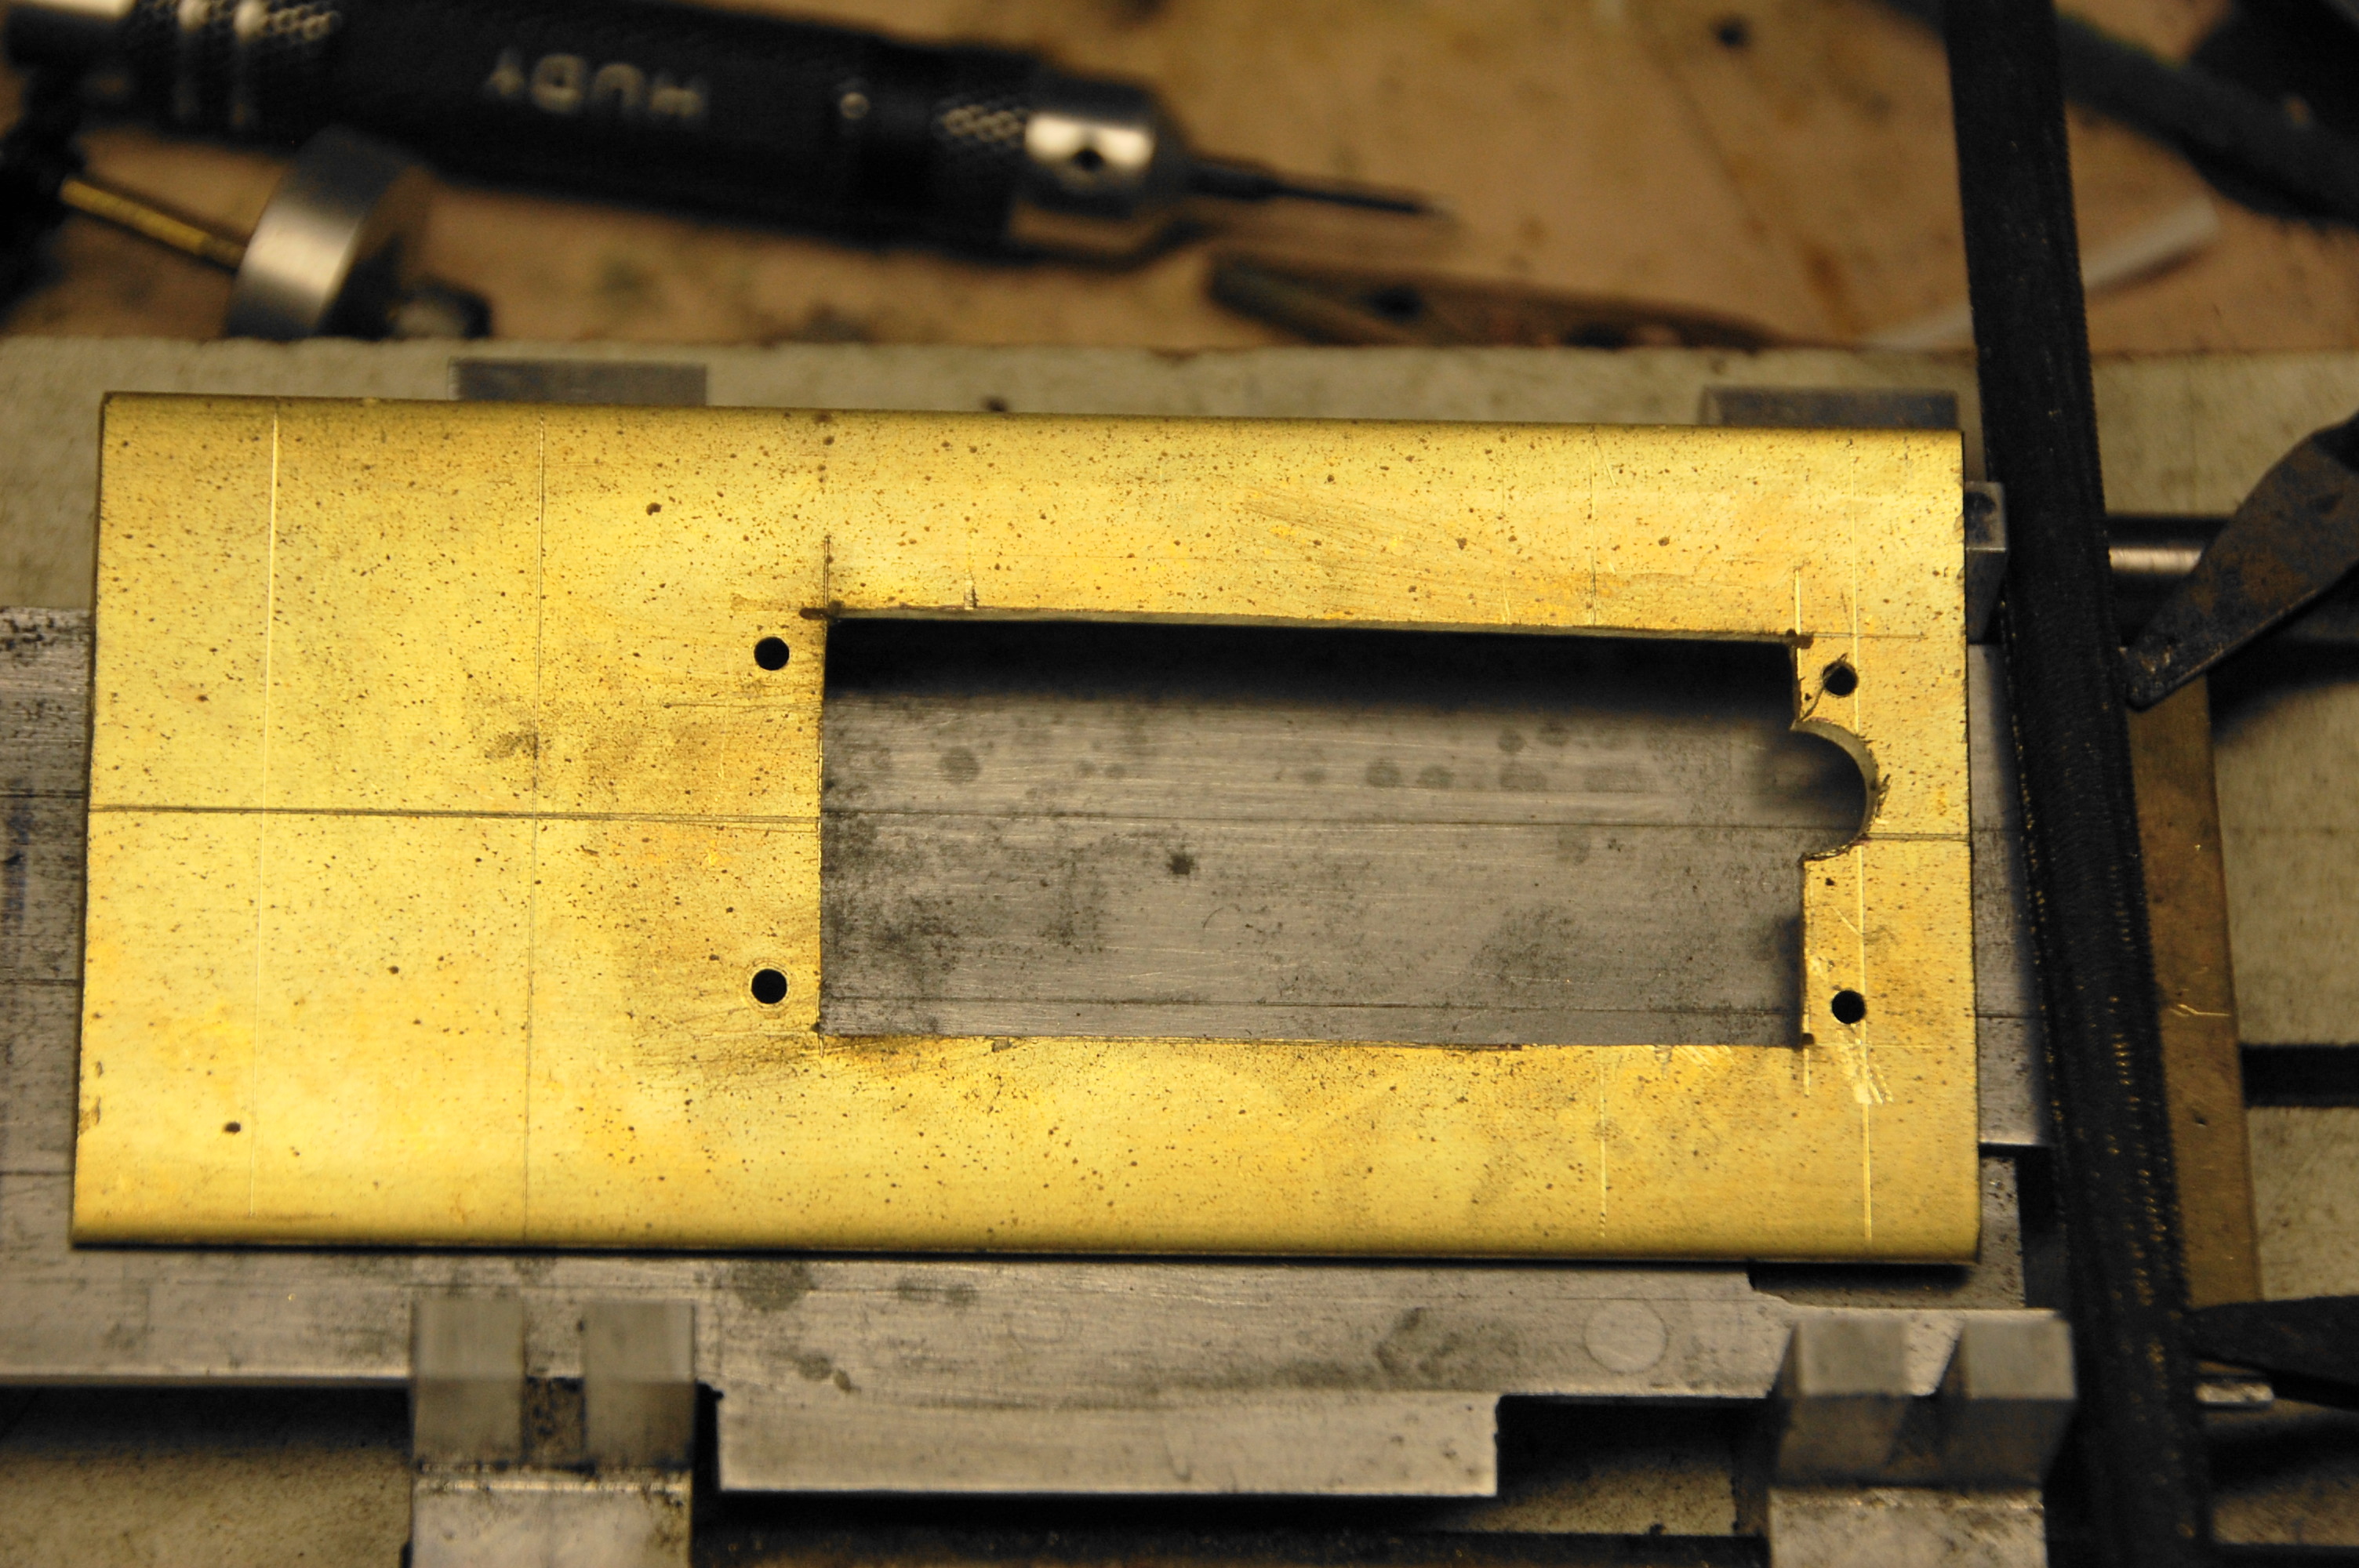
And the final step is to use a large rat tailed file to make the opening for the gear. With that done test
fit the motor pod.
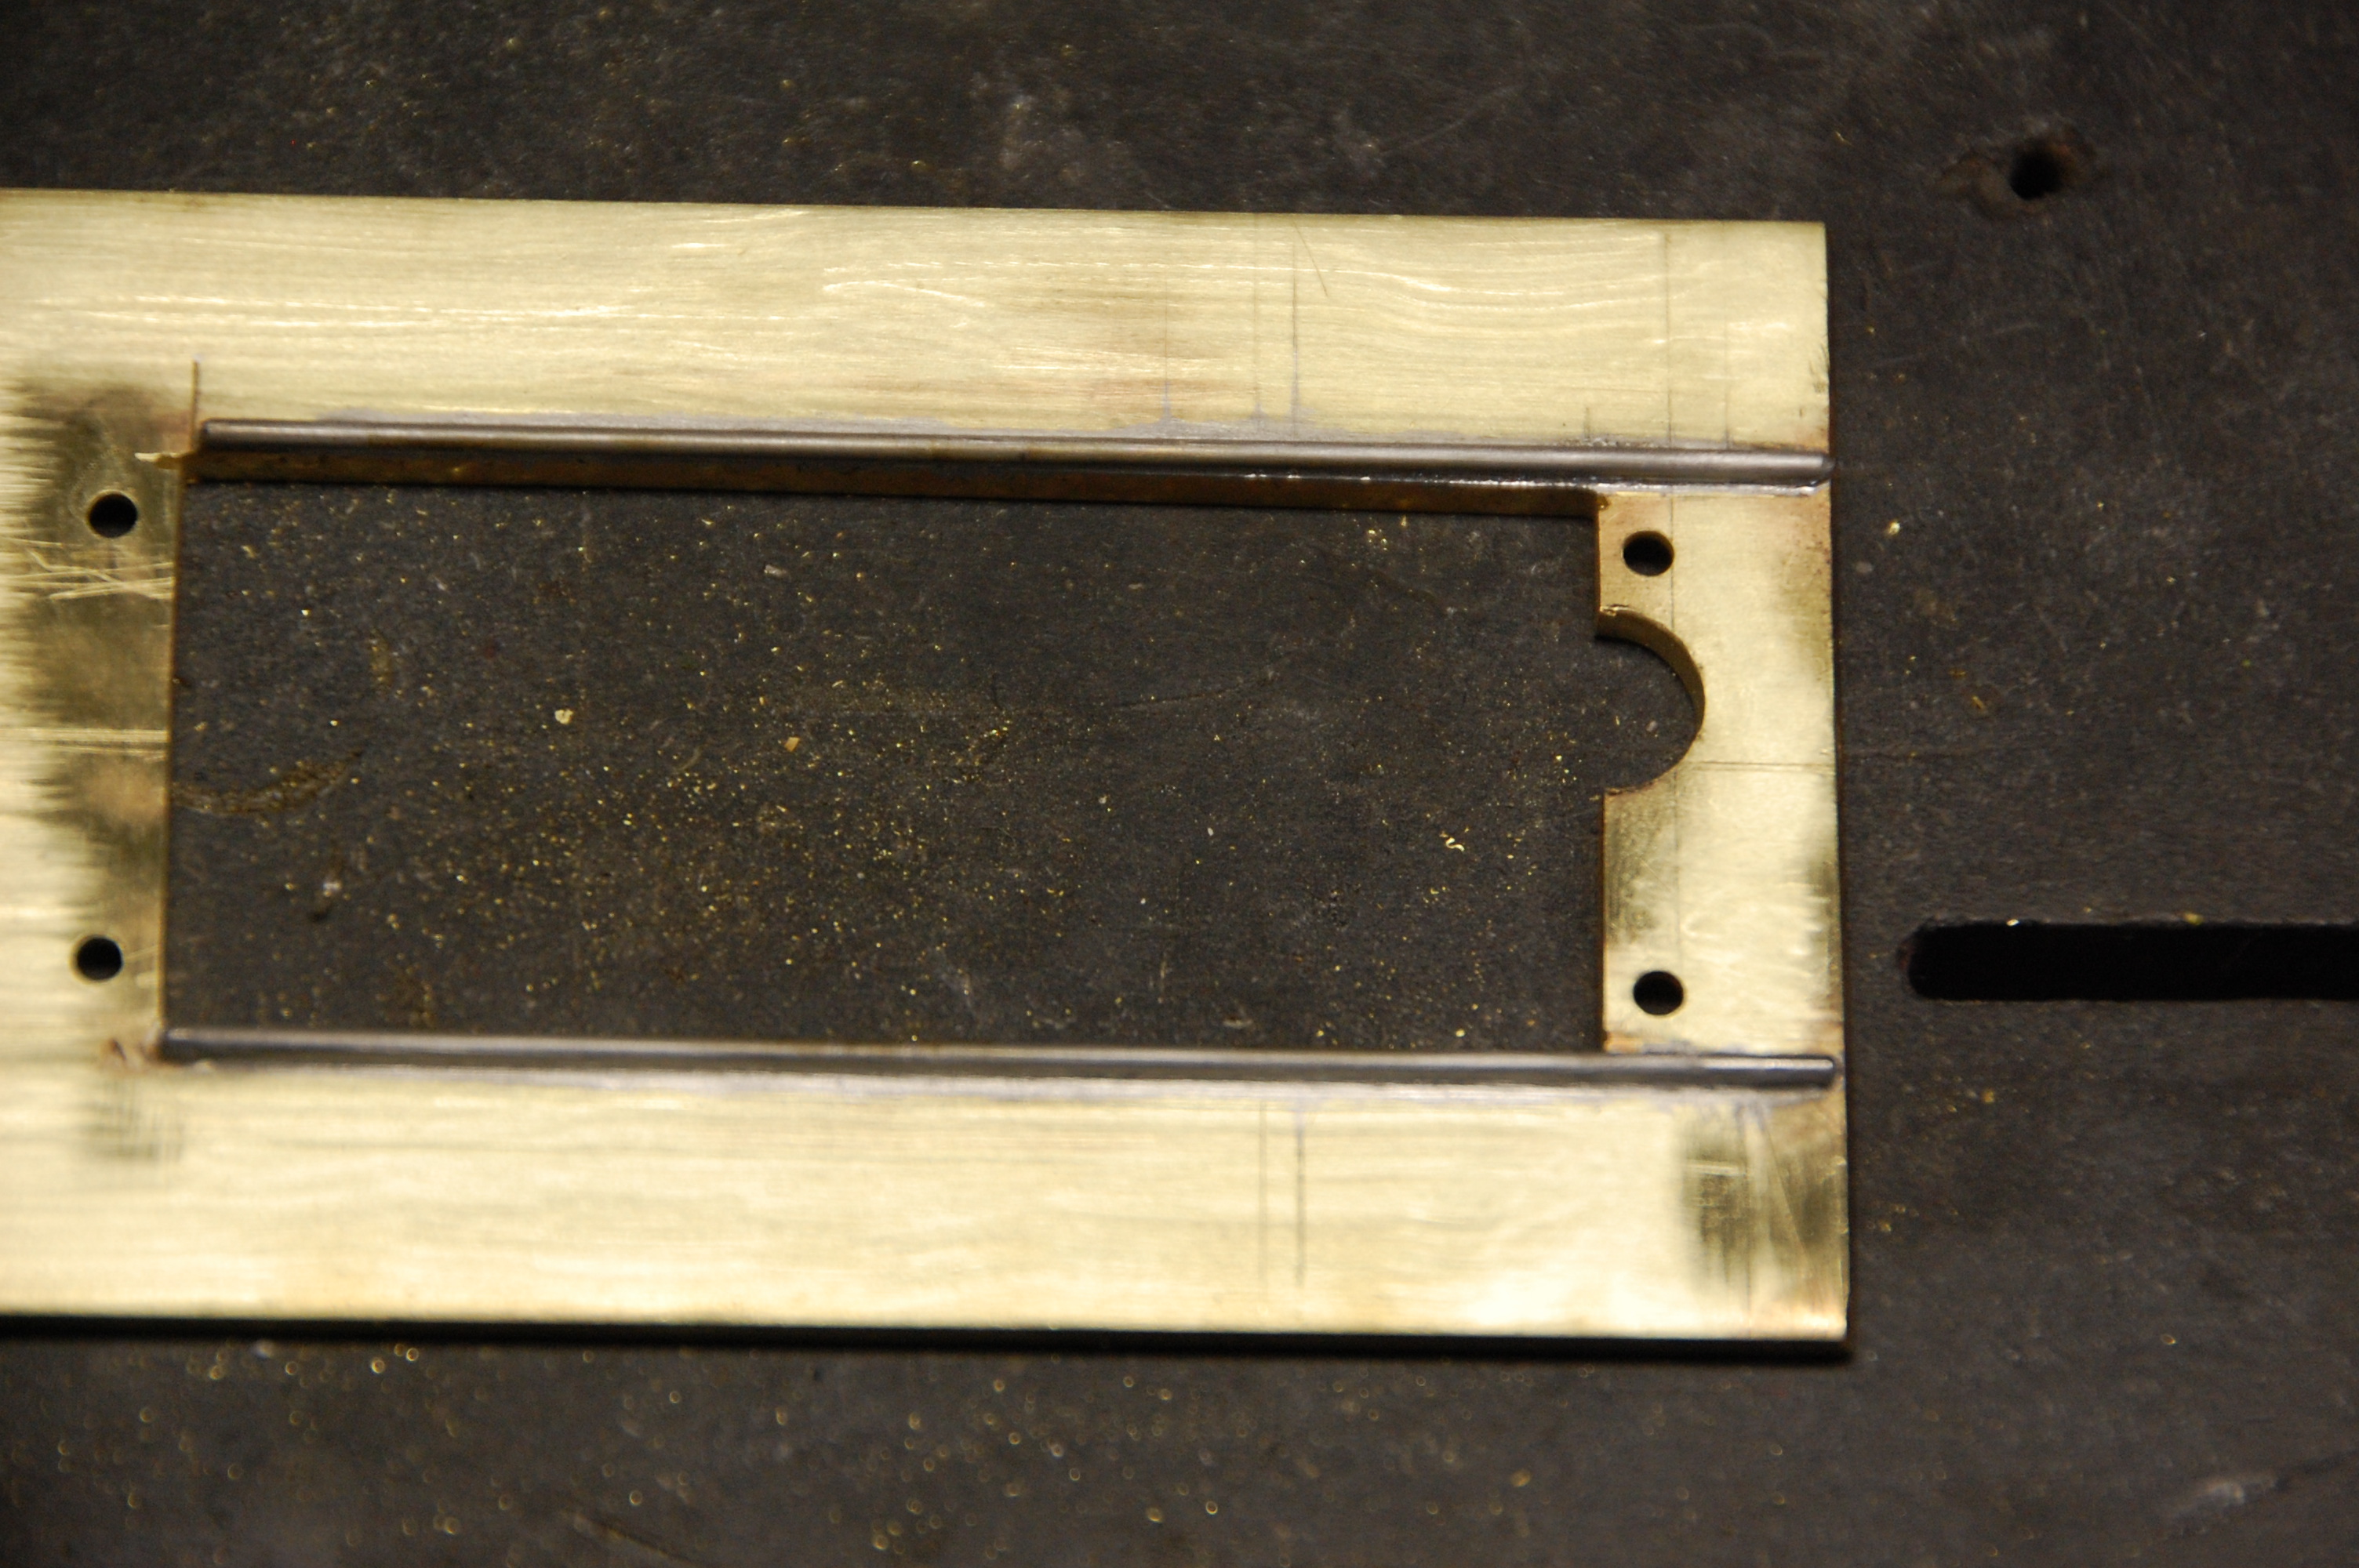
Because of the area at the rear wheel cut out in the chassis plate is so thin, I use .047 piano wire
to reinforce the area. Most of the stress in any crash is really on the motor pod, the area should be okay but I like to bullet
proof my chassis. It is always better to over build your chassis to make them last as long as possible.
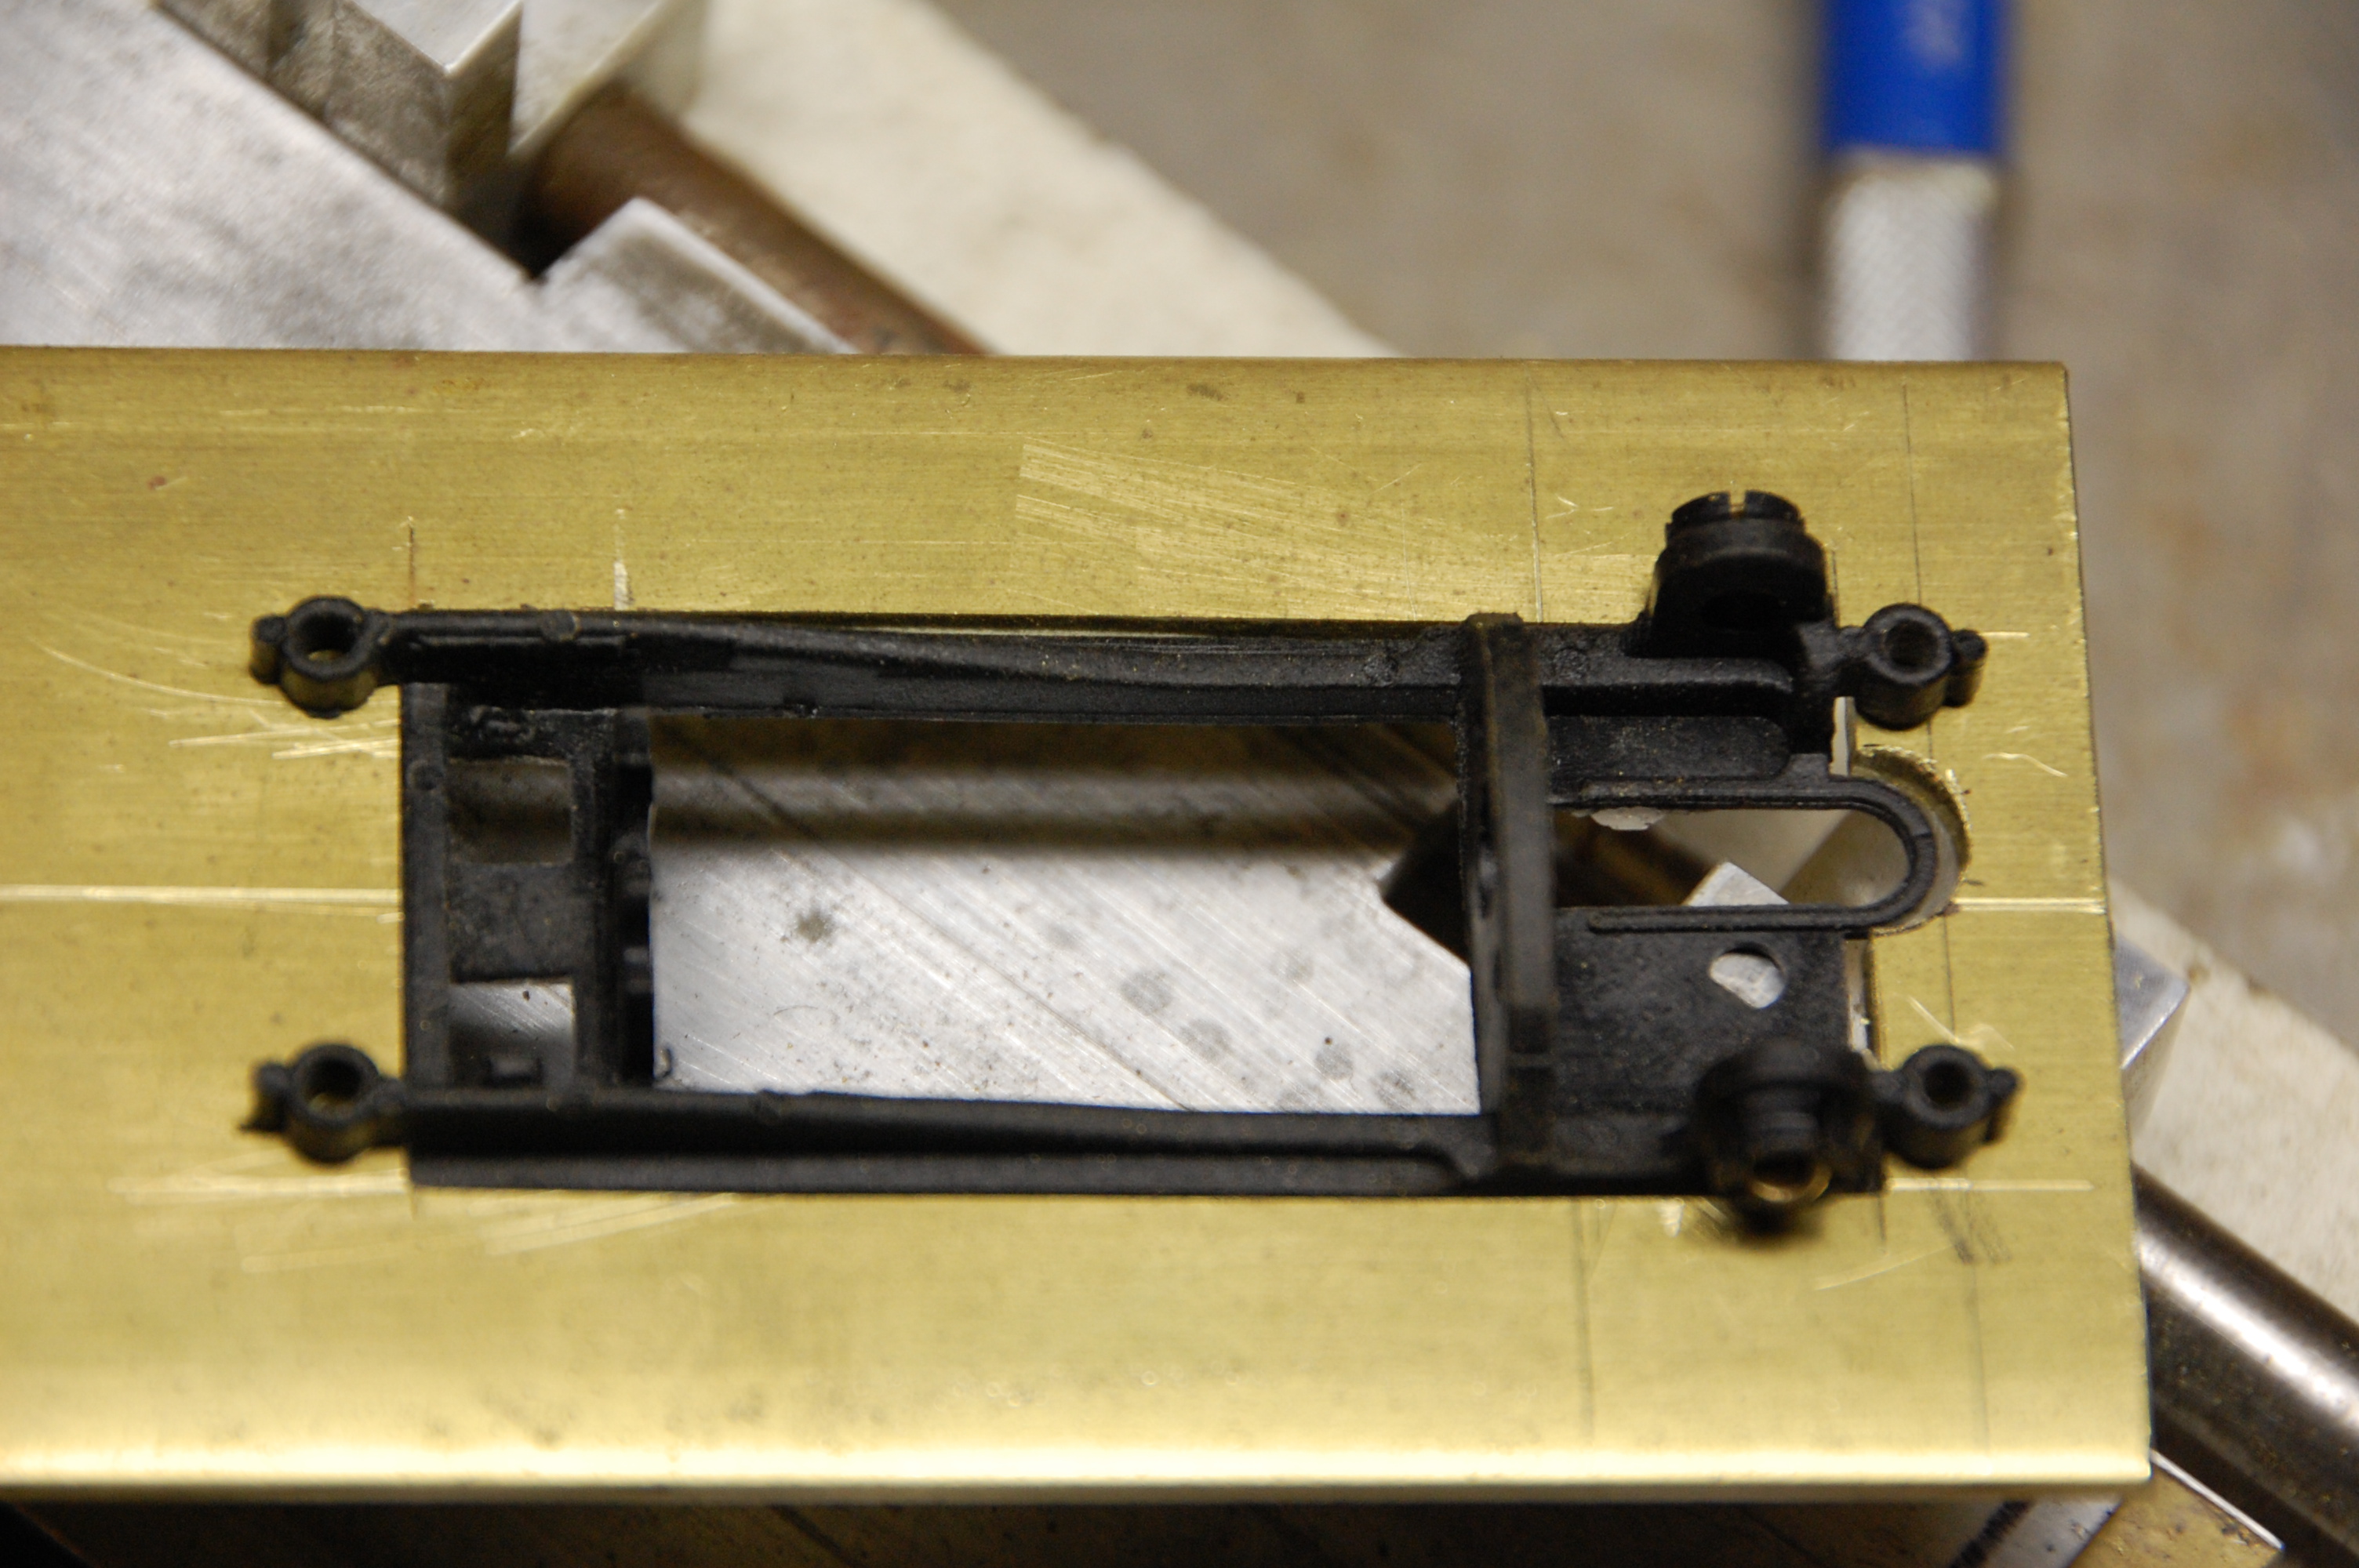
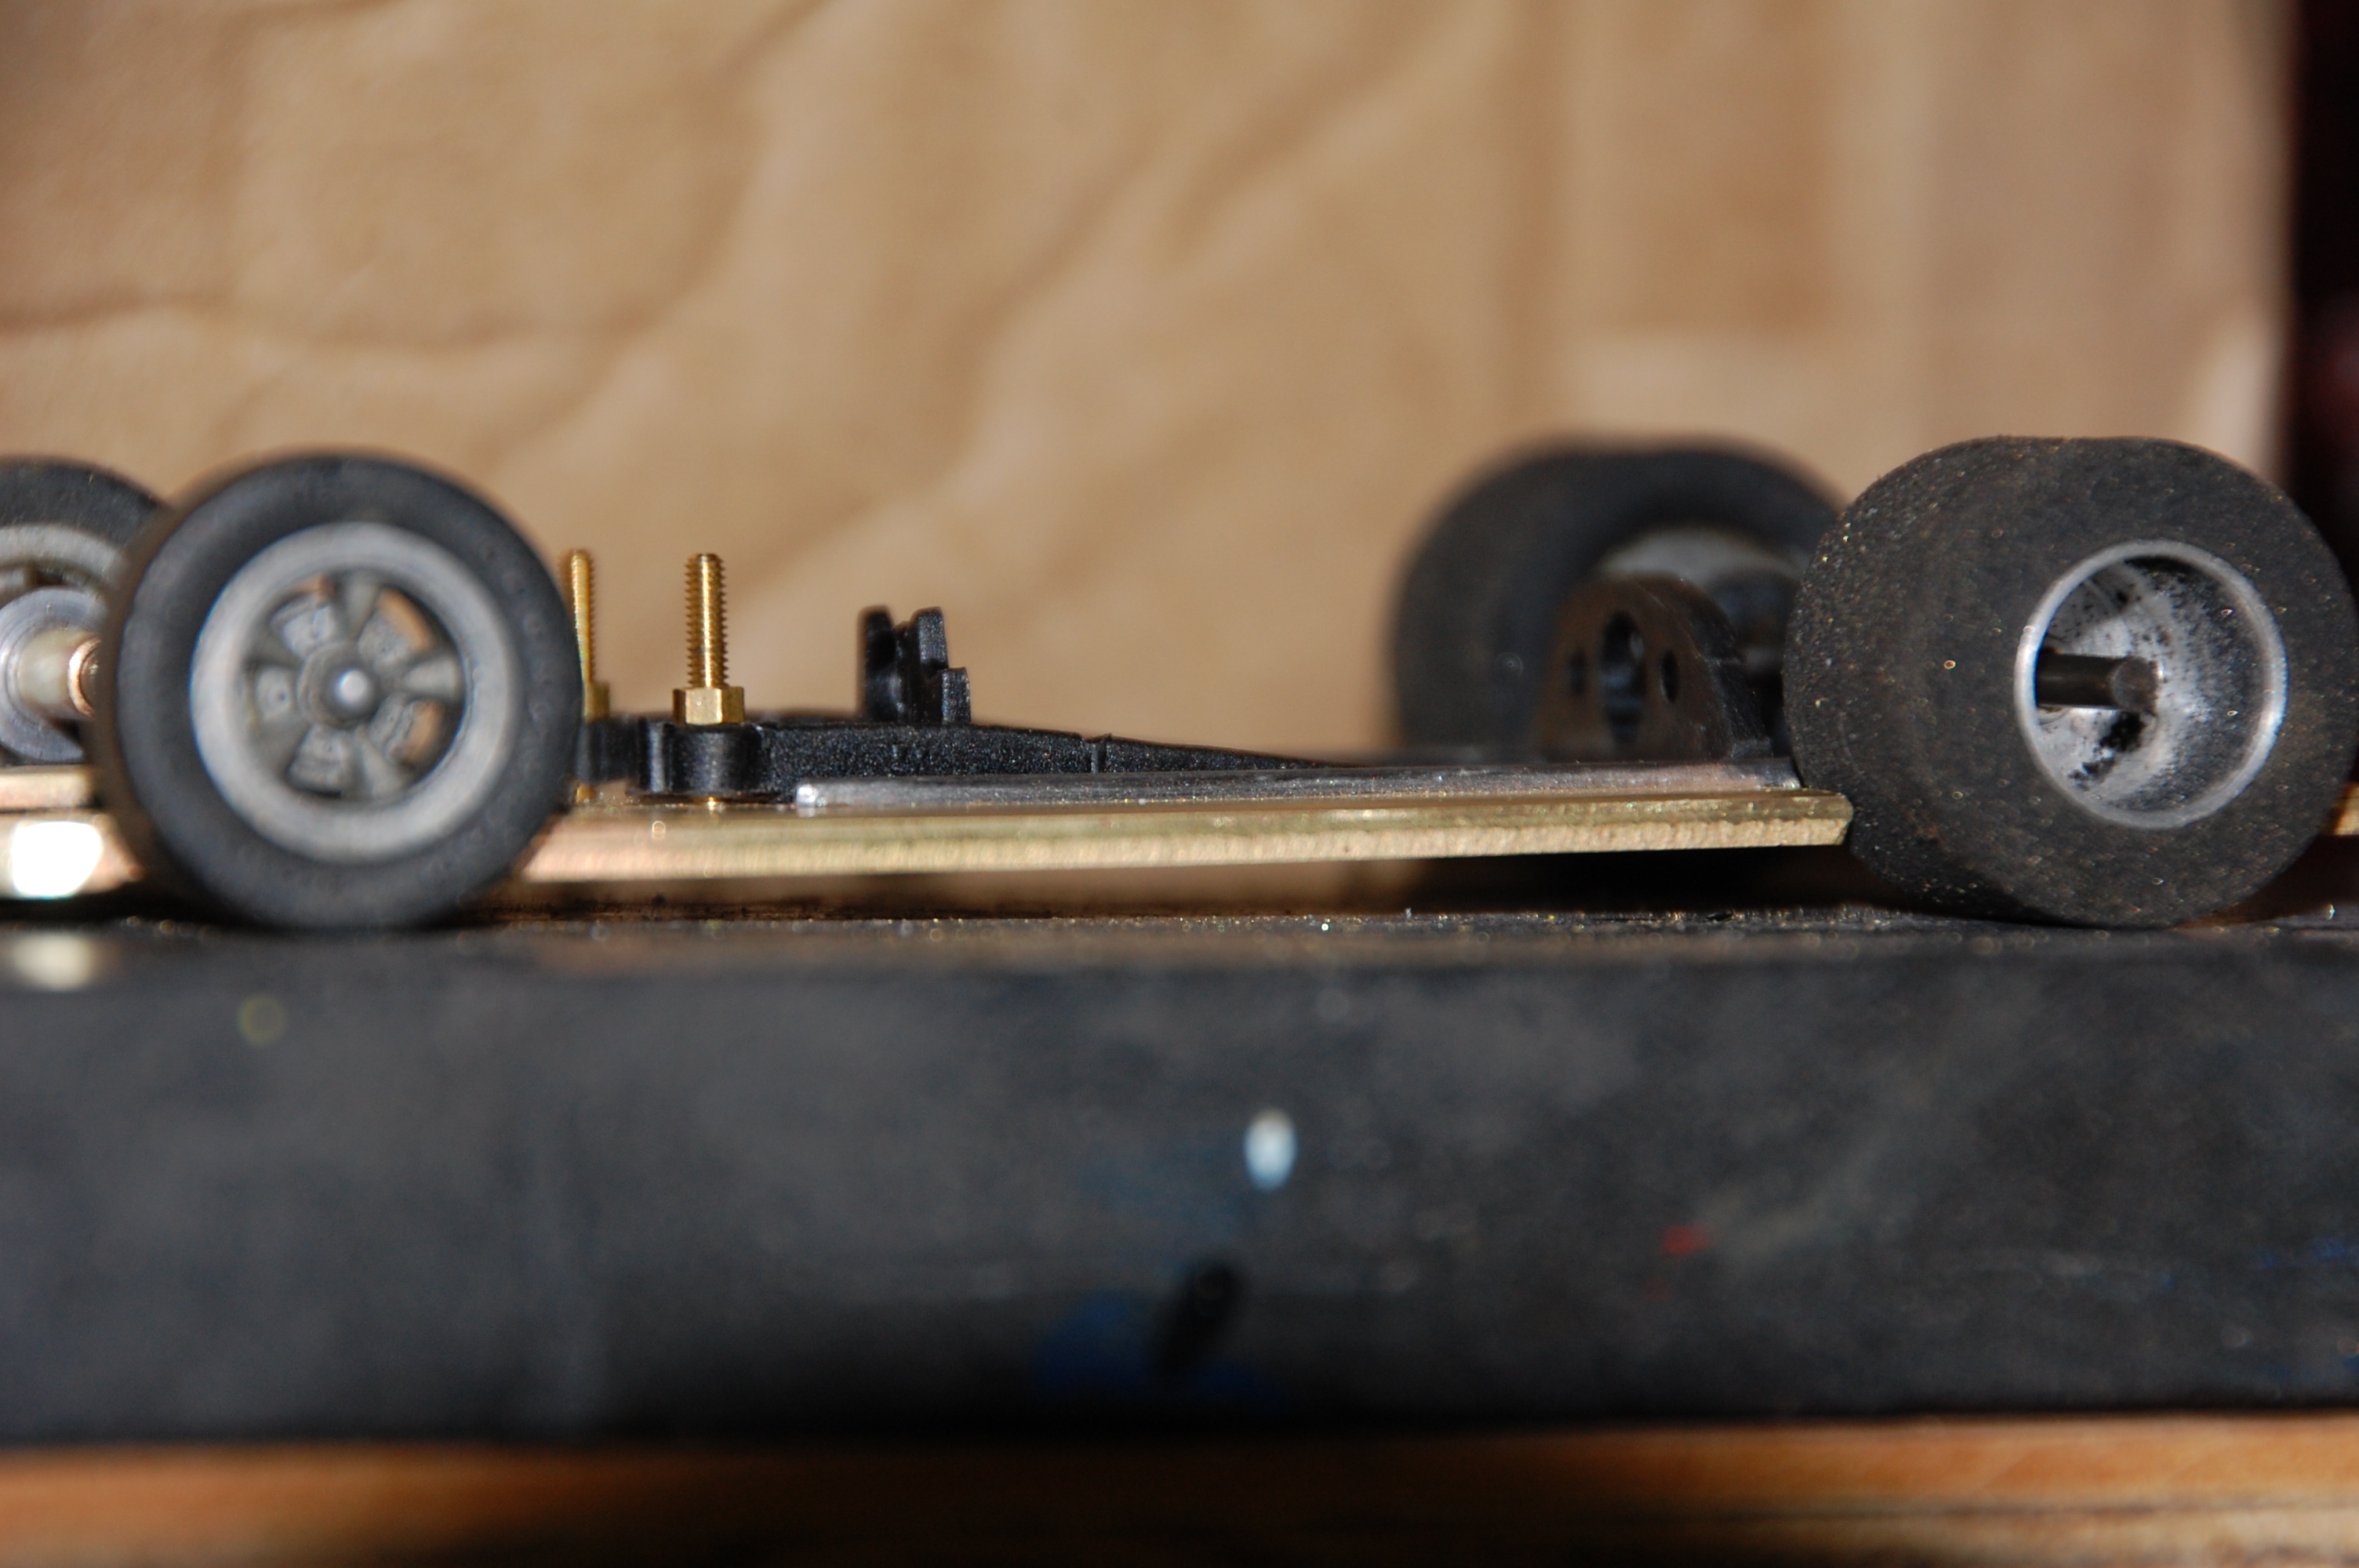
After the test fit, I use a file to fine tune the opening so the the motor pod has a nice loose fit and
will float freely in the chassis plate with the motor pod screws in place.
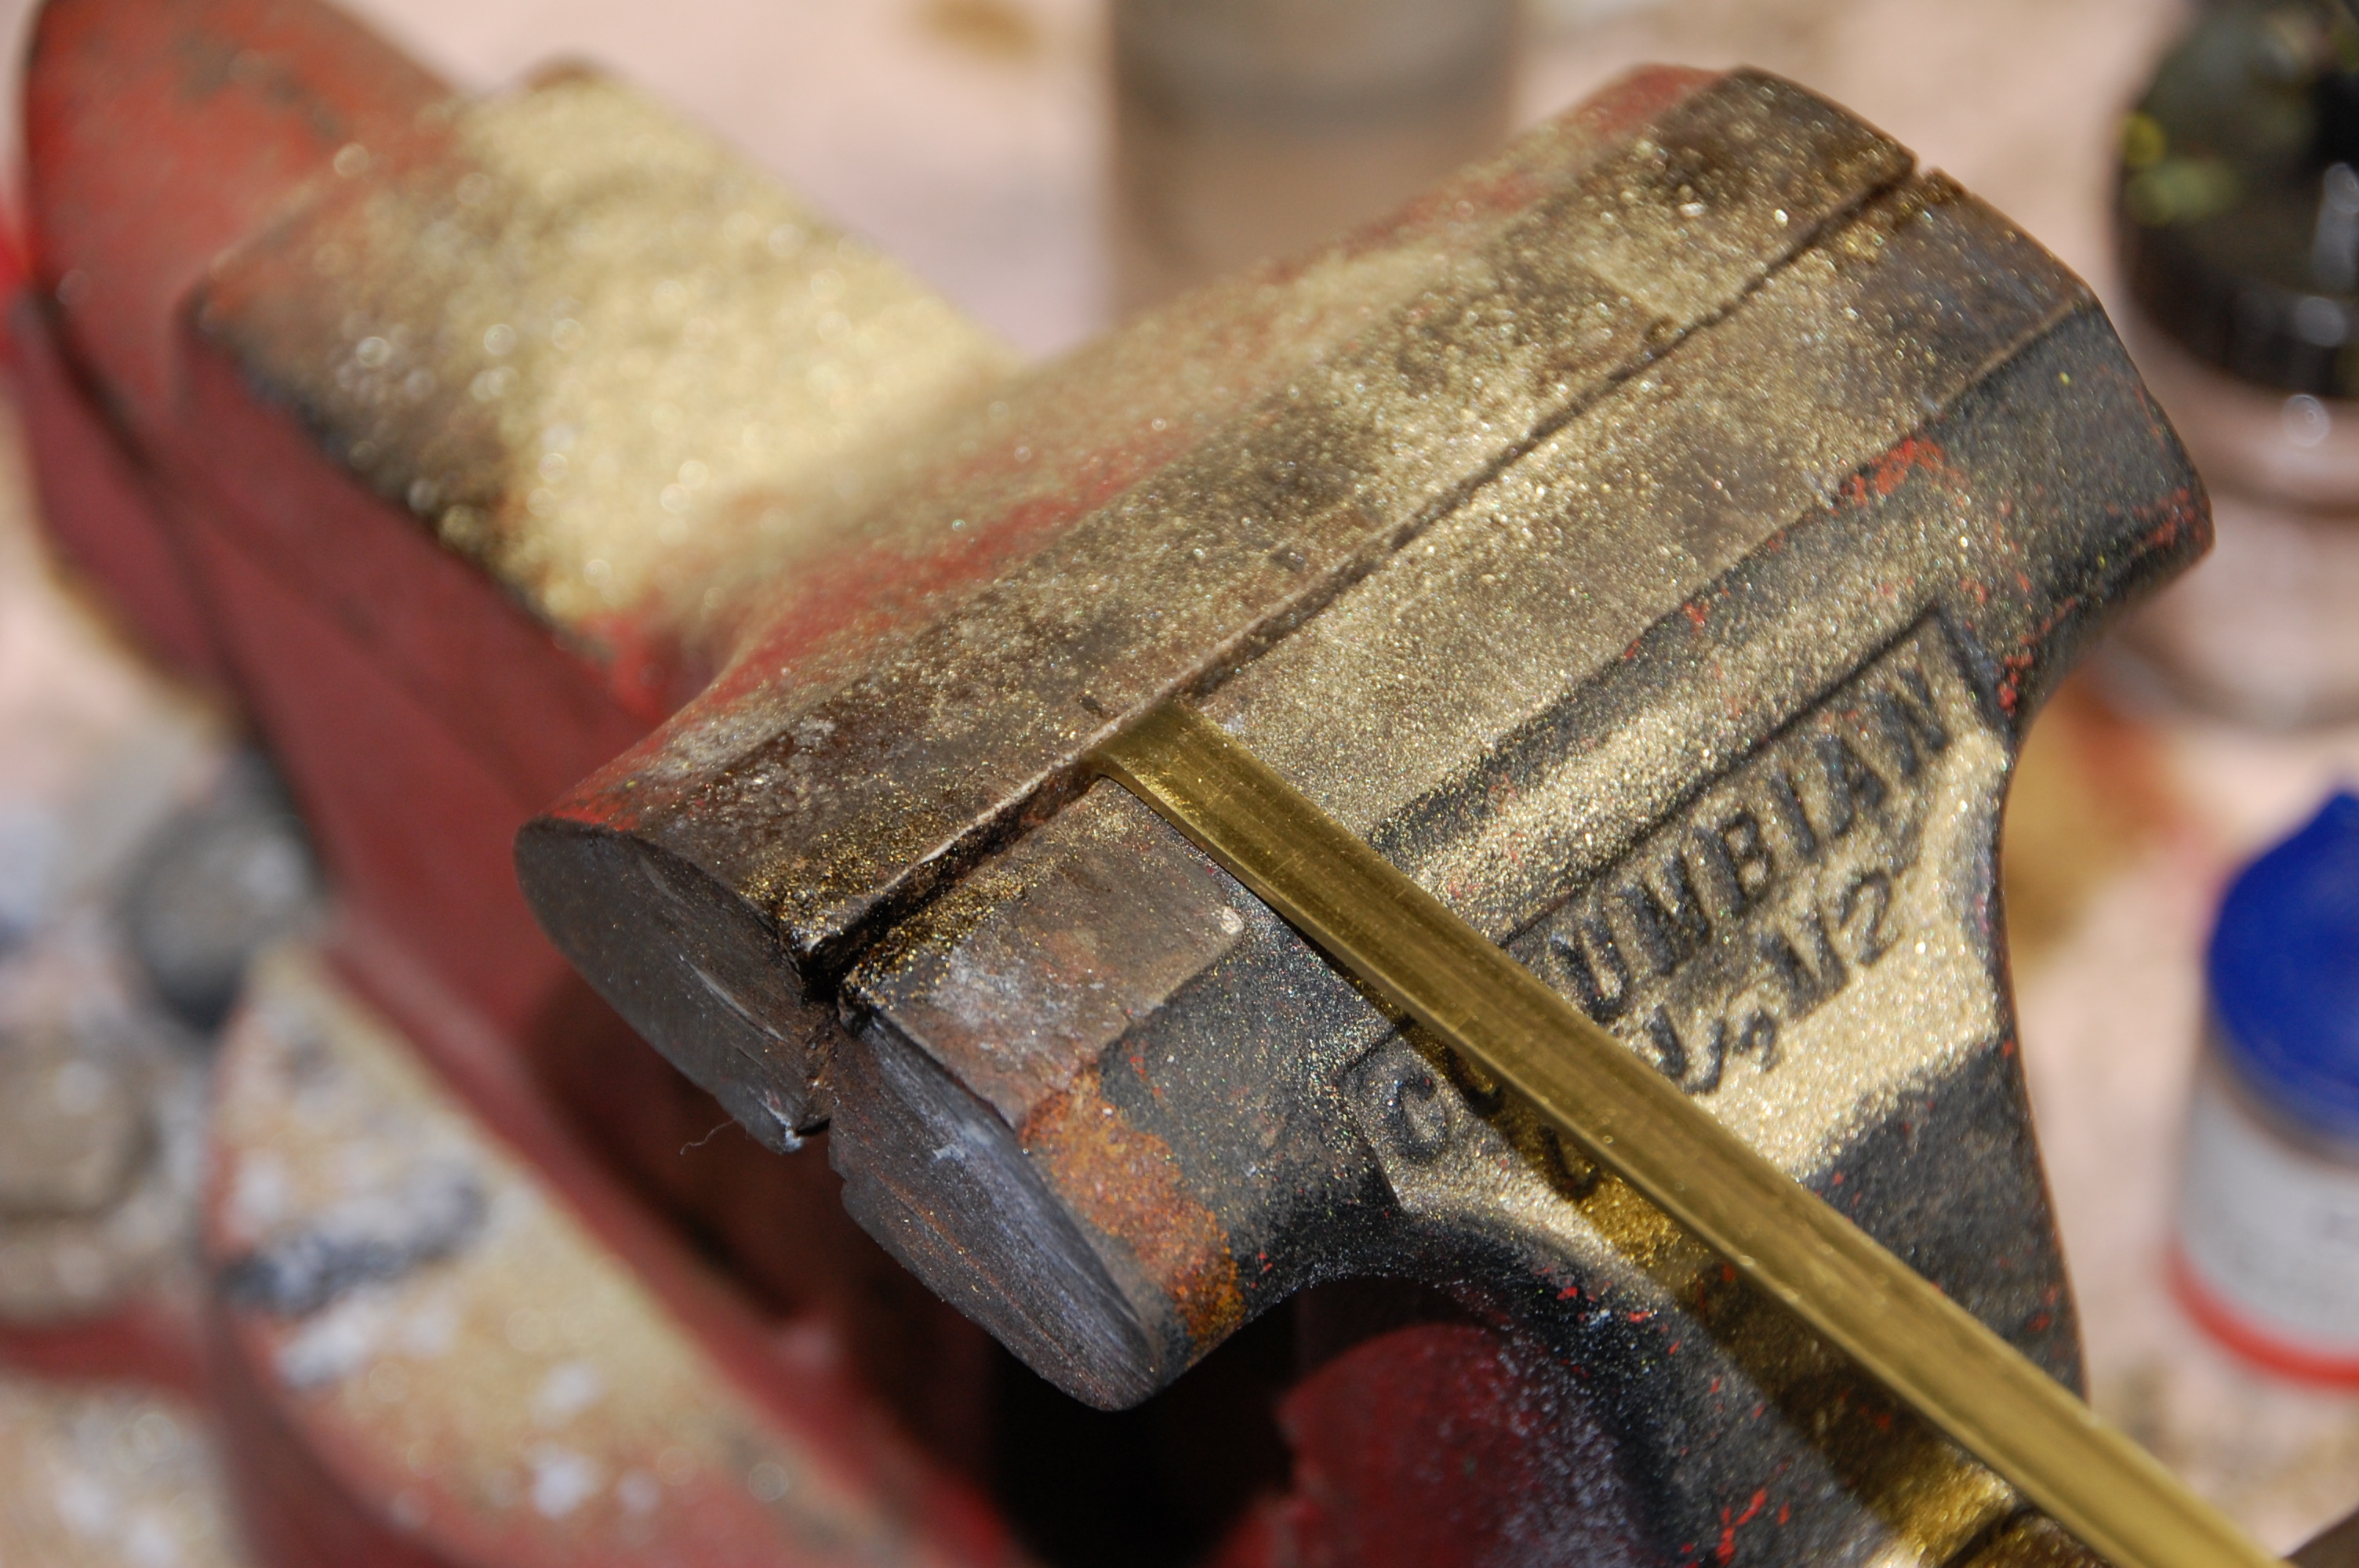
Now to make up the front axle carriers, normally I use pillow blocks for these. But to make things easier
for new buildings I am going with a simple right angle bend using 1/16 thick brass stock. Make the right angle bend using my
bench vice and an hammer. Simple, quick and easy to make.
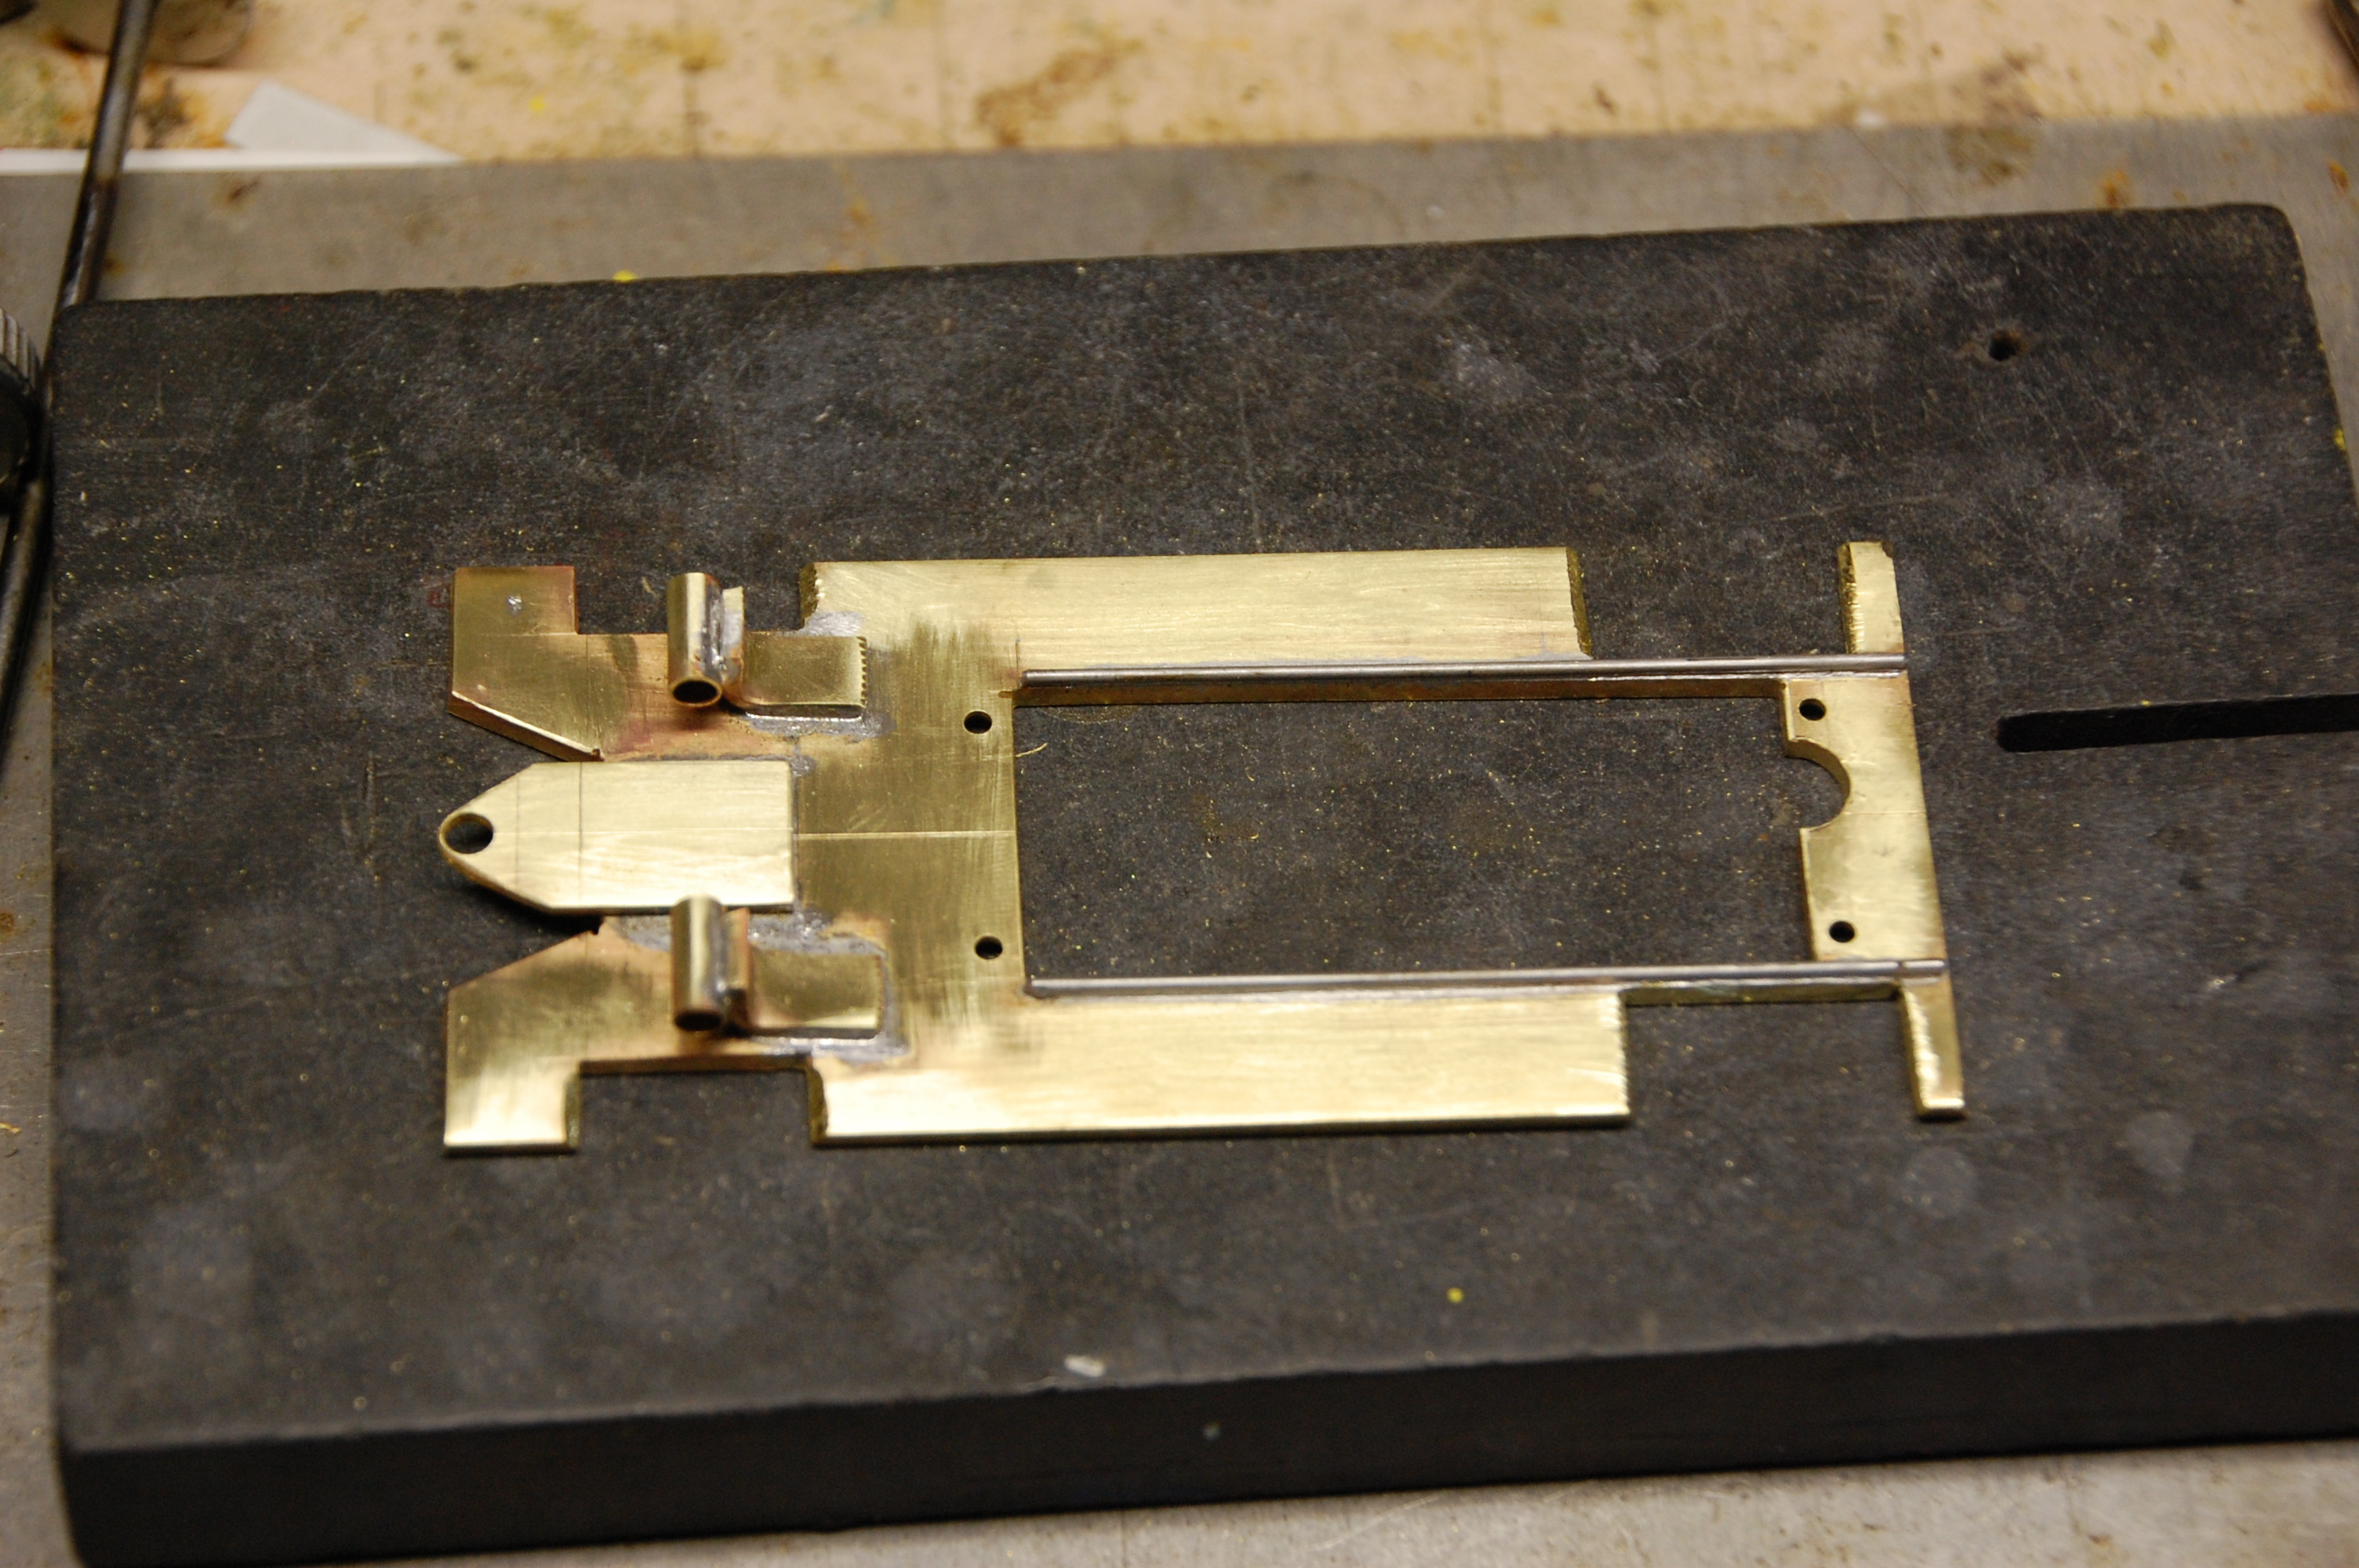
The front wheel opening in the chassis plate are cut first, and then after making the L brackets for the
front axle supports and cutting to tubing for the front axle carrier they are soldered to the chassis plate. The rear wheel
opening are cut out last.
Because the chassis plate and the L brackets are make of thick brass, they can take forever to
heat up to get a good solder flow with a iron. So all my soldering is done with my number one choice of heat... Yup a torch
:-)
Fast, and really gets a good solder flow for maximum strength.
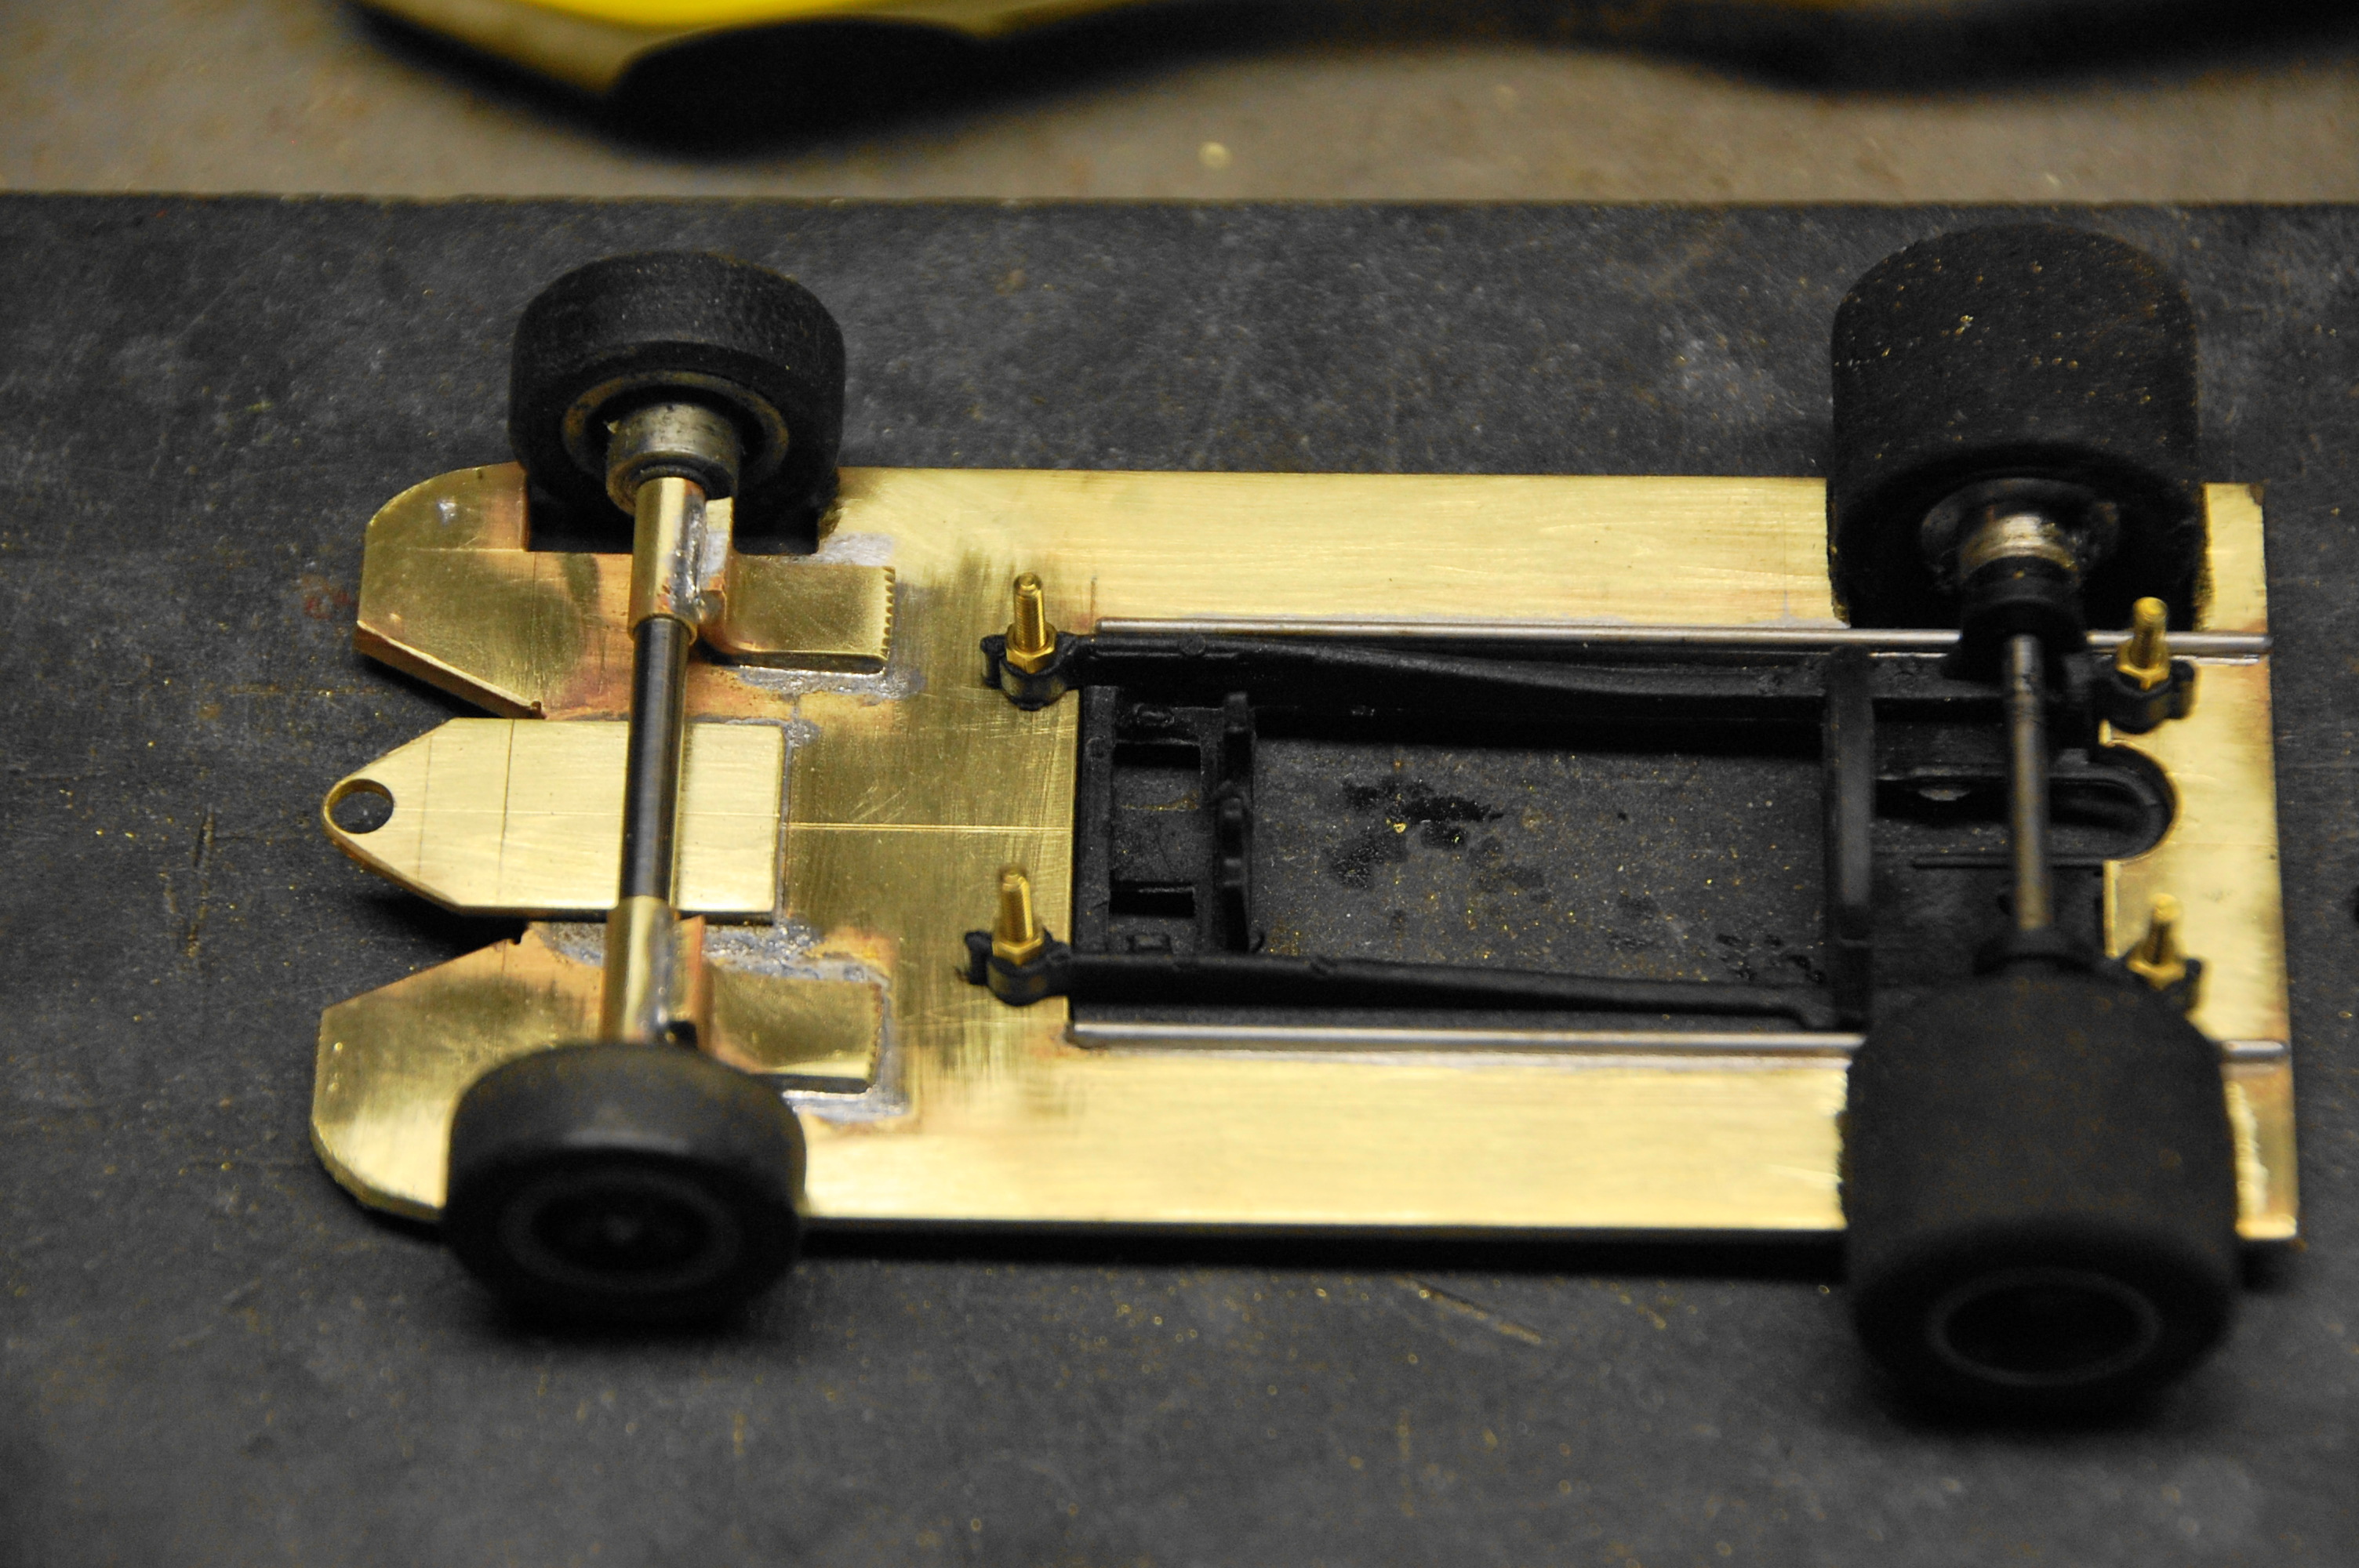
Now put the chassis together, and like with all pods they should be mounted loose so the motor pod can float
in the chassis..
Well, that's it. All you need to do is mount up you body and you should have one great running
little racer. As with all cars you should mount the body so that it will float on the chassis to get the most out of
this or any type of chassis.
I have been running this type of chassis for a month or so now, with outstanding results. There
are very few RTR cars that will run with this chassis.
After you get the basics down, you should be able to do up one of these chassis in less than
a day...
Good luck and good racing..
Back to the Home page
|