|
I now have the new chassis jig and Jig wheels for sale...
The Jig was designed by Dave England and is based on the old (hard to find) Russkit Adjust-O-Jig..
The Jig will be selling for 55.00 .. The jig wheels will be 14.00 for a set of 4 ( 3/4" for the fronts
and 13/16 for the rears )
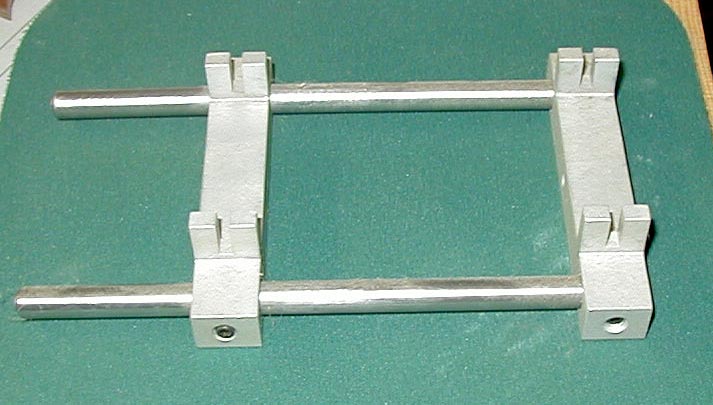
The jig us fully adjustable from 1" to a full 5 3/4"
and is designed to take either 1/8 or 3/32 axles.
For using the 3/32 axles you will need to sleeve them with some 3/32 ID brass tubing..
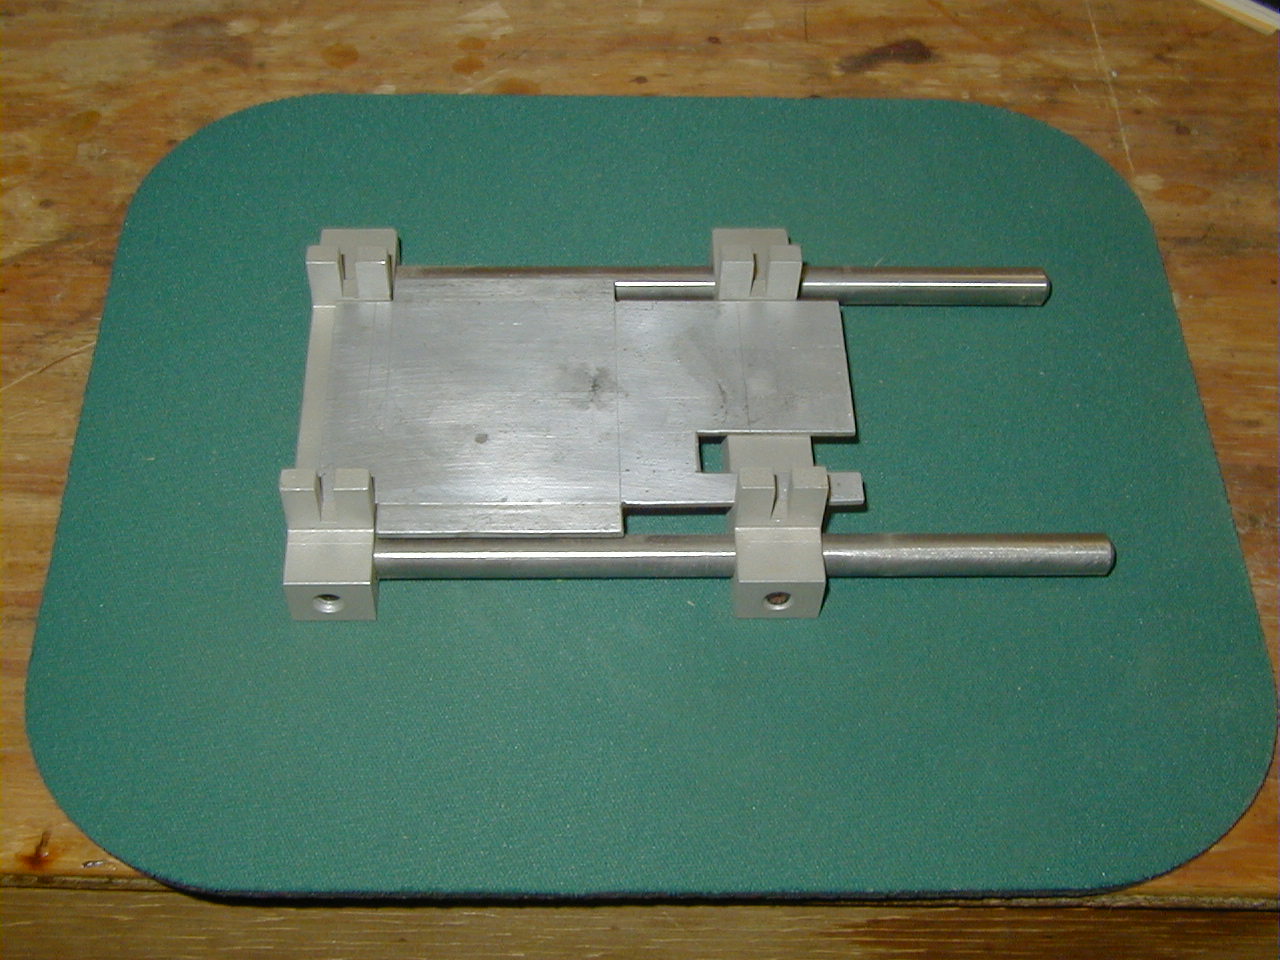
To get the most out of the chassis jig I use a" jig plate" to give a nice flat surface to lay the chassis parts on, and
the jig plate also sets the ground clearance for the chassis.... The one you see here is make of 1/16" thick aluminum...
For my 1/32 scale cars I have the plate cut to fit between the axle holder uprights, and it is 2 1/2" wide at the widest
point.....
The slot you see in the rear is for clearance for the spur gear for the anglewinder and sidewinder chassis set ups...
The jig plate is not for sale.... That is something that you will have to make up yourself....

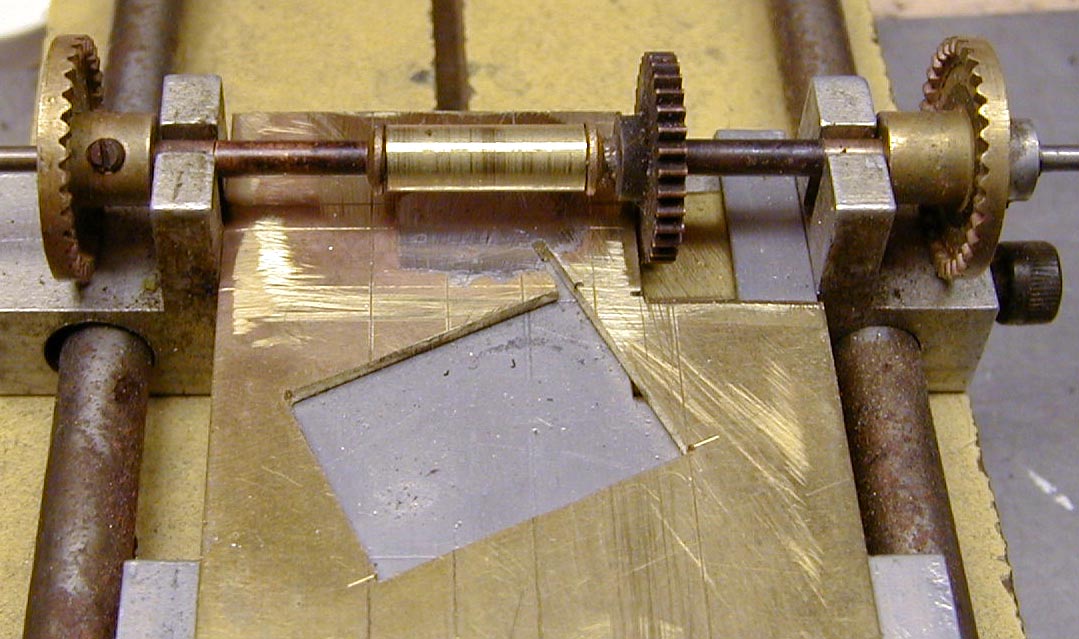
For you new builders here are some tip for using the jig... To set your motor bracket and keep it in place you will need
some brass tubing..
What I do is put the motor bracket with oilets (bushings) in the jig and slid it to one side and then measure the gap
between the outside oilet and the side of the axle holder.... Then divide that in half and them make up some spacer like you
see in the above picture.. The spacers will keep you motor bracket centered while you work on the chassis...
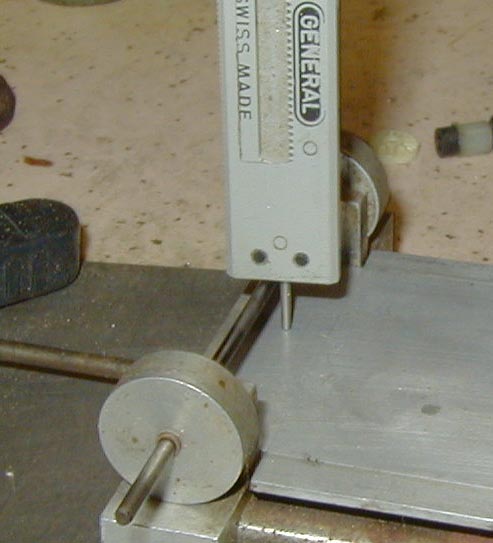
The jig wheels are also made of aluminum and are used in place of your regular tires and wheels to keep from melting
them during construction :-)
|