|
Well, after a few weeks of just playing on the track and checking to see if anything needs changing, and
the flow of the track is what I want. It is time to get started on some scenery for the new track.
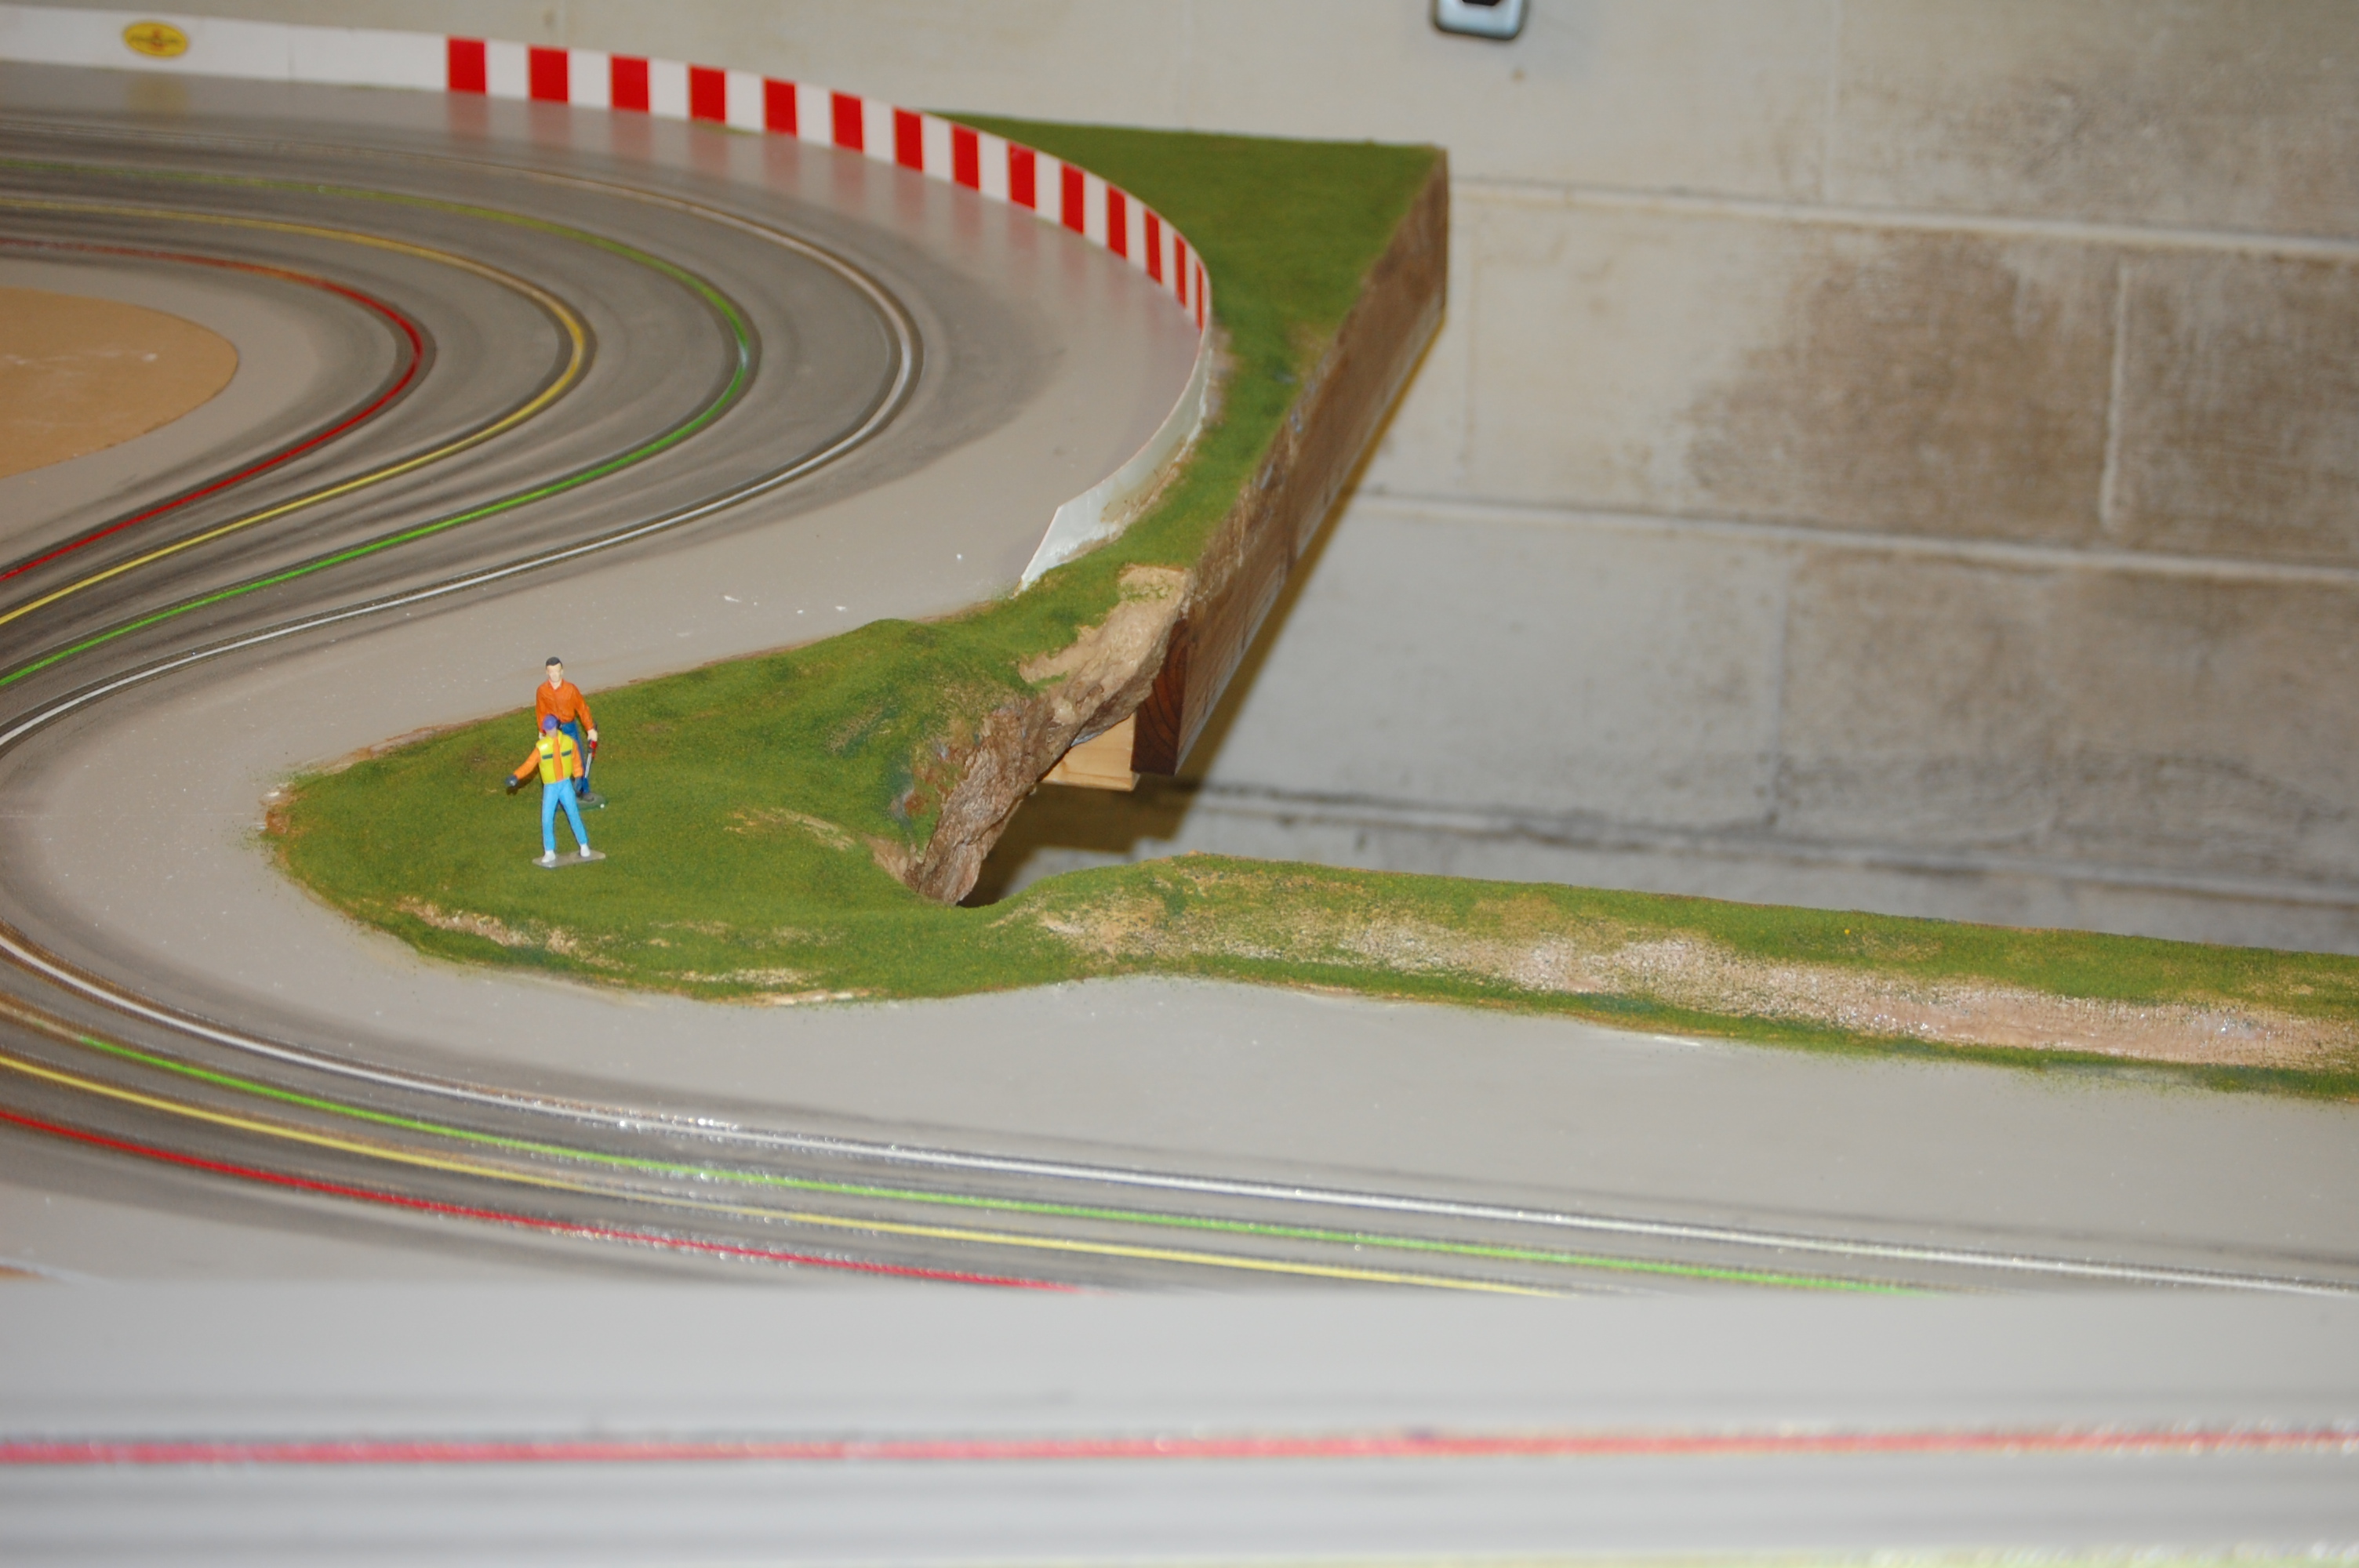
Being that this has always been a Club track and we have the area around the track for marshals, I
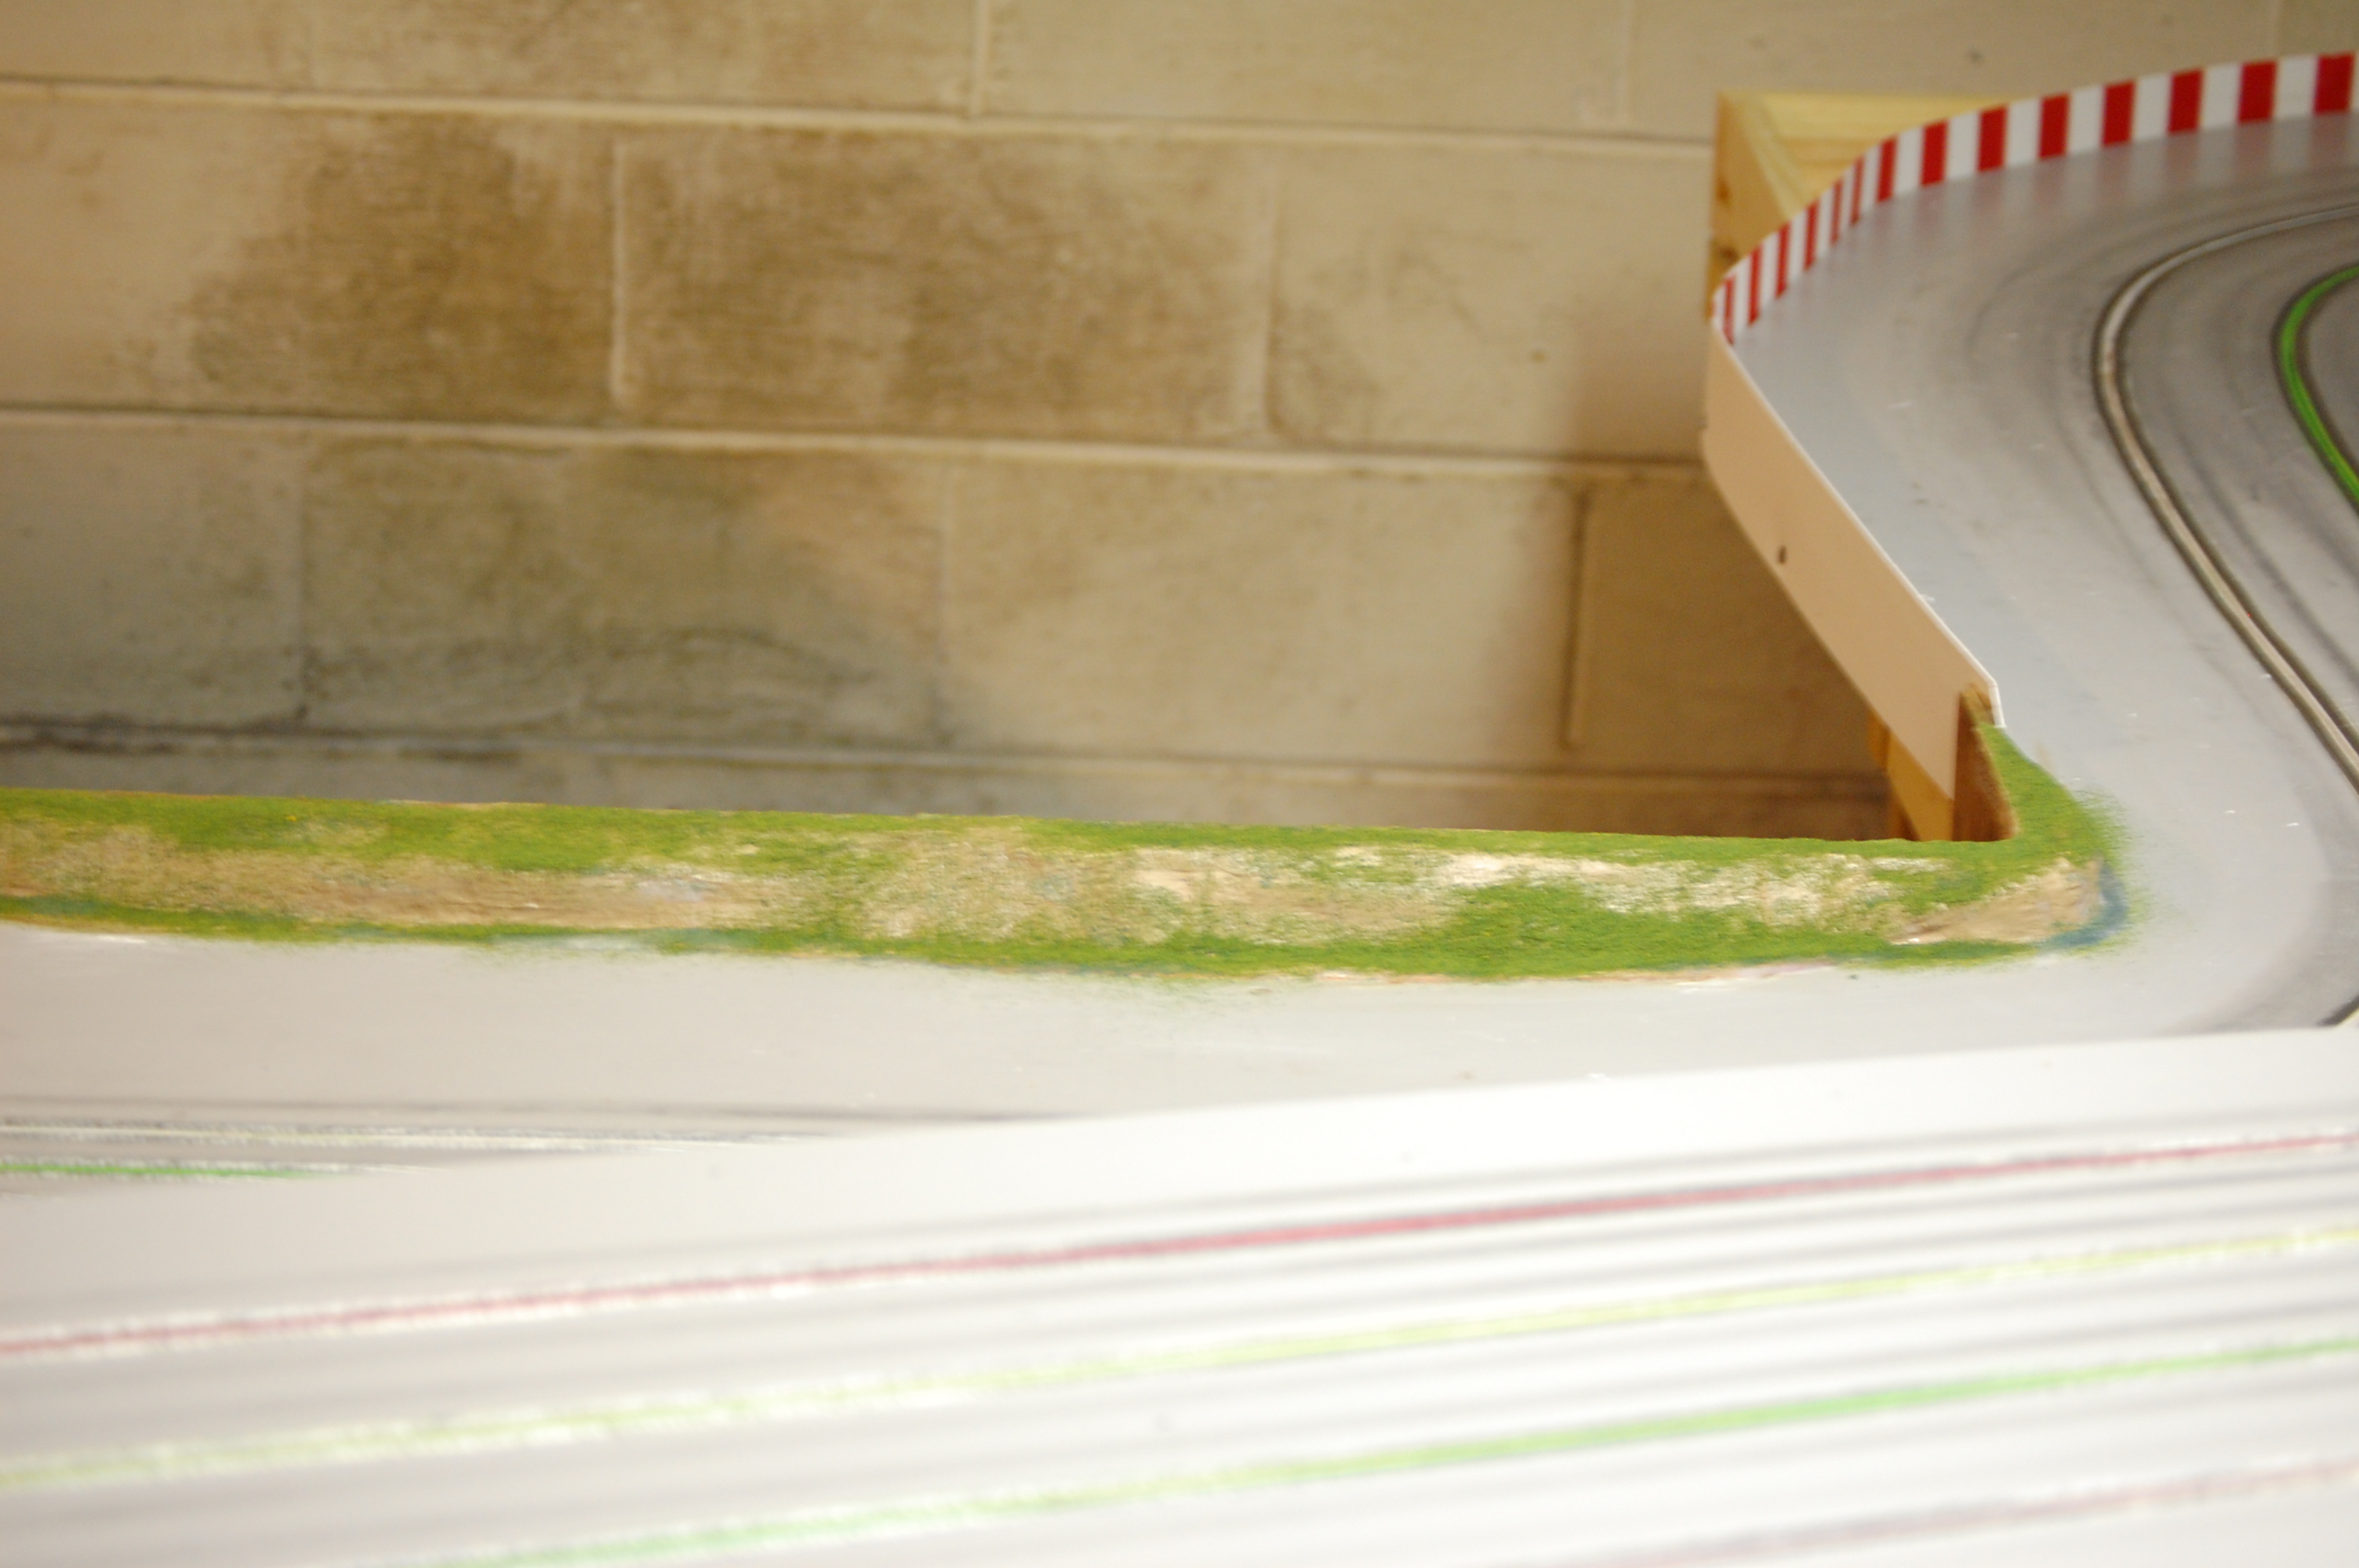
have to be a bit careful on how the scenery is set up so a over zealous marshal doesn't take out scenery when going for
a car. So nothing high near the main access points on the track.
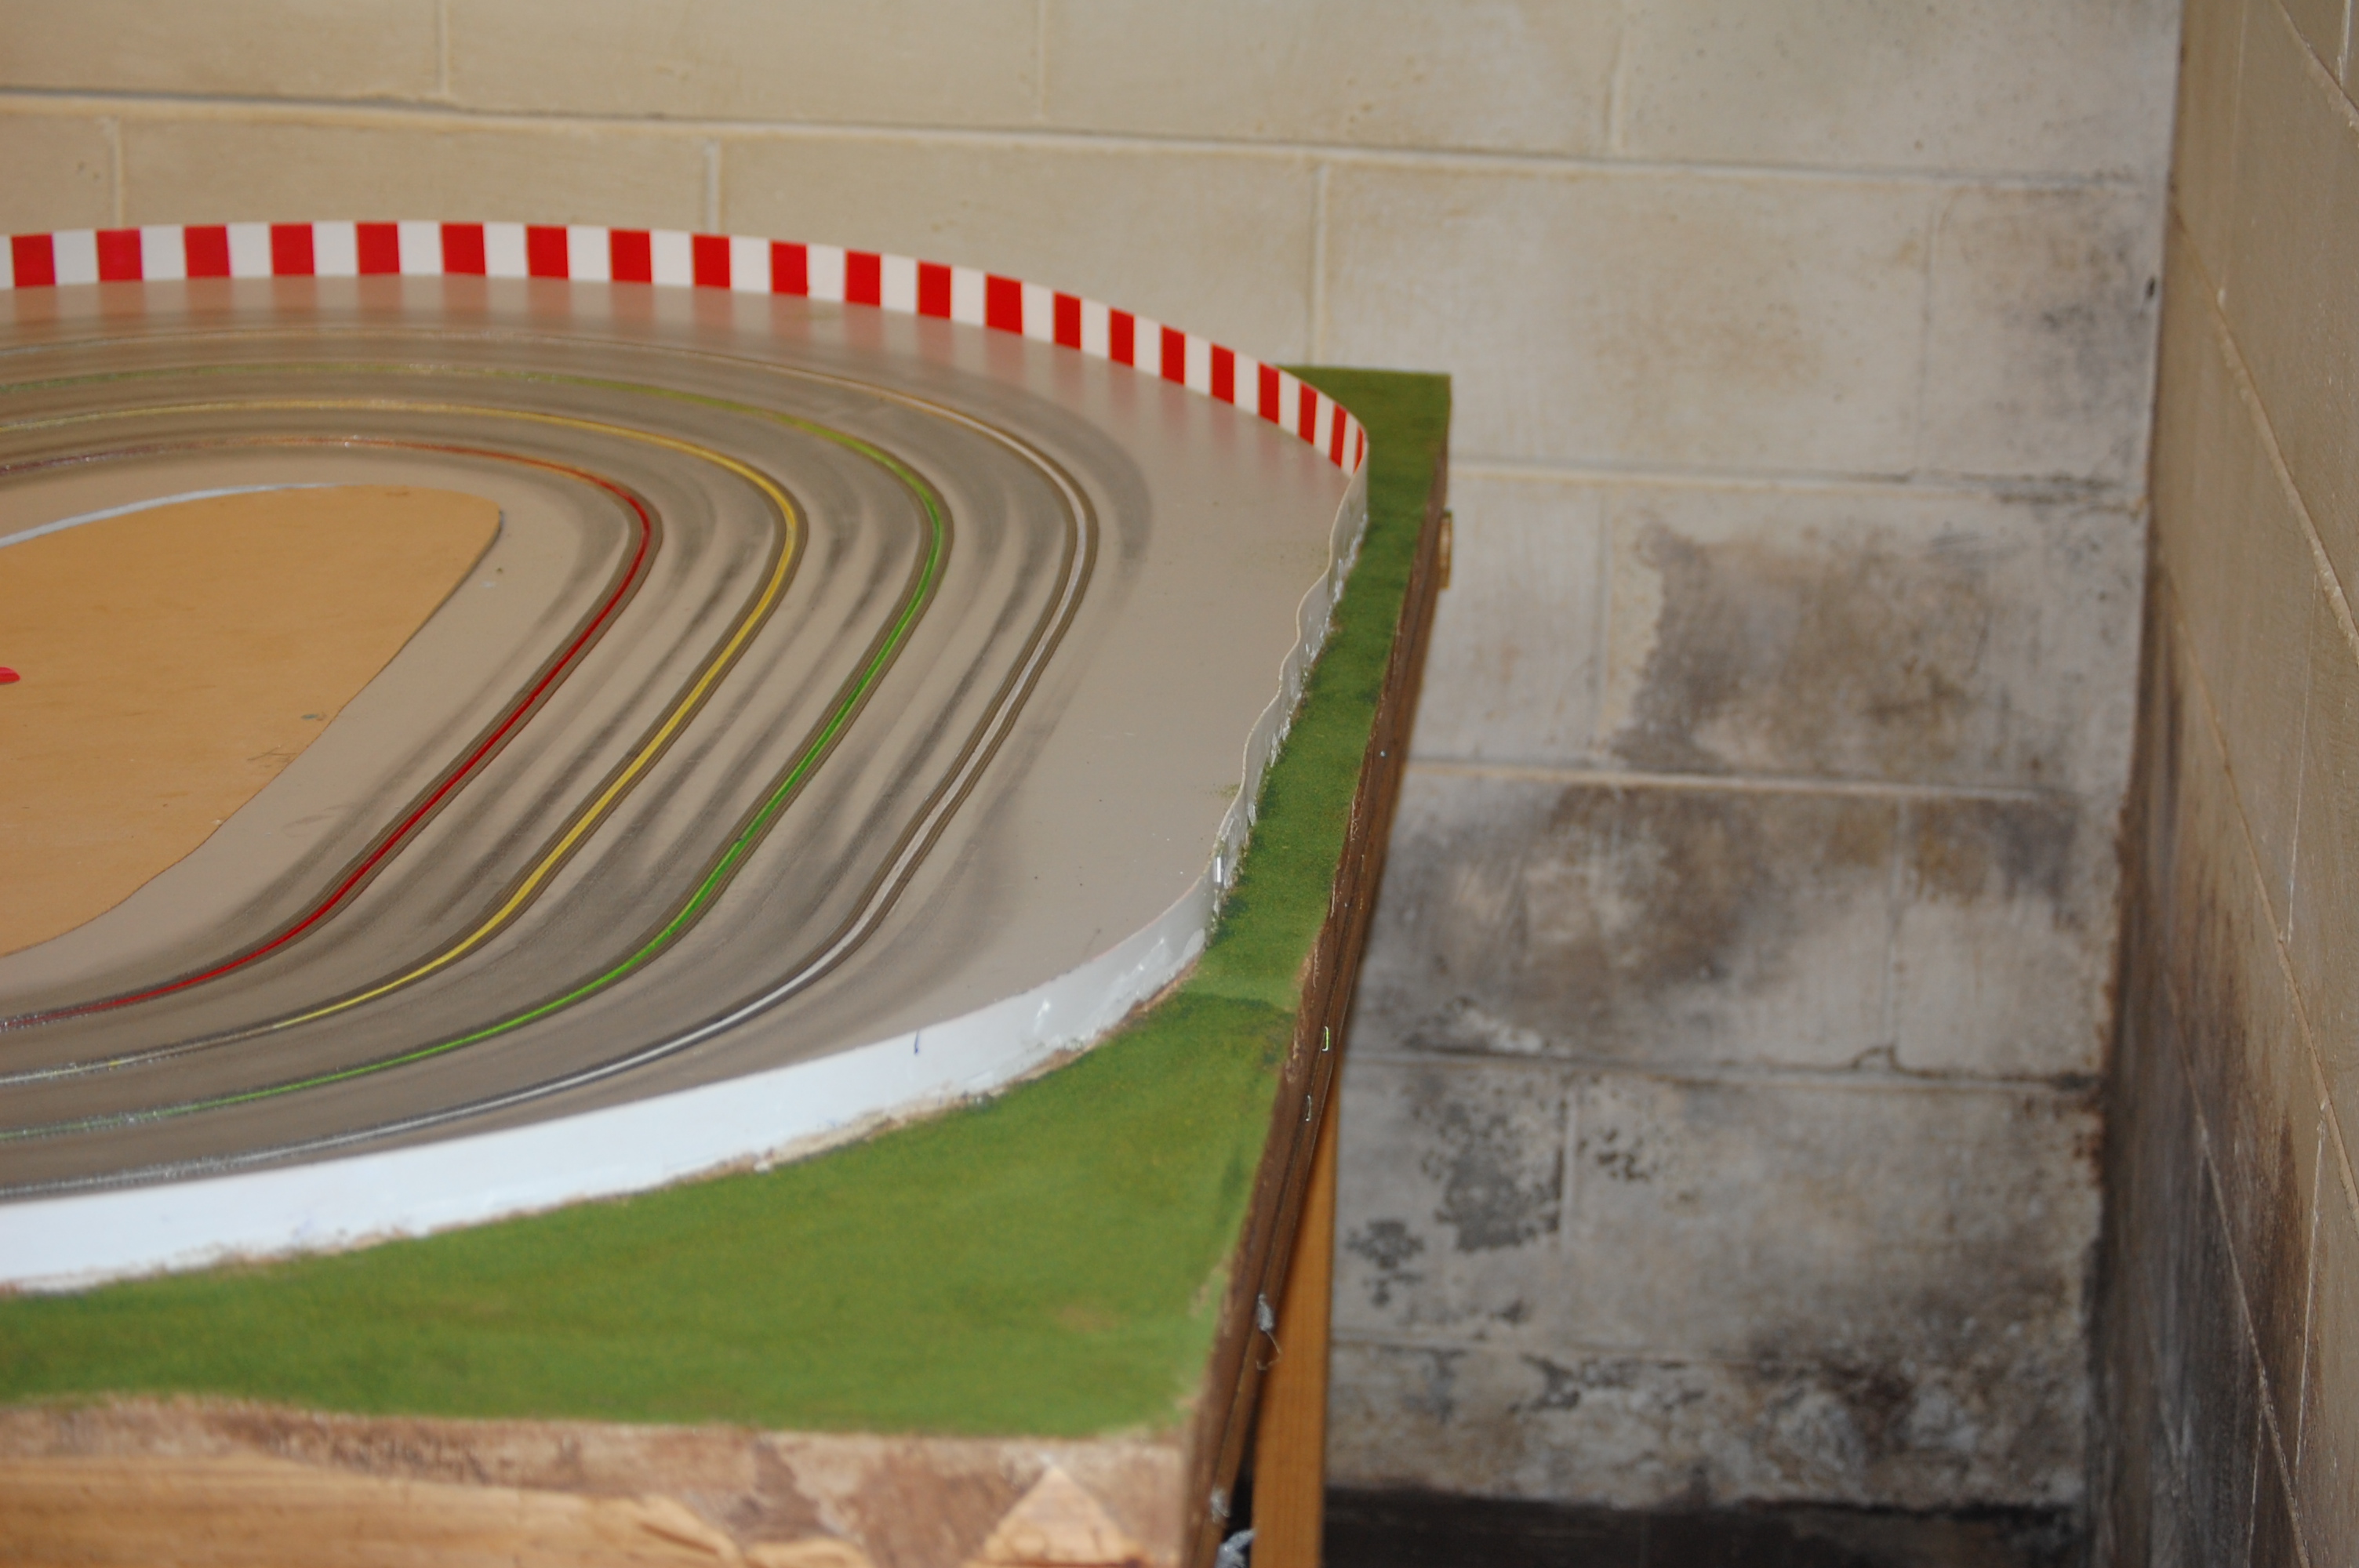
So I have started with a few of the outside corners of the track and the main marshalling area near
the chicane on the back side of the track.
For the outside areas I used screen and instead of using joint compound on the screen I tries some Woodland
scenic Plaster cloth.
The wall joint compound worked fine on the old track but a lot was wasted getting through the screen...
The plaster cloth worked much better and was faster and easier to work with.
I did use a skim coat of compound over the plaster cloth
After that was done instead of using spray glue mix to hold the grass, I used polyurethane in a satin finish
and brushed it onto the area I wanted to cover, this left less of a mess from over spray with the glue bottle. Then
I applied the grass over that. let dry and then vacuumed up the excess and then put a second coat of Poly. on and added more
grass as needed..
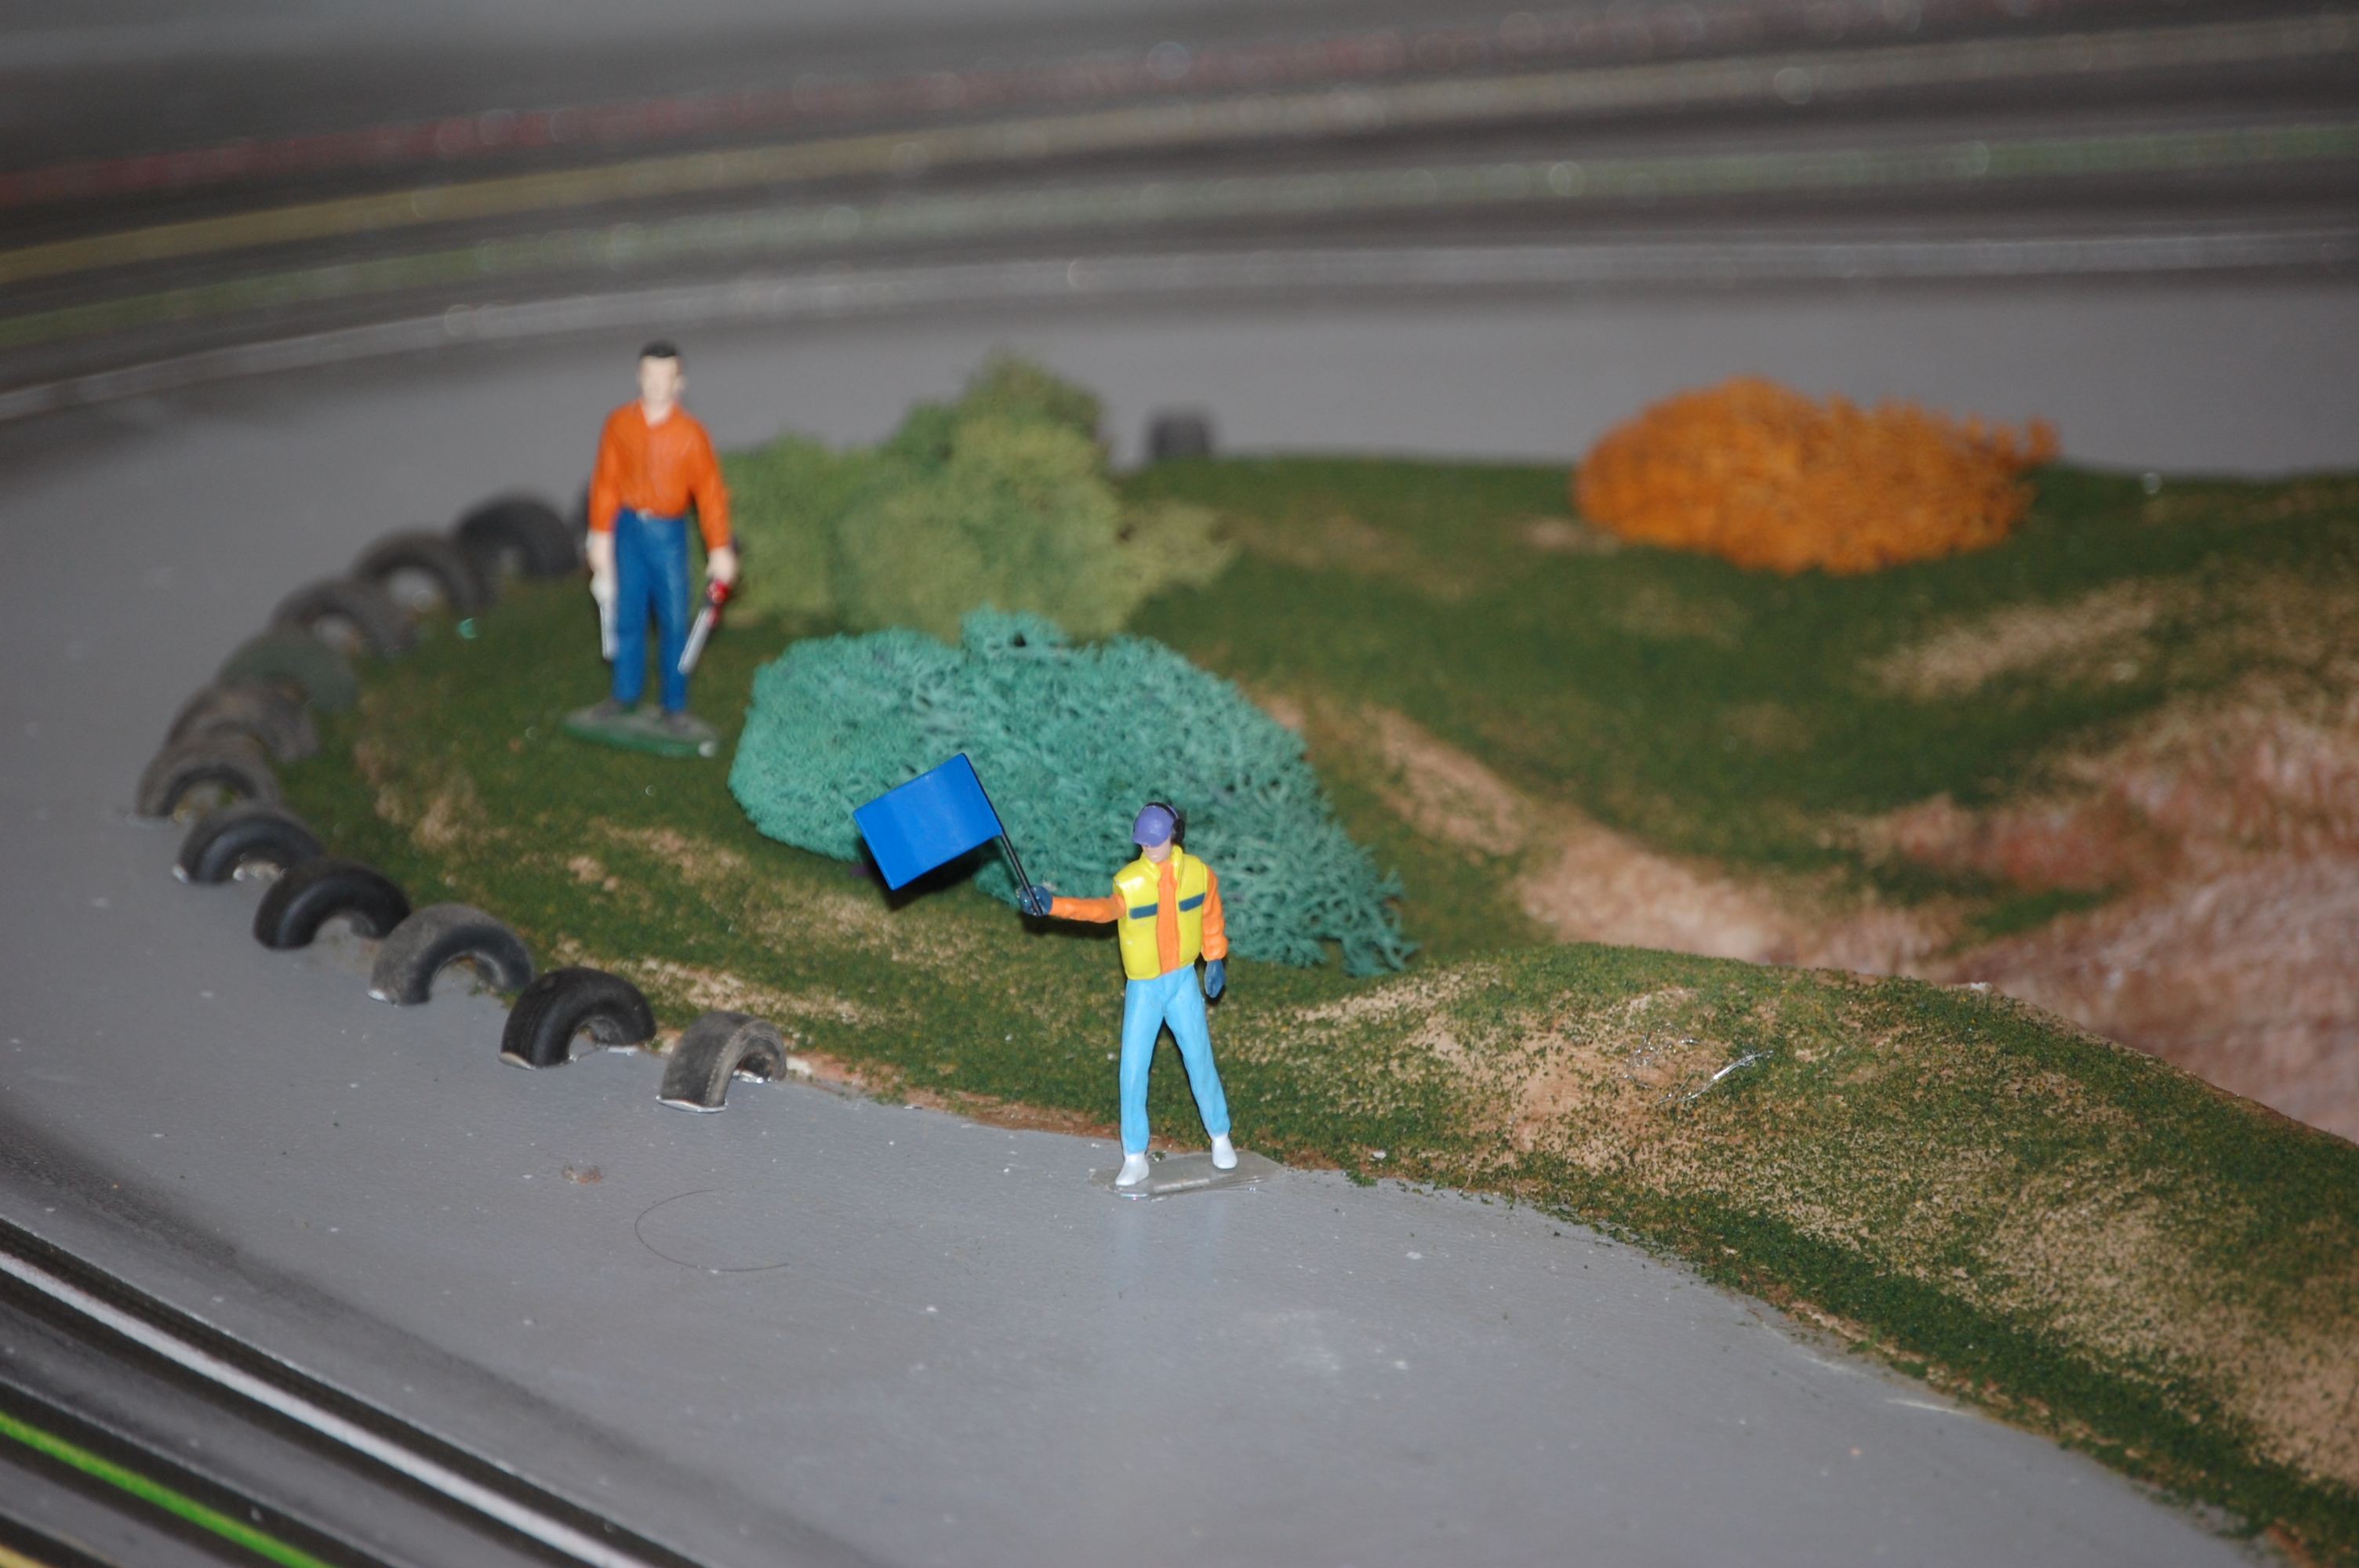
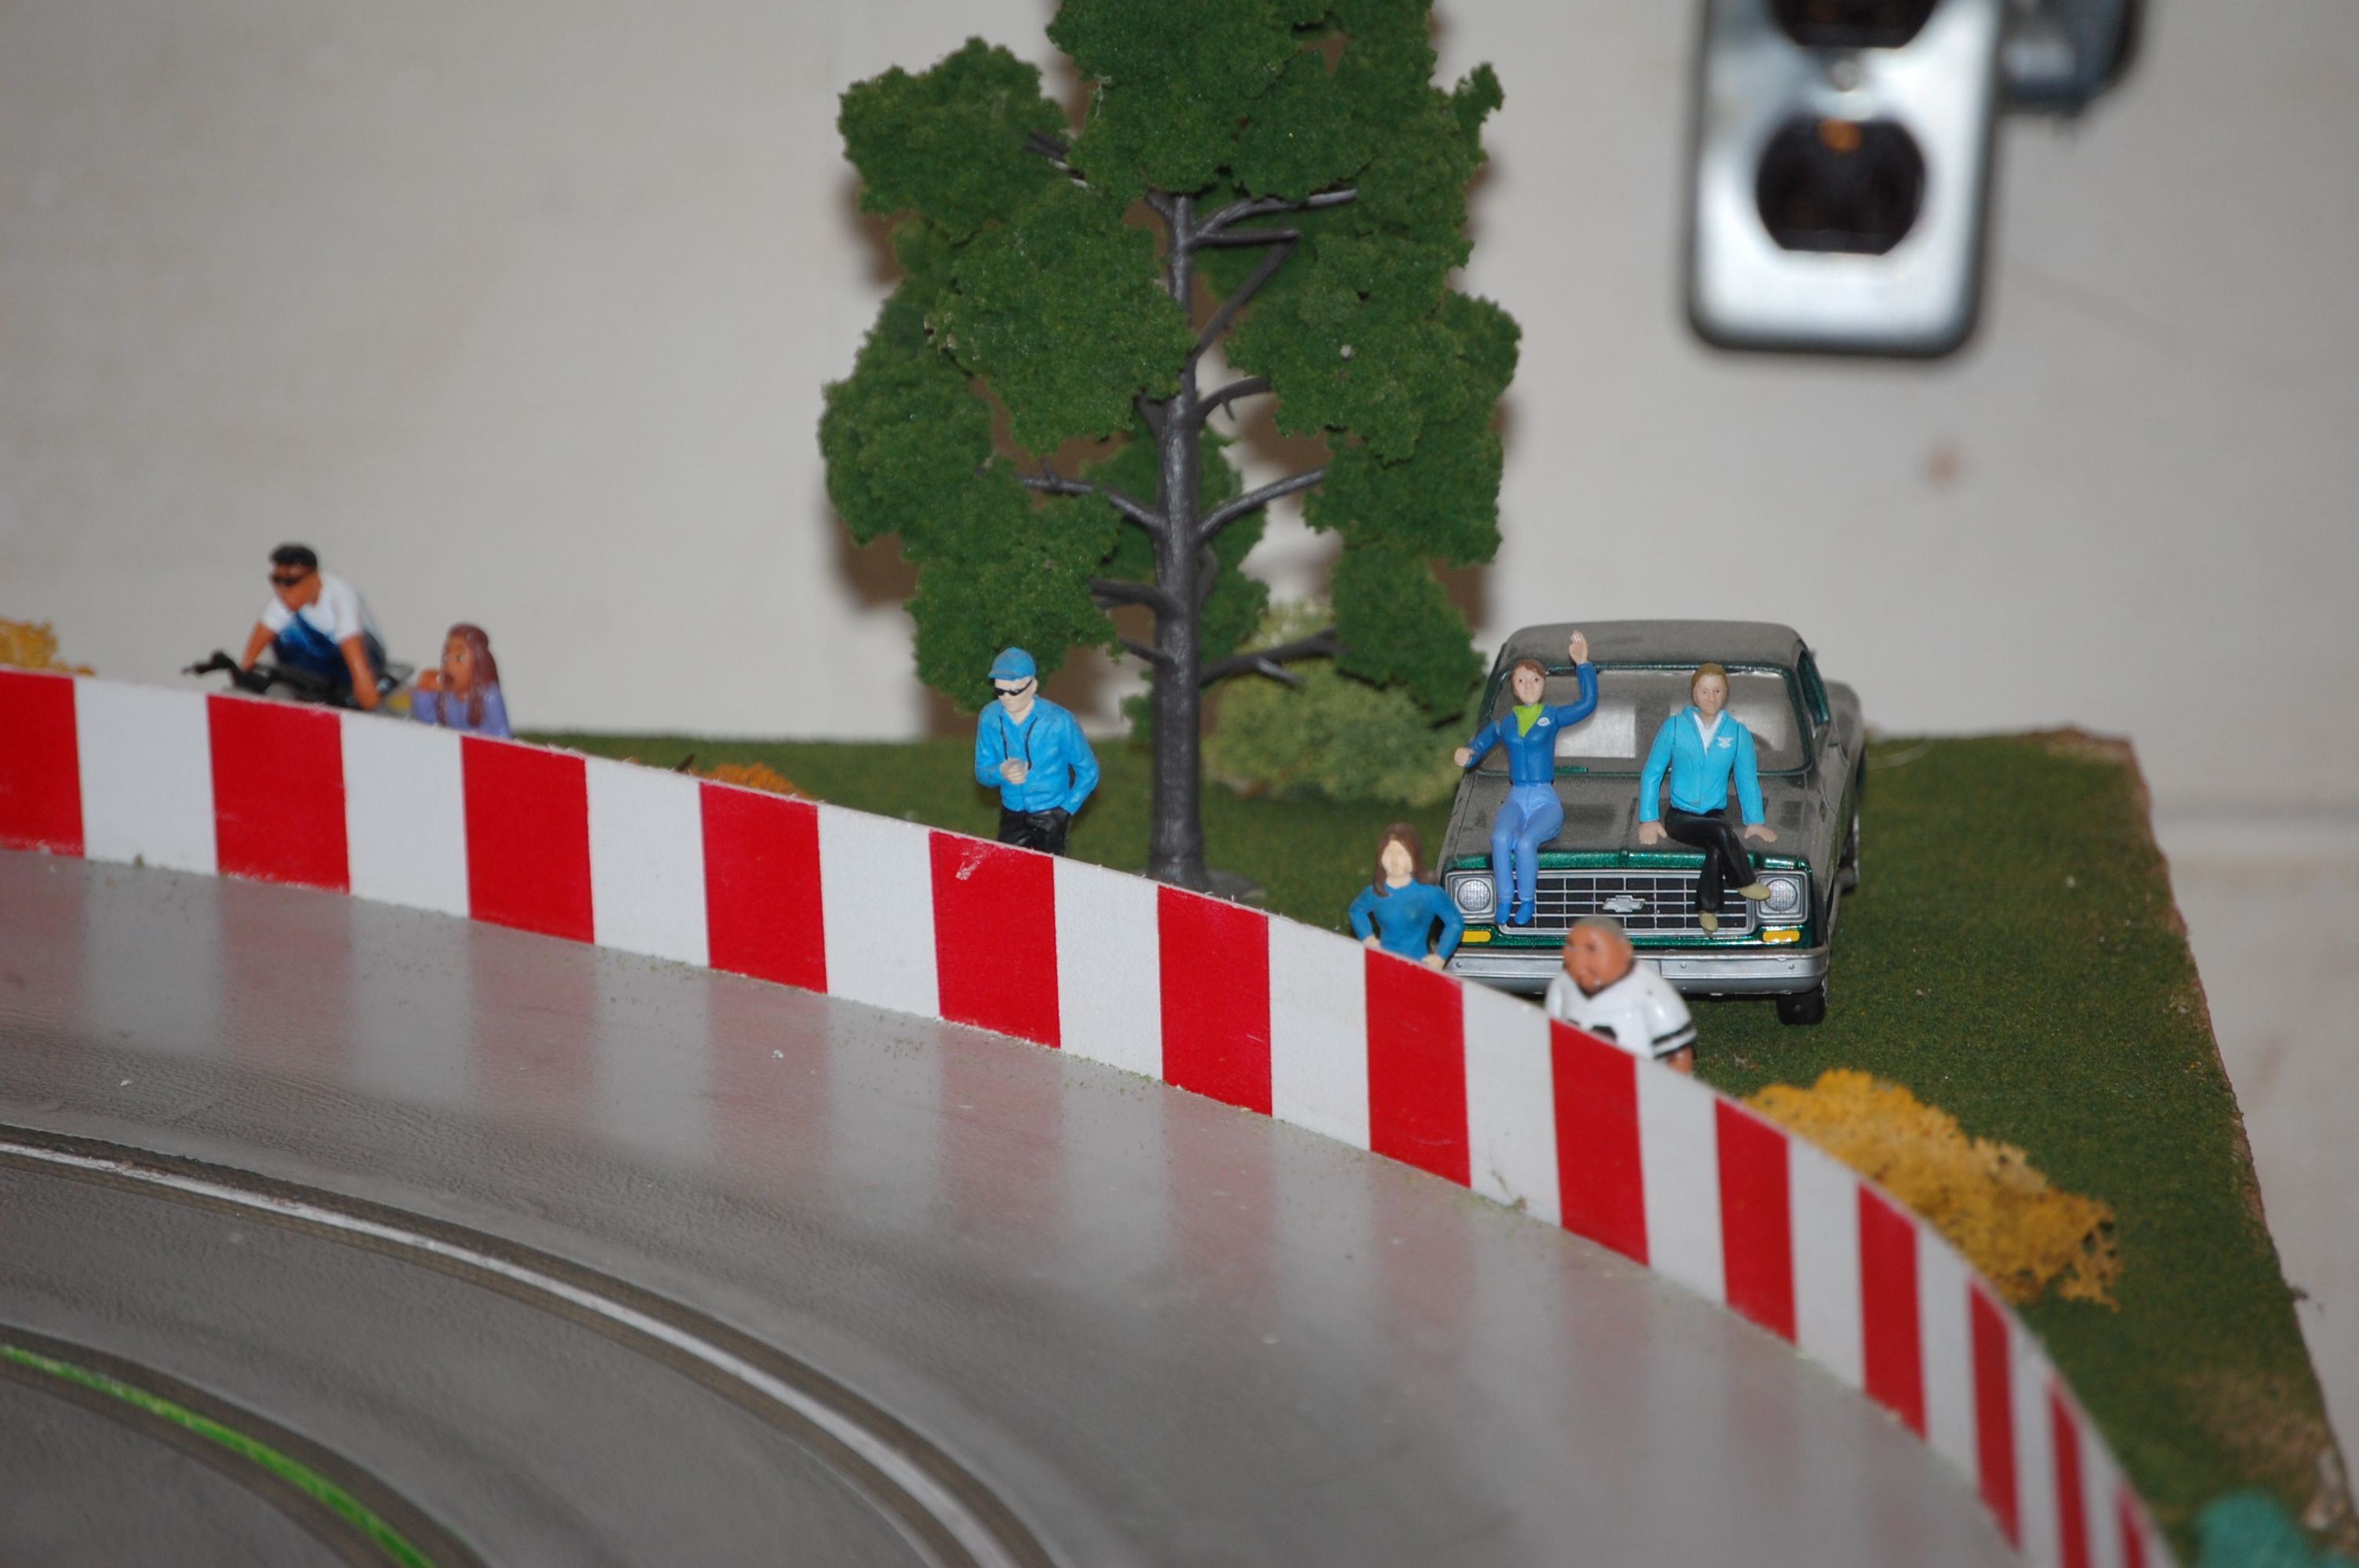
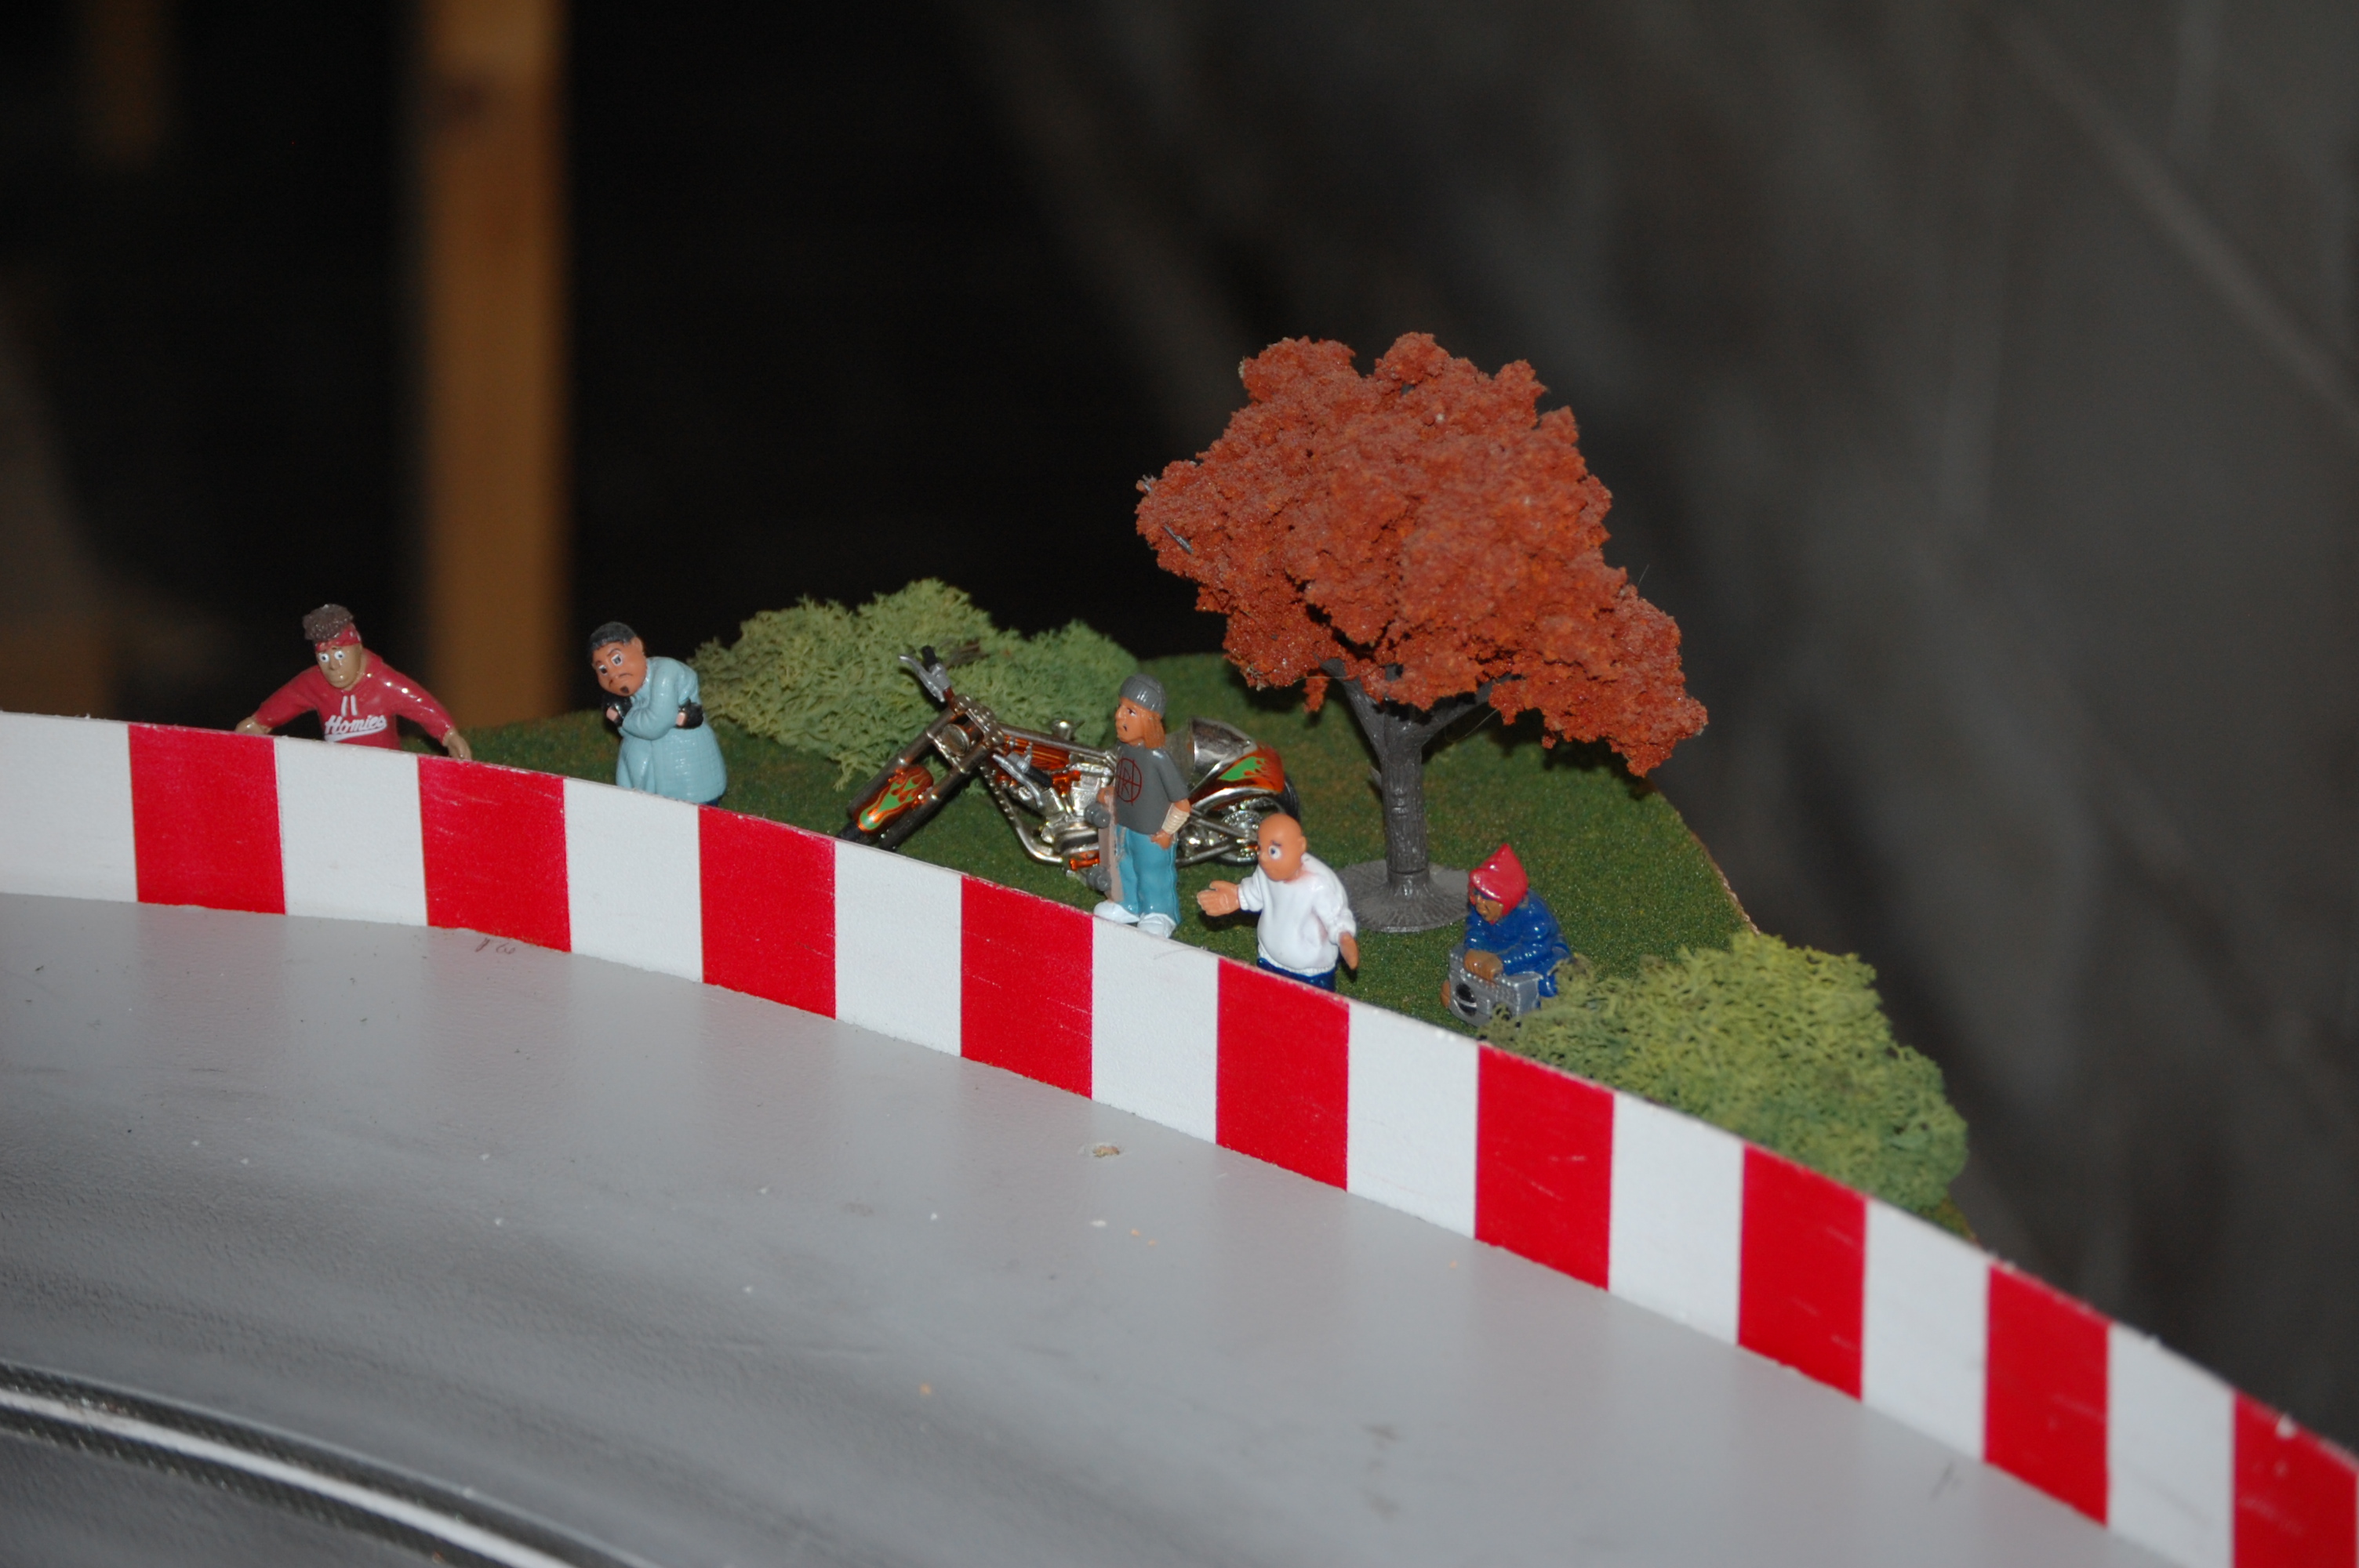
Then I started adding my people and trees and such.. Not coming out to bad so far..
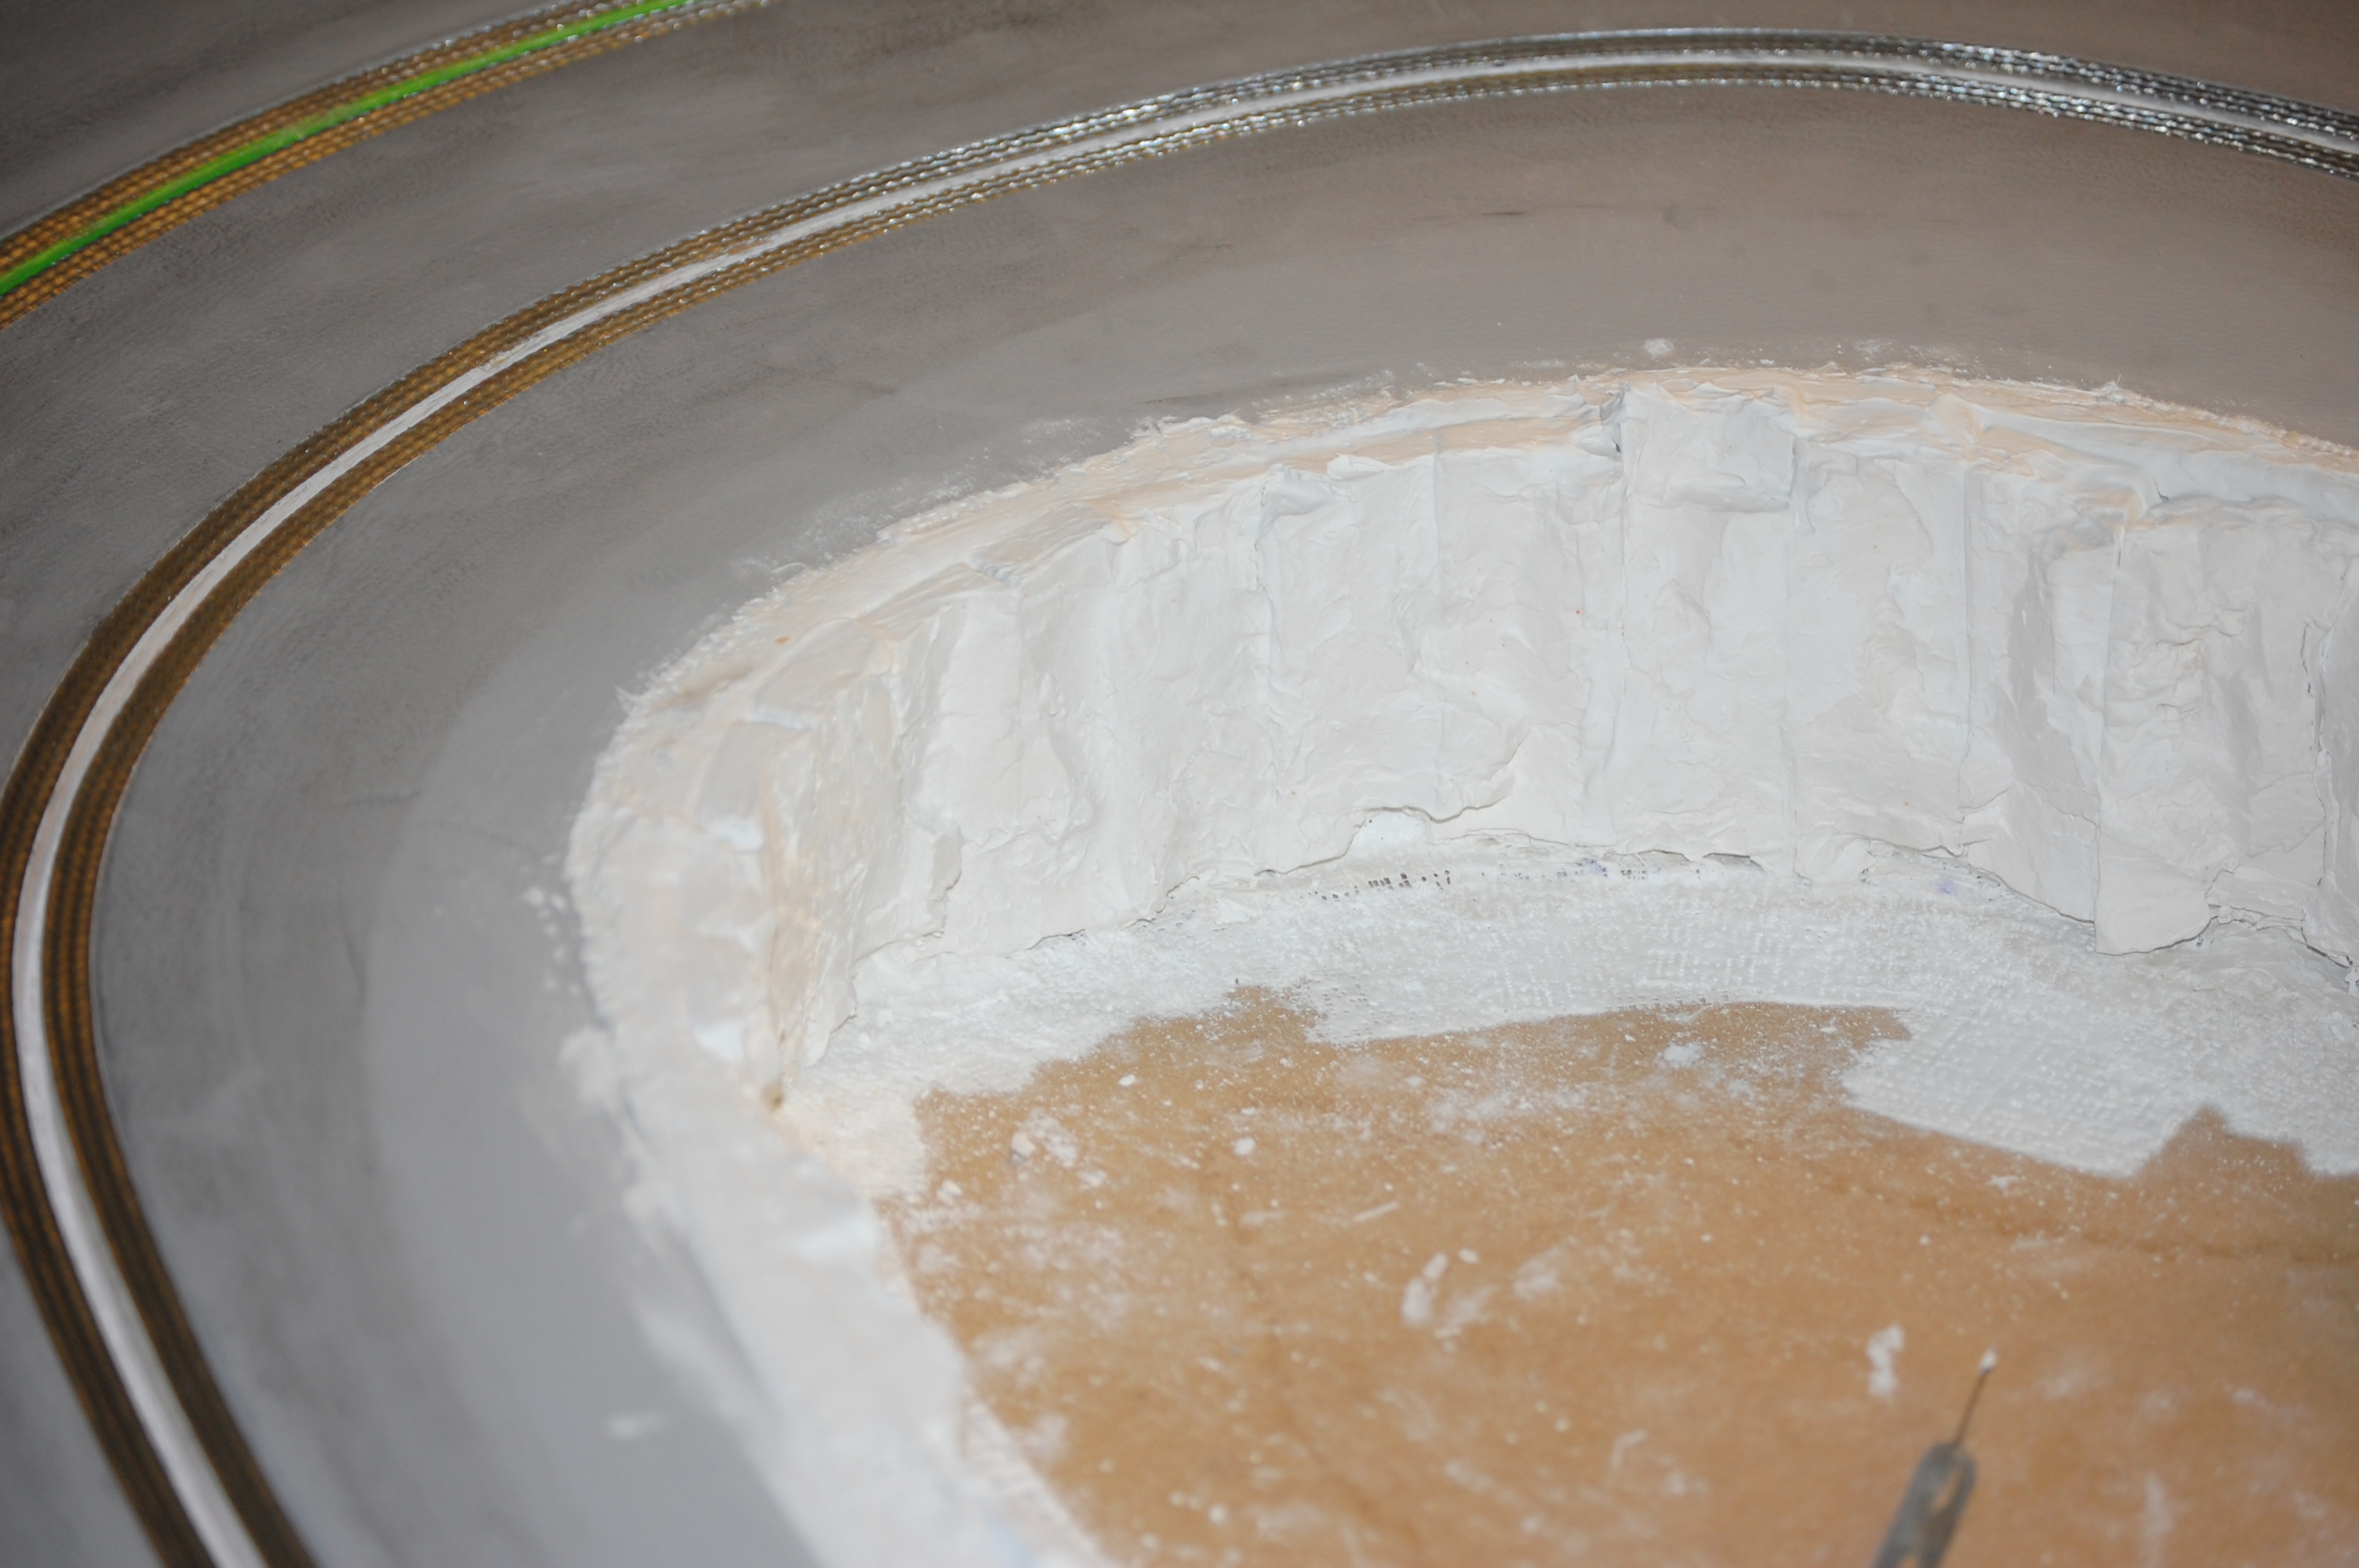
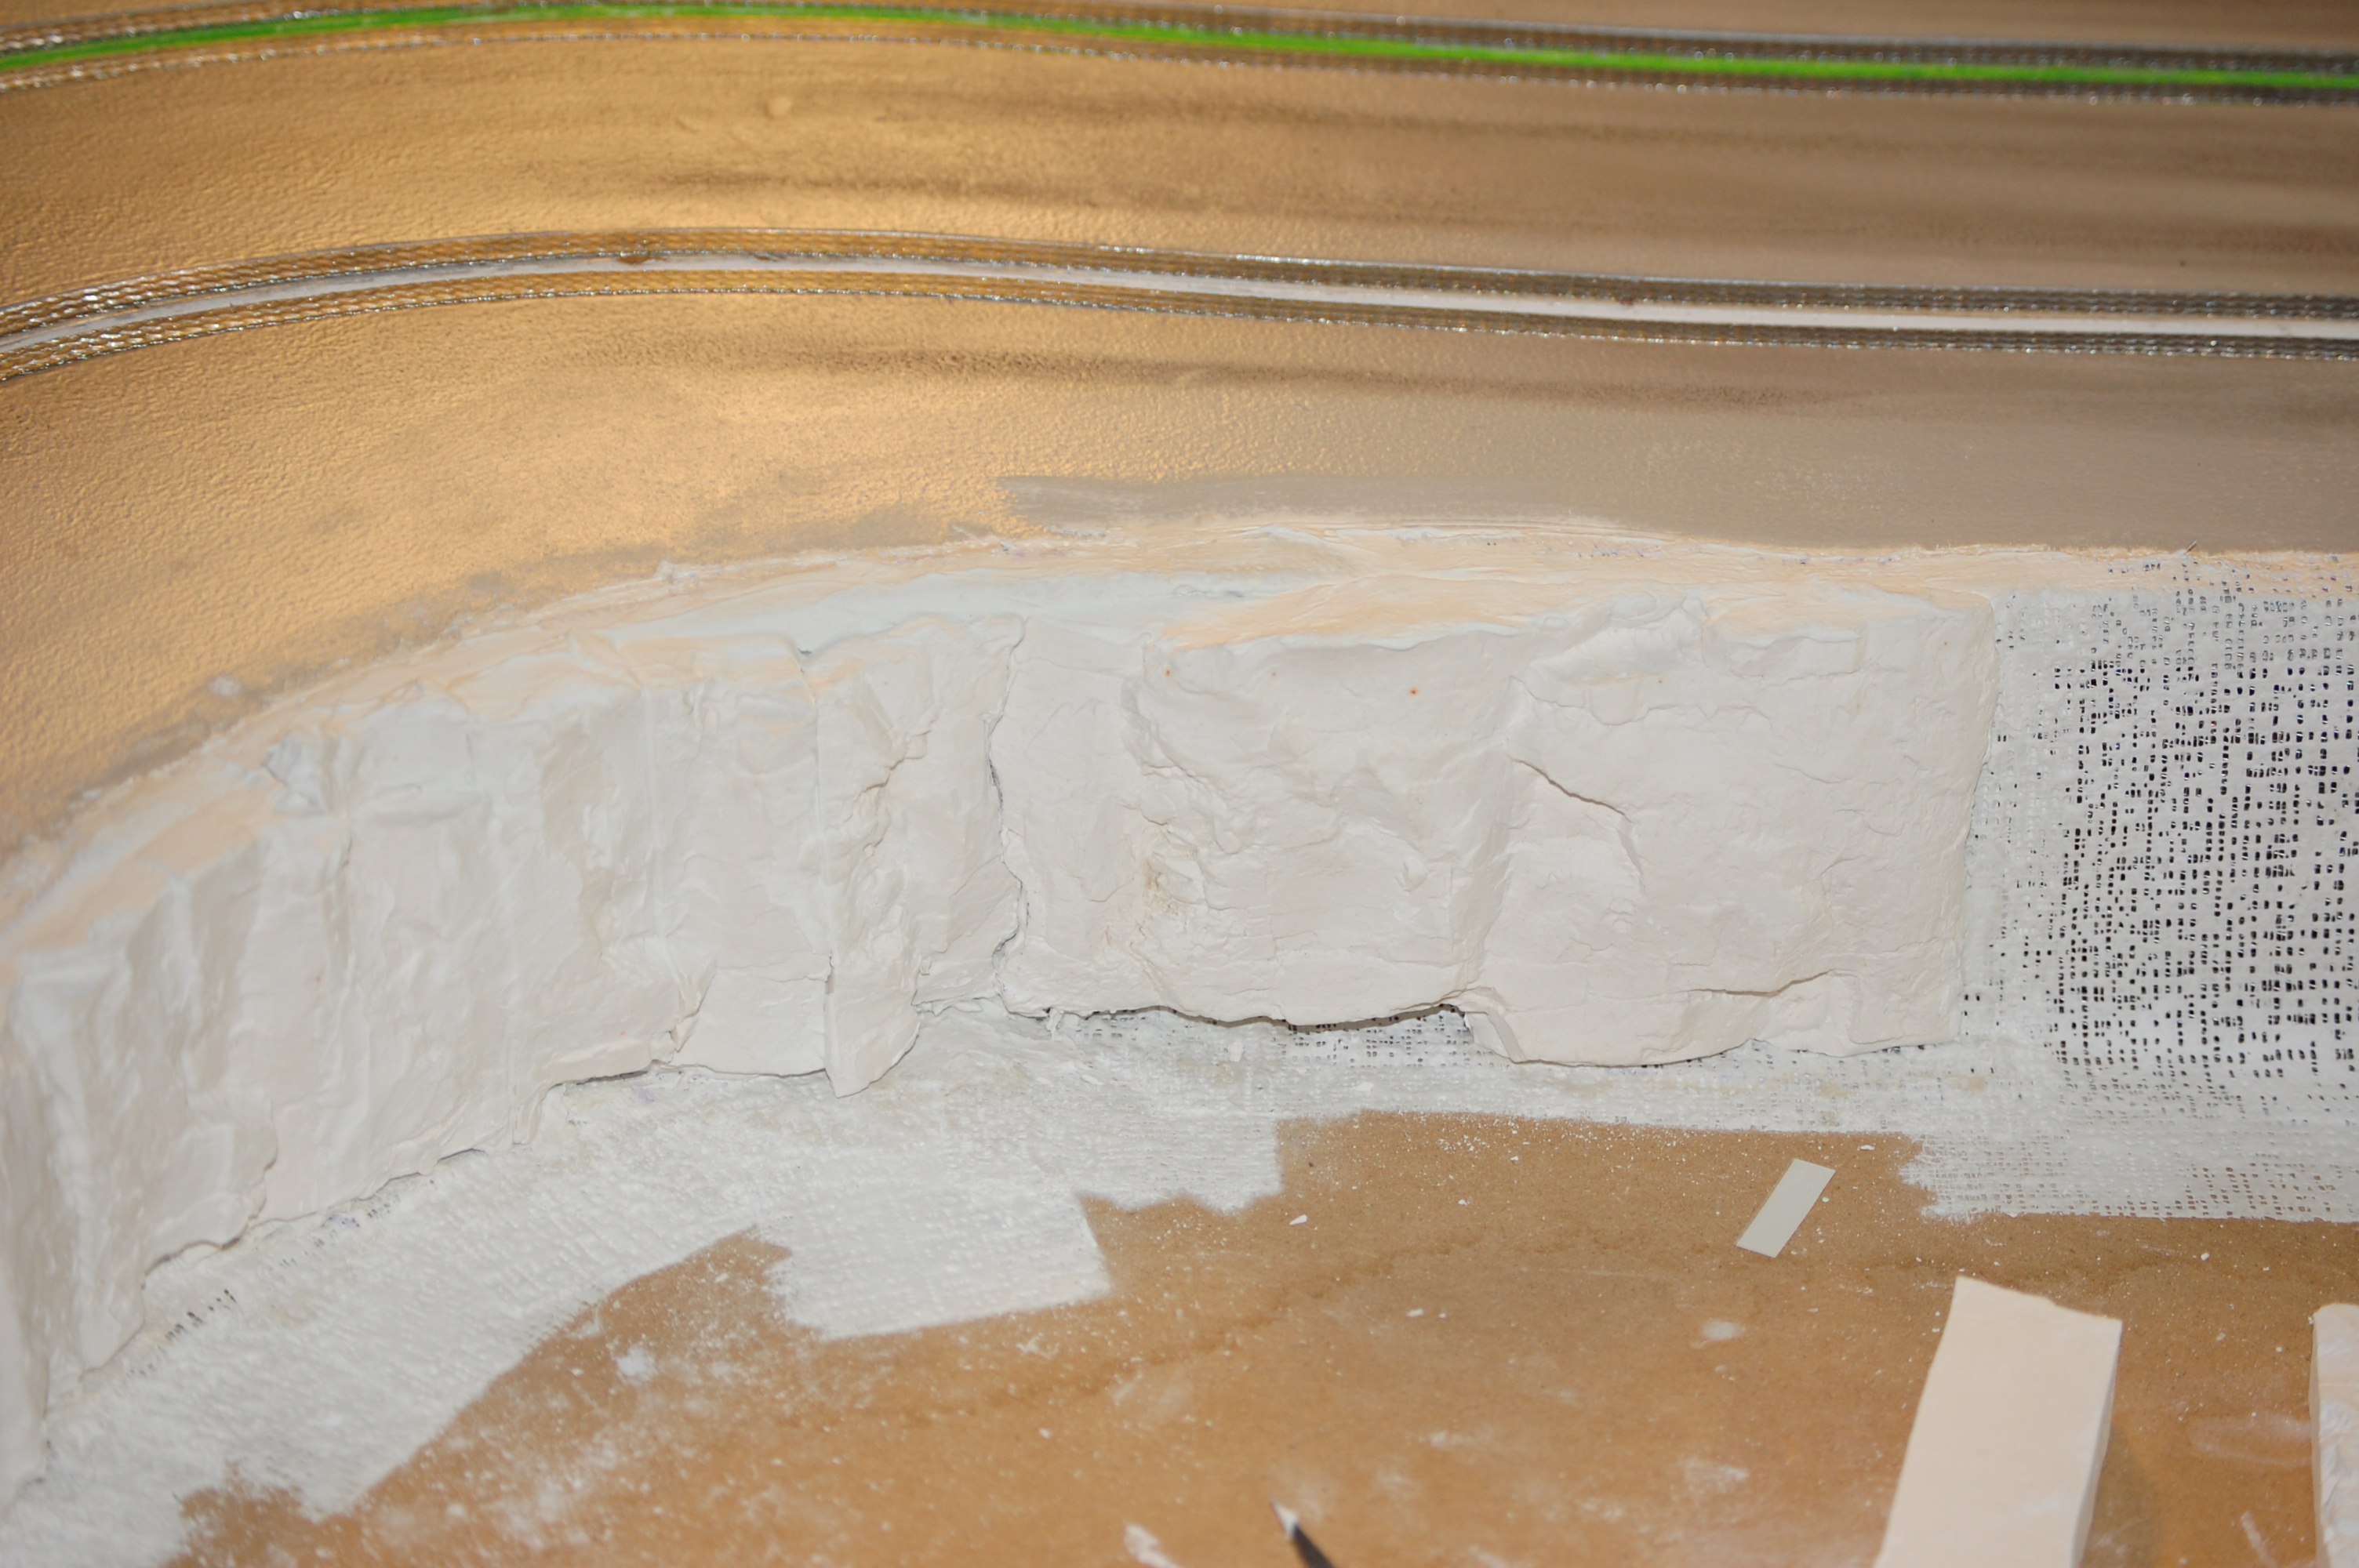
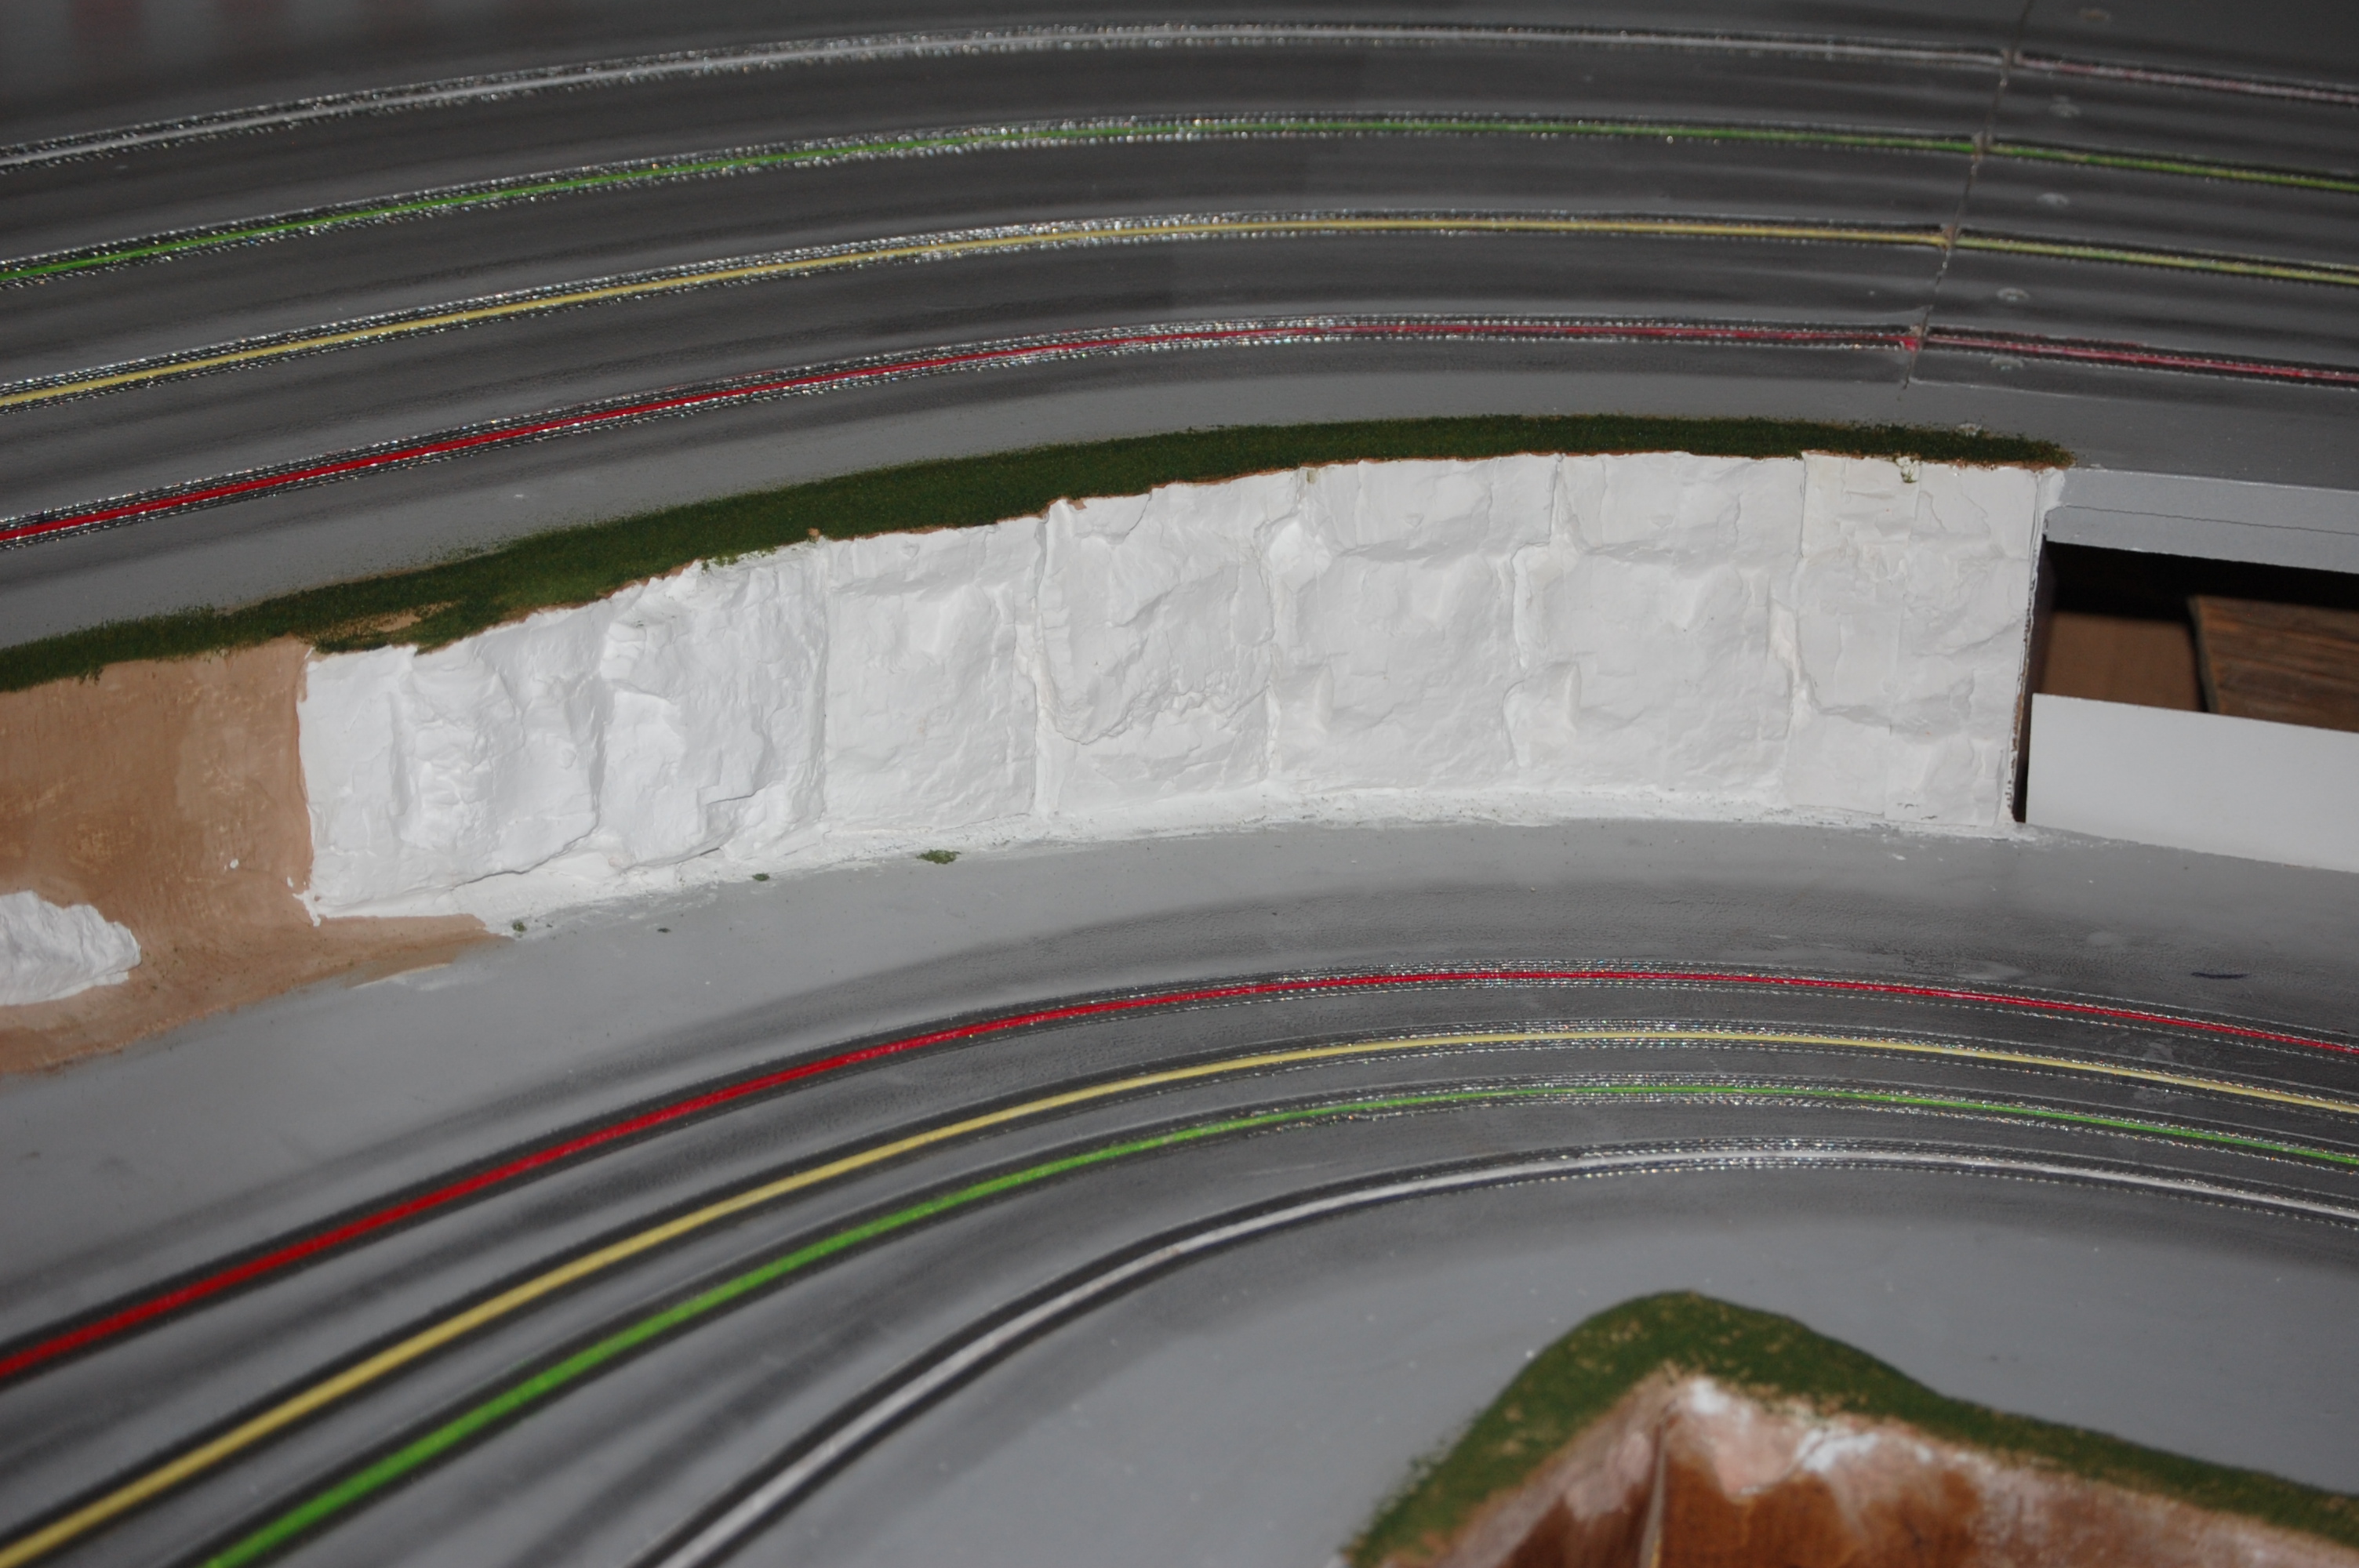
I have always admired some of the tracks that use the cliff facing on the track elevations. And thought
I would give it a try..
The molds are from Woodland Scenics. and I used their lightweight Hydrocal to make the molds. Because
of the tight radius of the turns I was working on I had to cut the molds into 1 to 2 in. strips and fit them together.
I used wall joint compound to hold the section to the wall and as a seam filler.
Now I have to take some of my extra molds and practice the wash painting to get them to look like
real rock face walls.. Woodland Scenics has a great book called " the Scenery Manual" that goes into detail on how to do the
molds and how to do the painting of the rock face.. And many other how-to articles on doing all kinds of scenery form
mountains to water falls and lakes...
Scenery Page 2
|