|
Okay so lets get building.....
The first thing you need to do is get the jig set up for the wheels base of the body you are building the chassis
for..
I do this by putting a set of tires and wheels I will be using into the axle carriers and then placing the body on them
and adjusting the jig so the tires are centered up in the wheels wells of the body
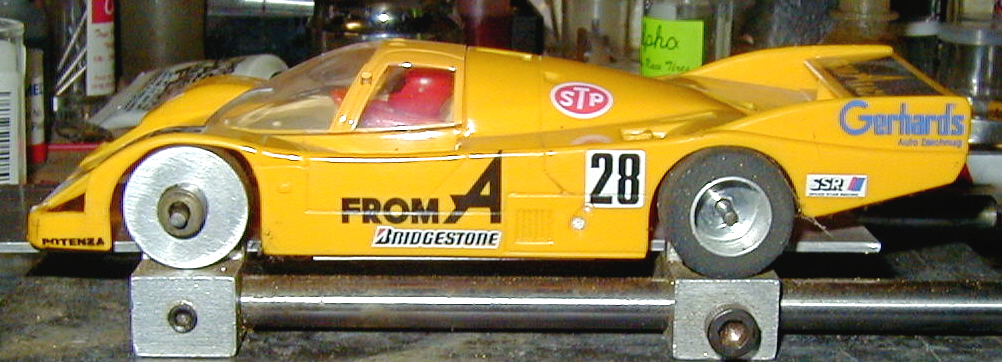
Once that is done lock the jig down and your ready to get building..
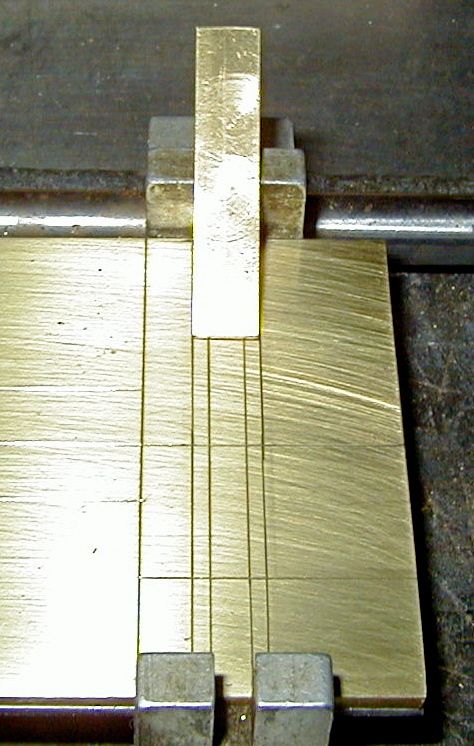
The first thing that I so to scribe the layout lines onto the main chassis plate And the first one I do is the center line
This will show me where I will be putting in the center pivot point on the torsion bar chassis I am making up. ( some of the
line are done in Ink so you can see them better)
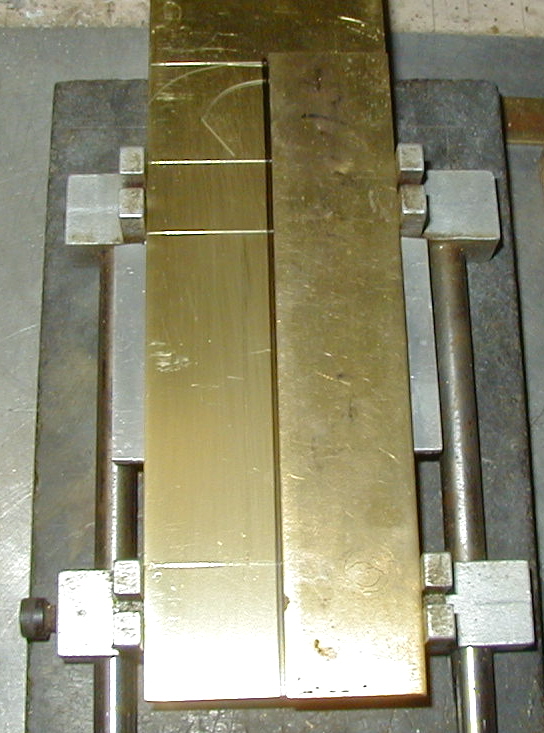
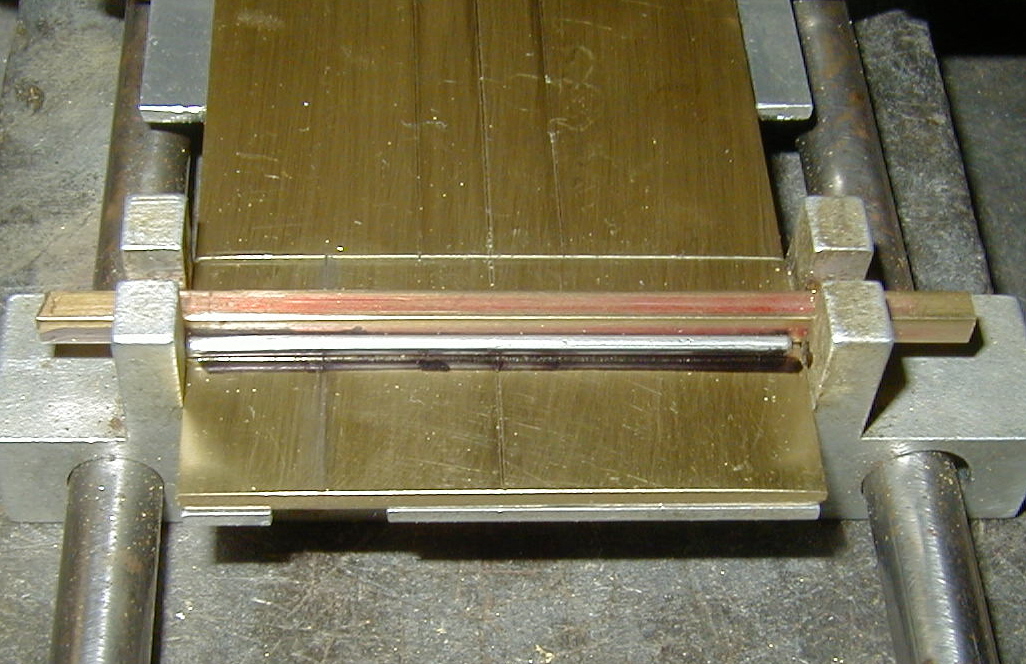
I use a 1 wide piece of the sheet brass I was talking about to add me in scribing the center line of the chassis.
Then I scribe the lines for where the torsion bars will go using a ½ wide and a ¼ wide sections of brass as my guide
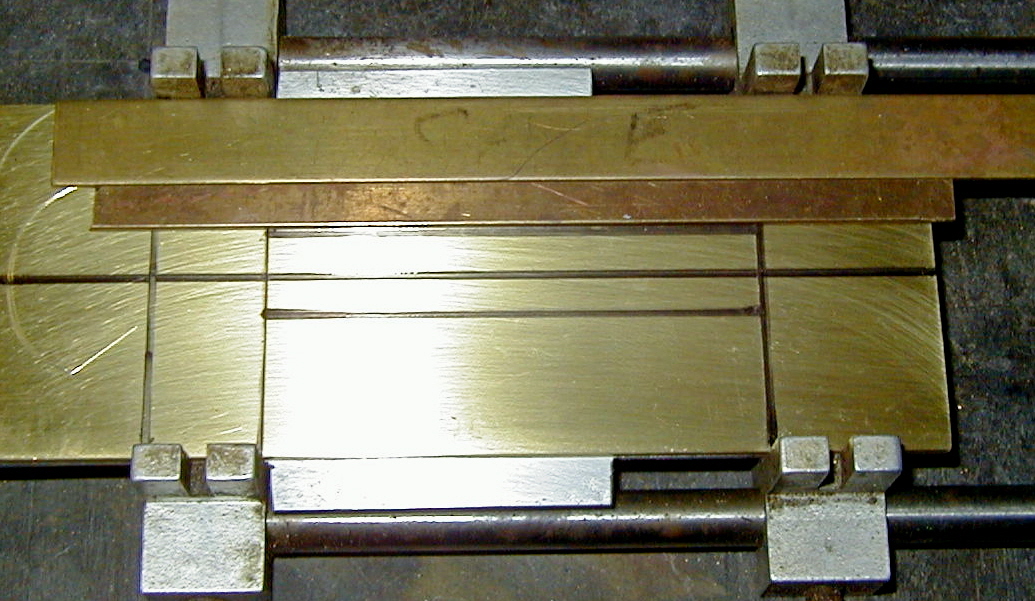
After the center line and the torsion bar lines are done, I do the layout lines for the front and rear tires opening that
will be cut into the chassis later
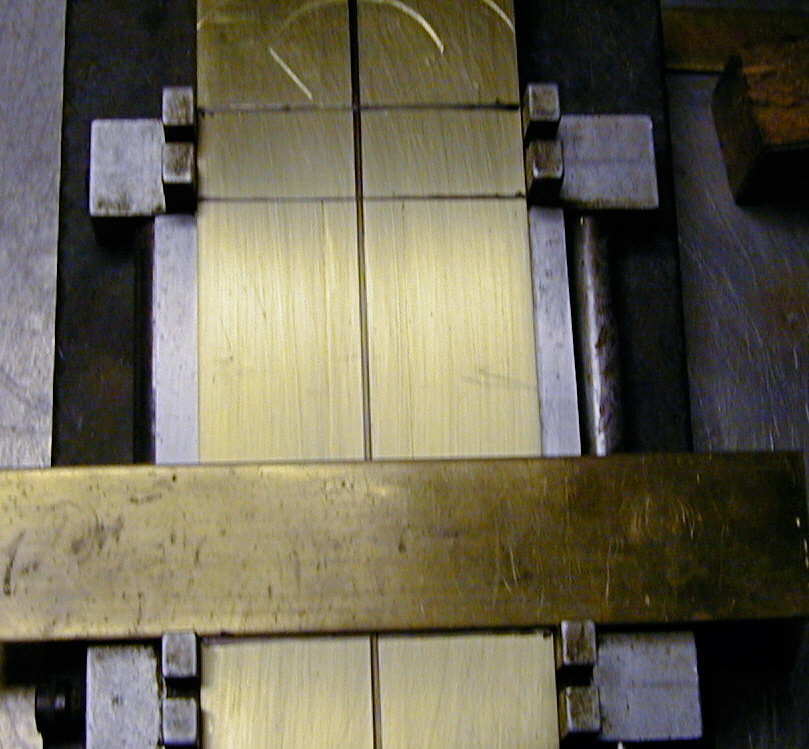
Now you can move on to doing the layouts for the front and rear pillow blocks
For this I use a 1/8 section of square brass tub and a 1/16 OD rod. Mark the front and rear.. This will give you the ¼
area that you will be cutting out later..
As you can see this will be a perfect match for the ¼ wide stock you will be making your pillow block out of ..
(more on how to make the pillow blocks up later)
Building 101 page 3
|