|
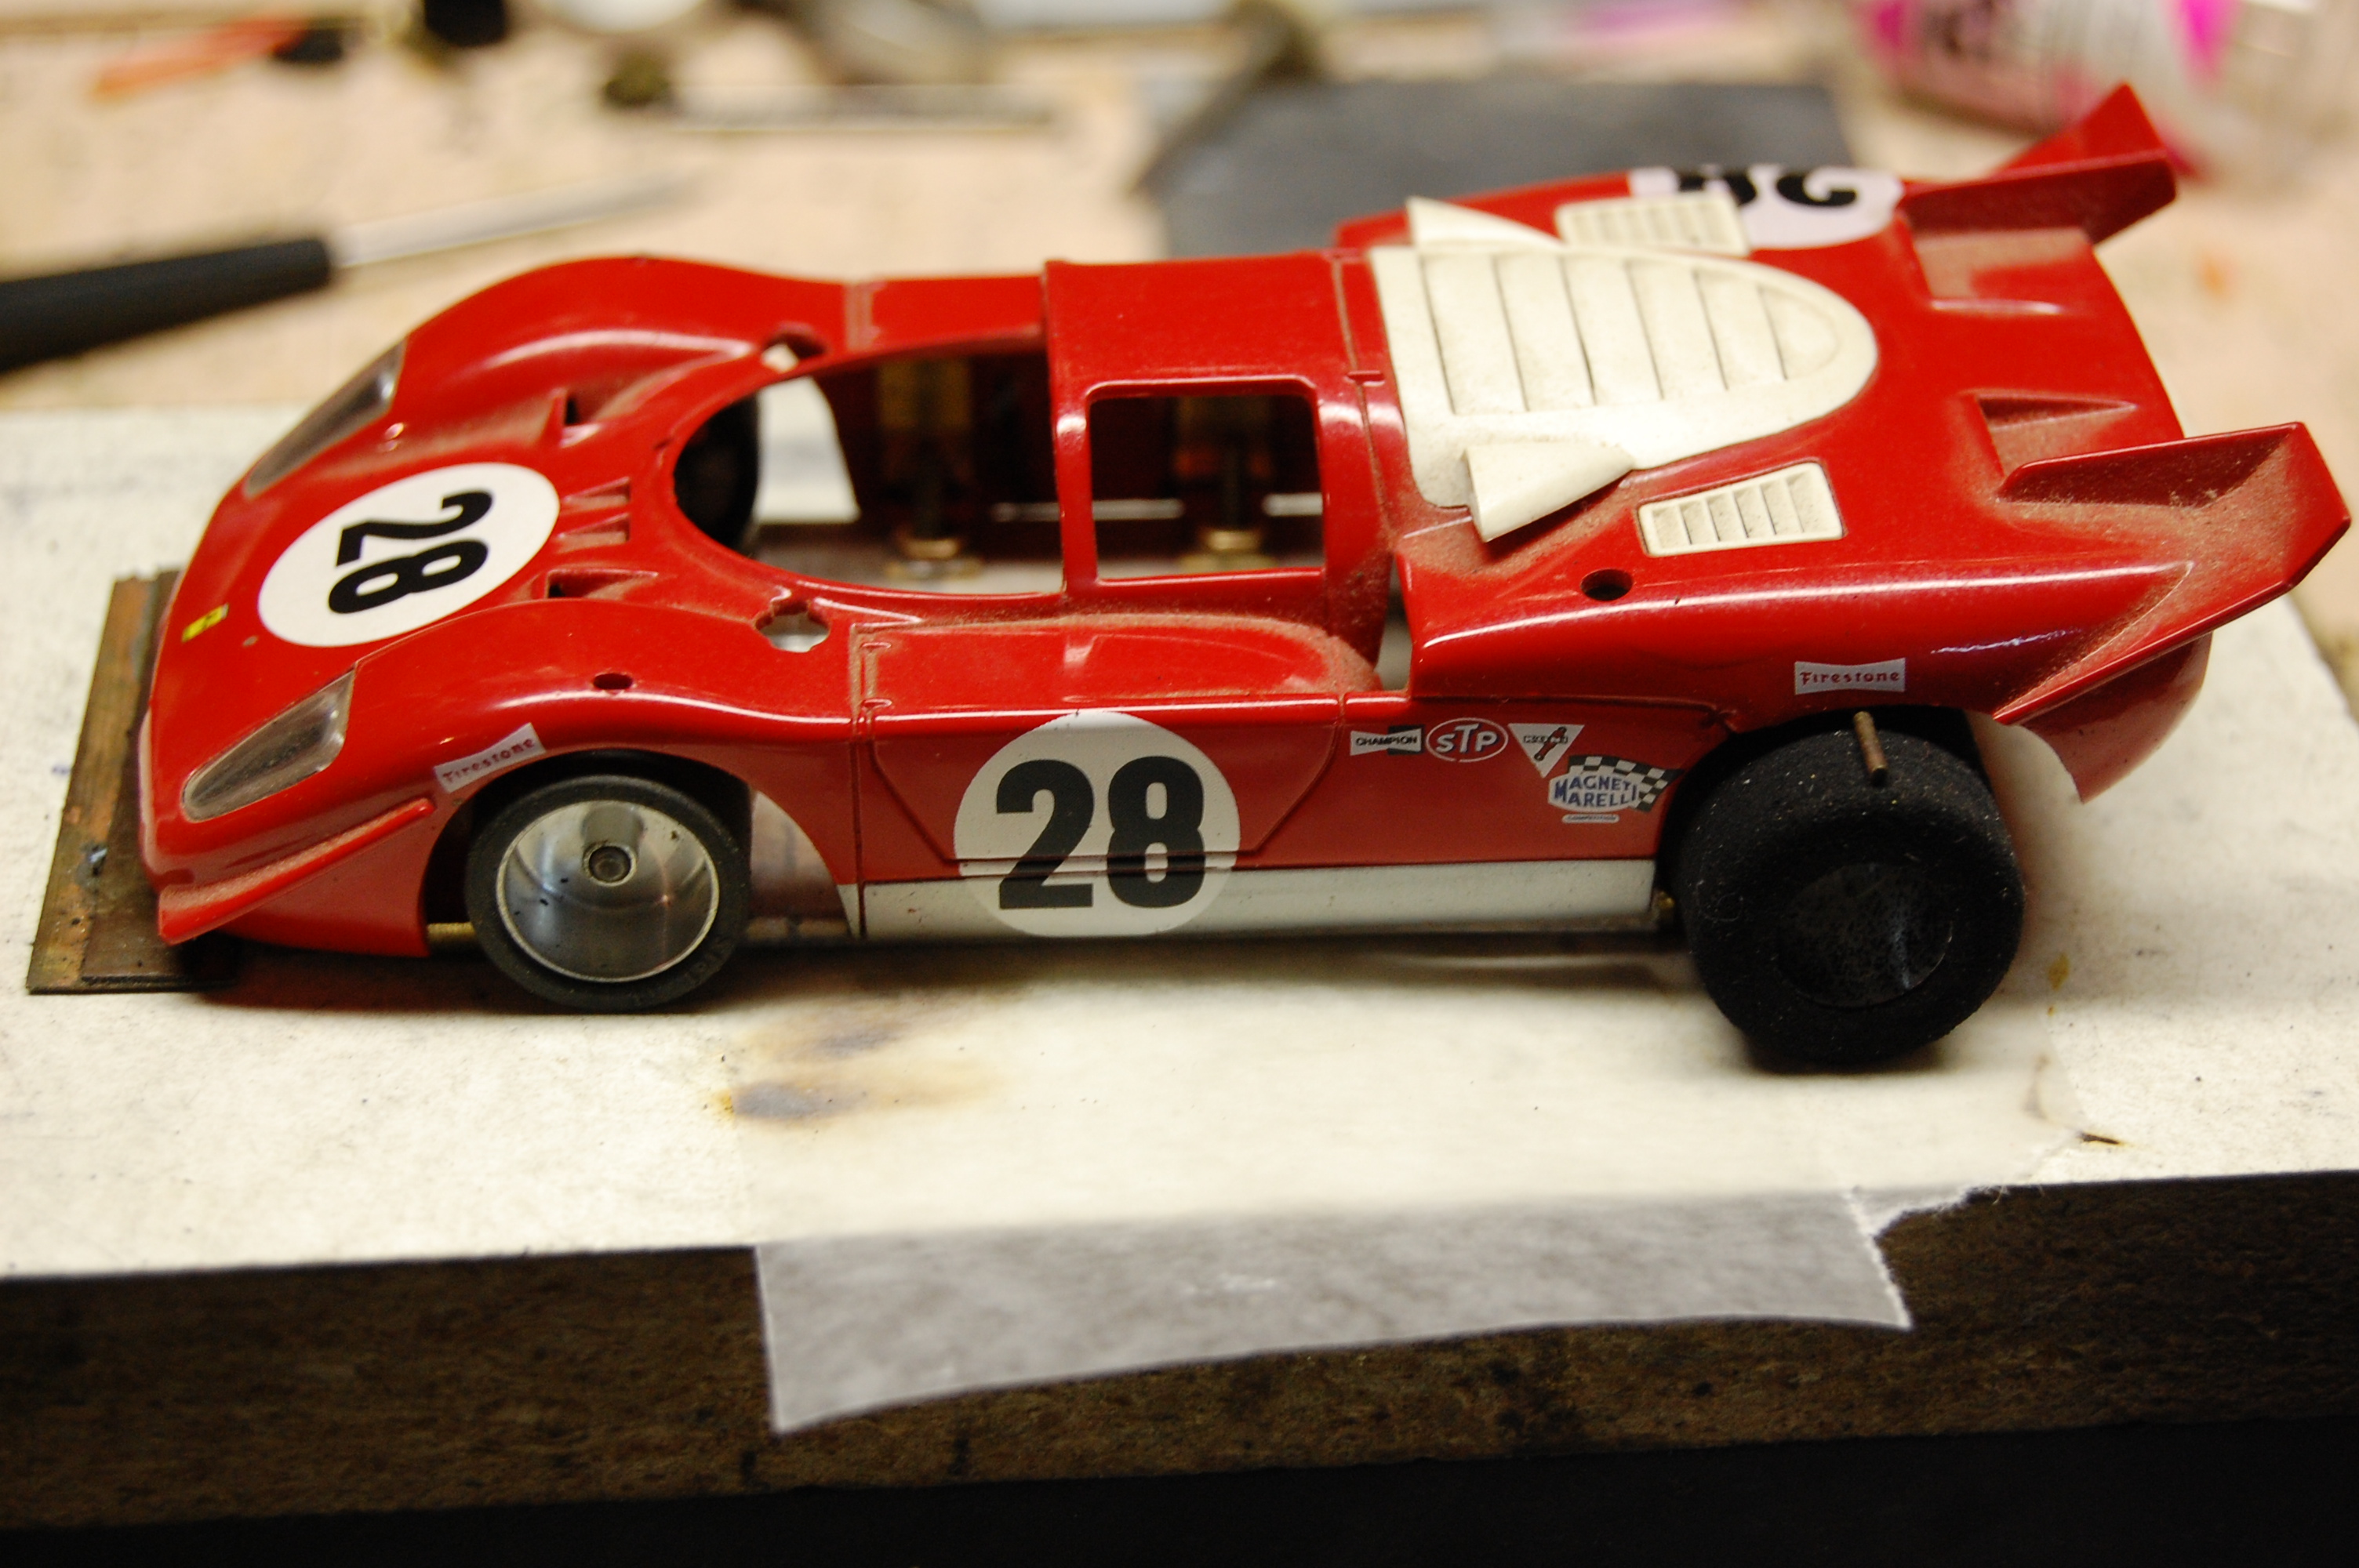
Now take
the body and mark where the brackets will go on the body.
Now lay the body on its side and put some epoxy where the brackets will be located.
I use a Q-tip to apply the epoxy. Cut one end off and use the shaft of the Q-tip to scoop up the epoxy and apply it.
Now pick
up the chassis and apply epoxy to the brackets on the opposite side.
Now hook
the body over the chassis on the side that has the epoxy on the inside of the body and if needed stretch the body over the
side of the chassis that has the epoxy on the brackets and fit the body to the chassis.
Remember
you have 5 min. to get this all done..
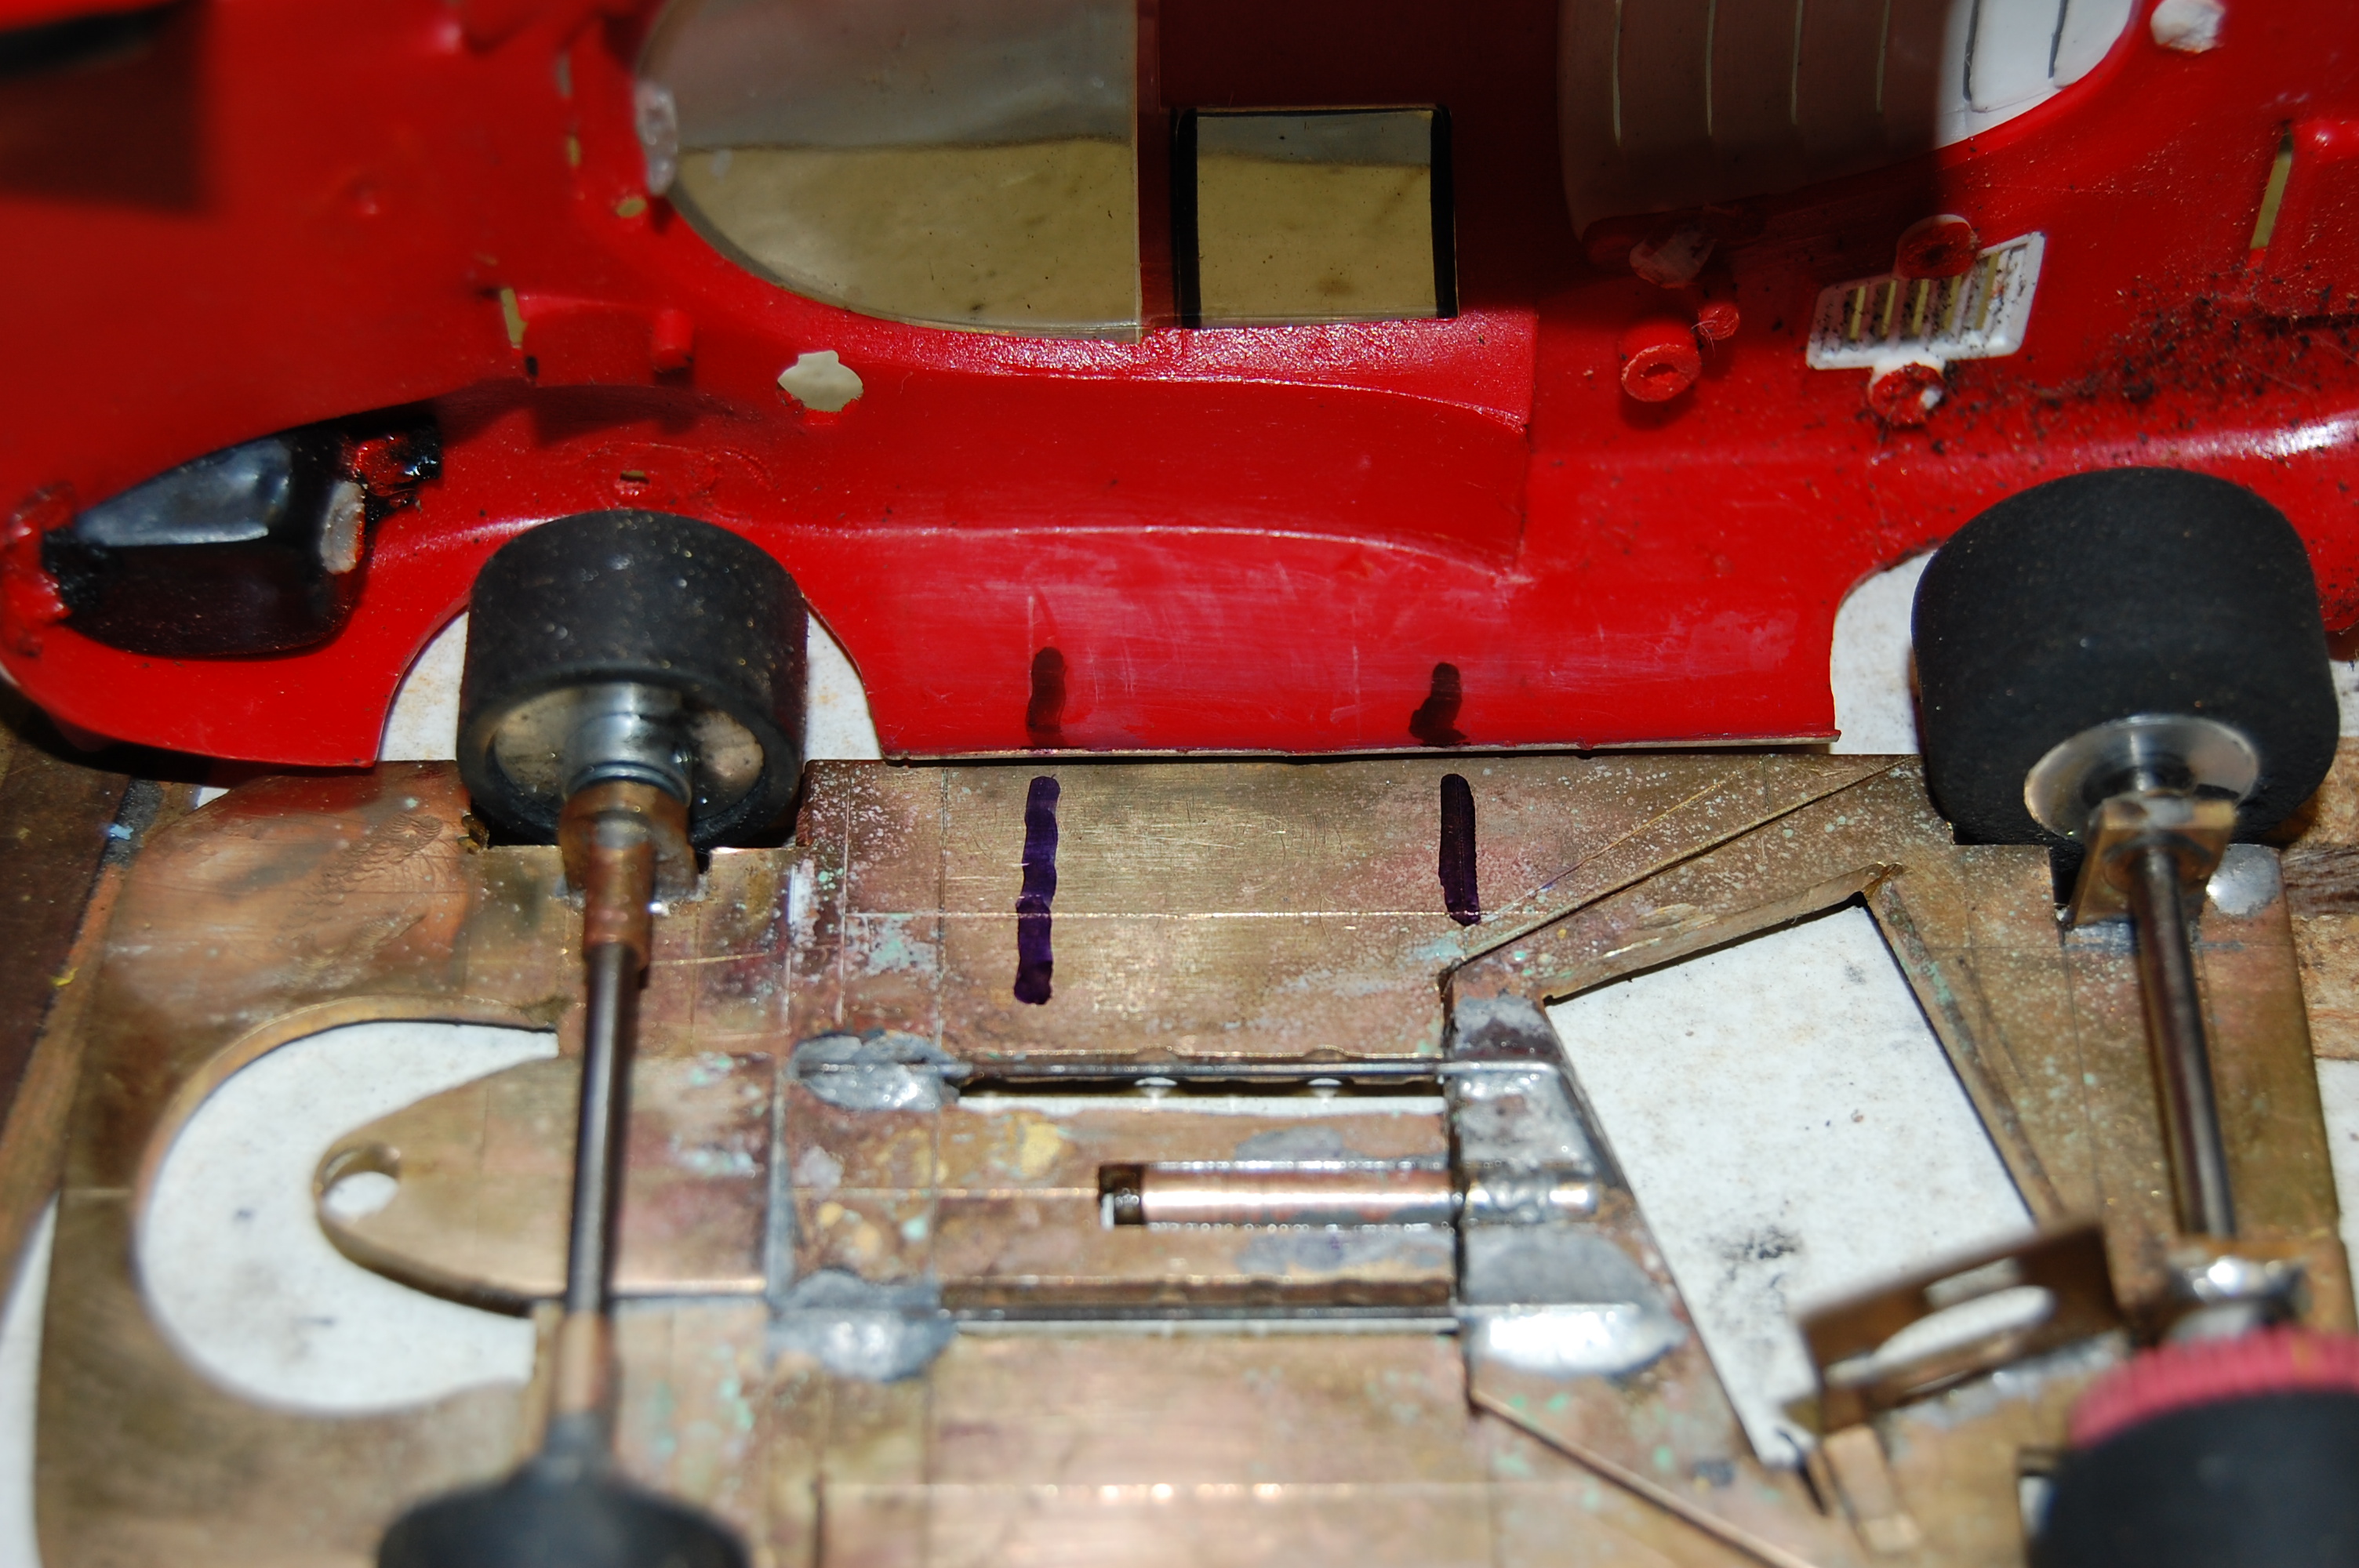
Now sit
the chassis and body down and get your wheel well clearance rods in place, set your clearance and the make sure the
body is centered on the chassis and the tires are centered in the wheel wells.
Now let
dry. You will see that the epoxy will fill in the space you left between the
brackets and the body, and that the epoxy will run down the brackets and most of the time run onto the wax paper.
This is
normal and nothing to worry about. We will clean that up at the end.
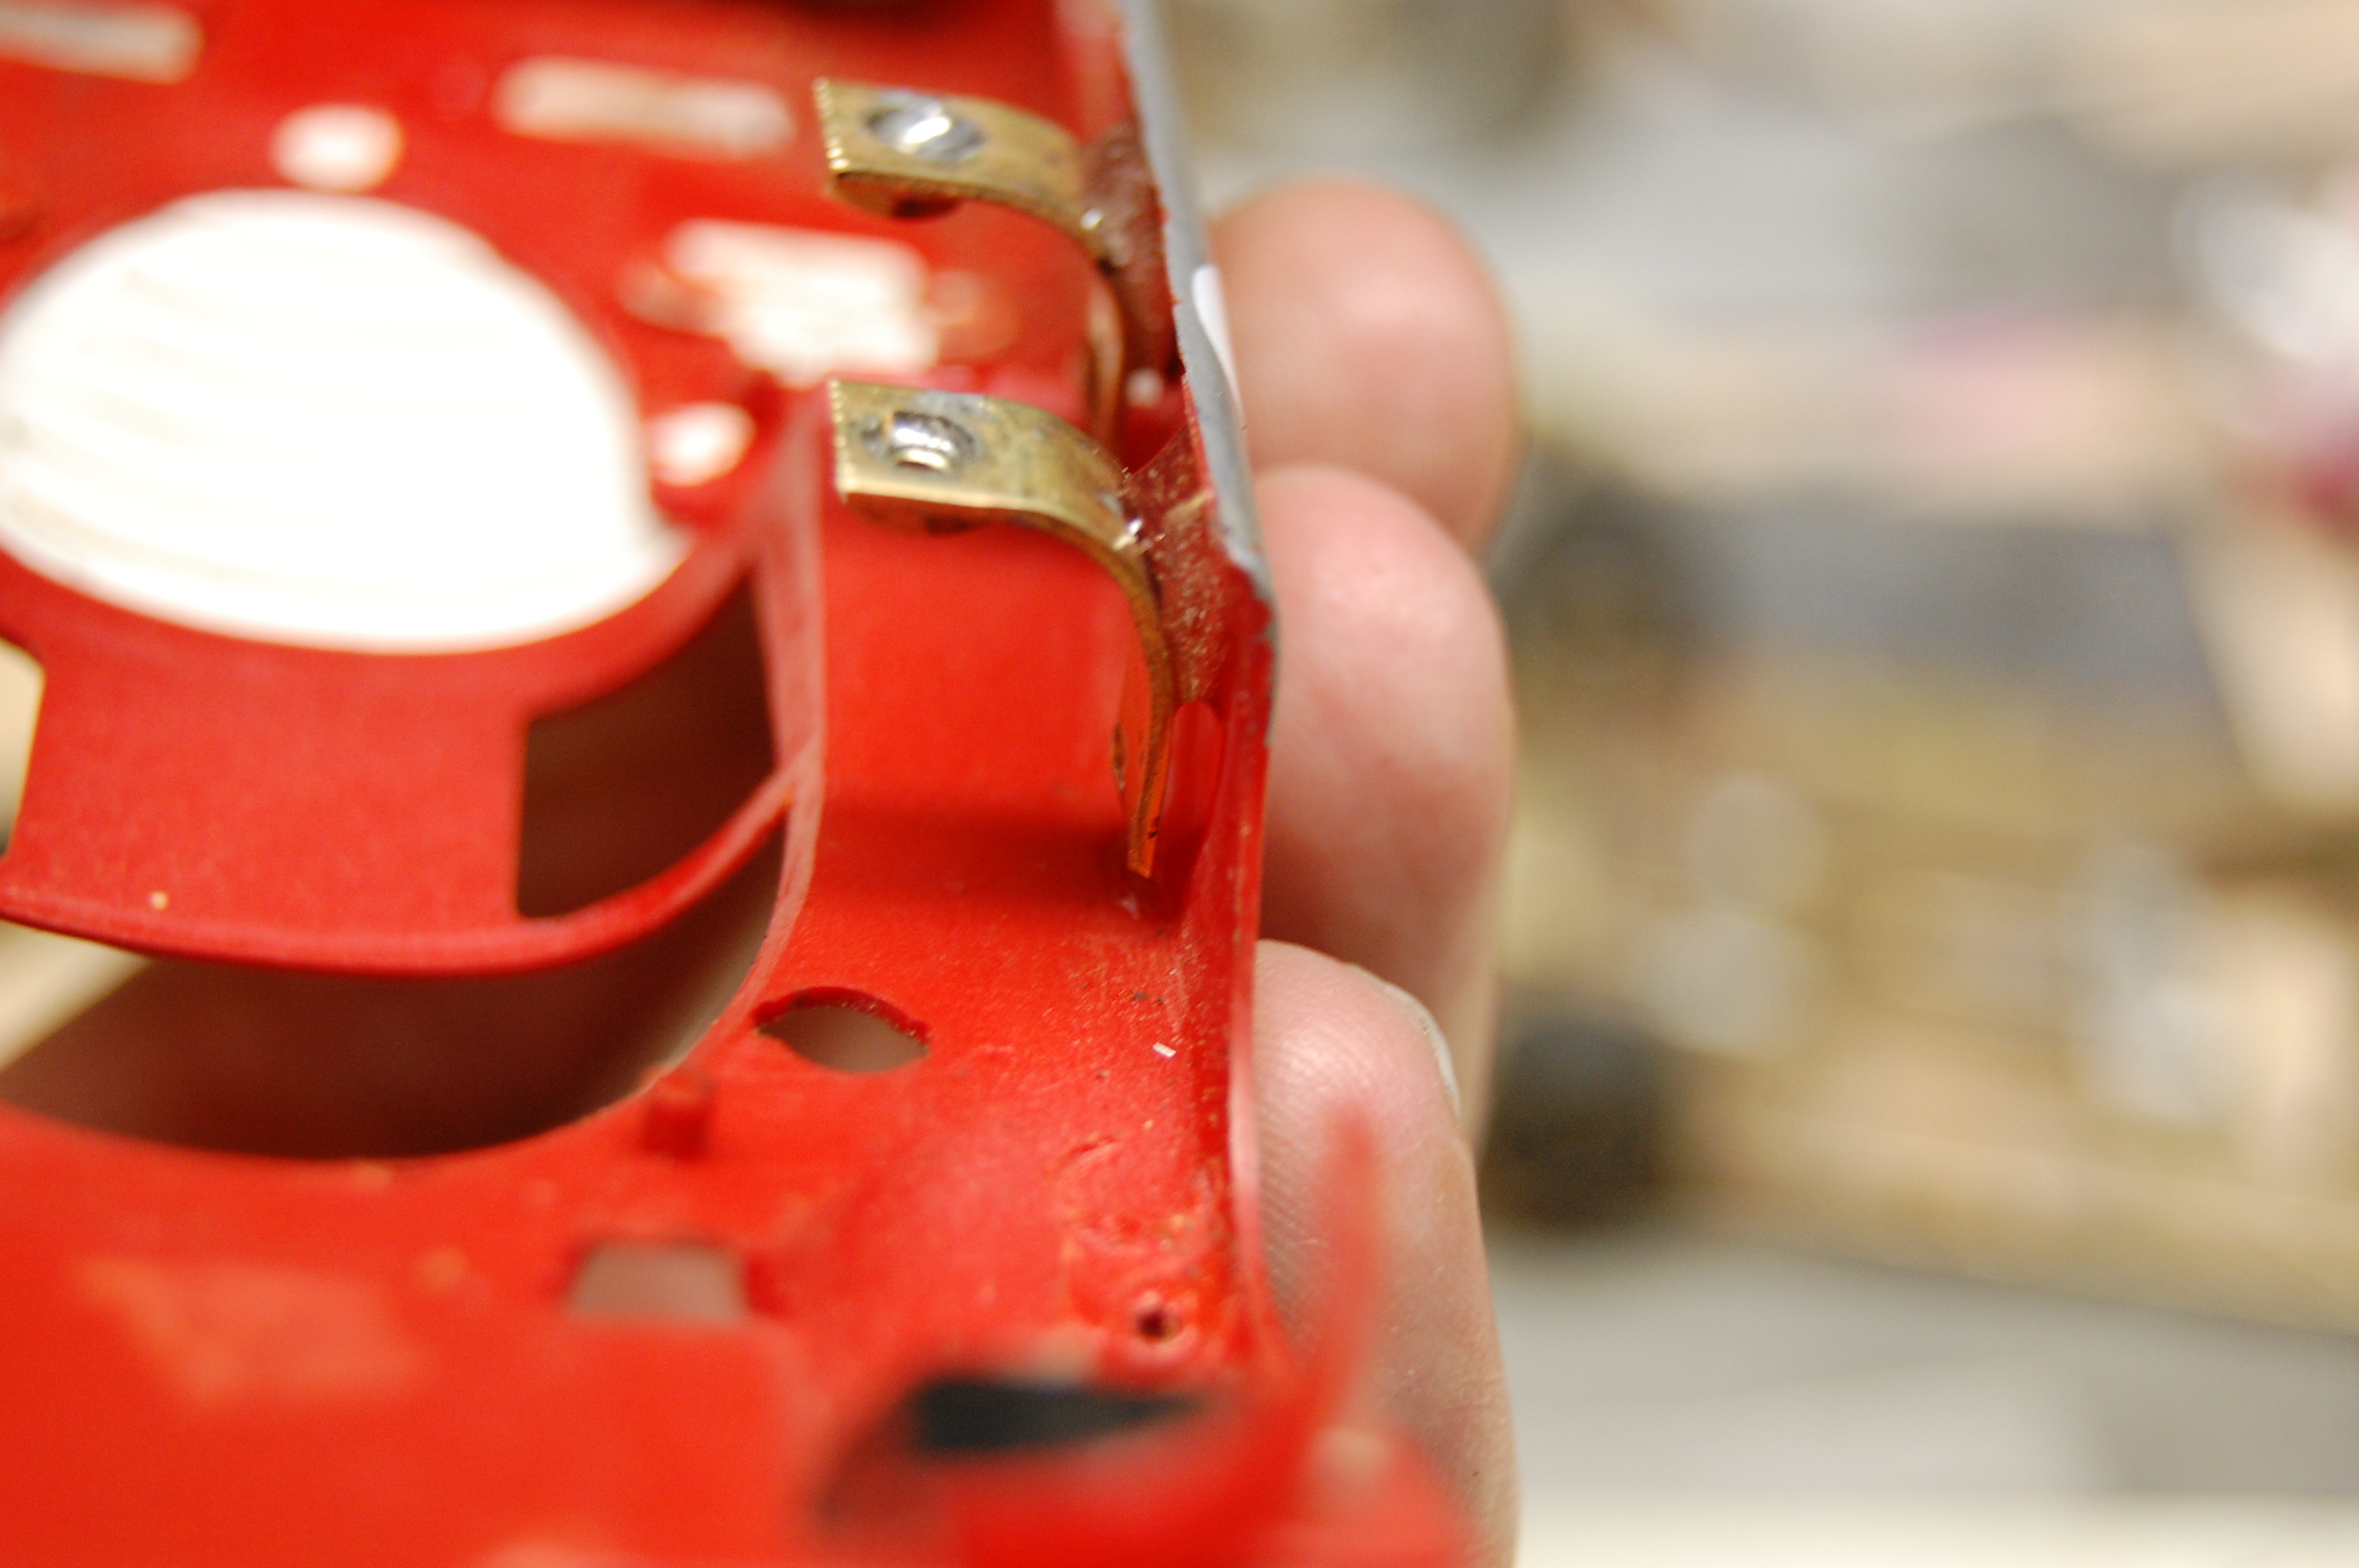
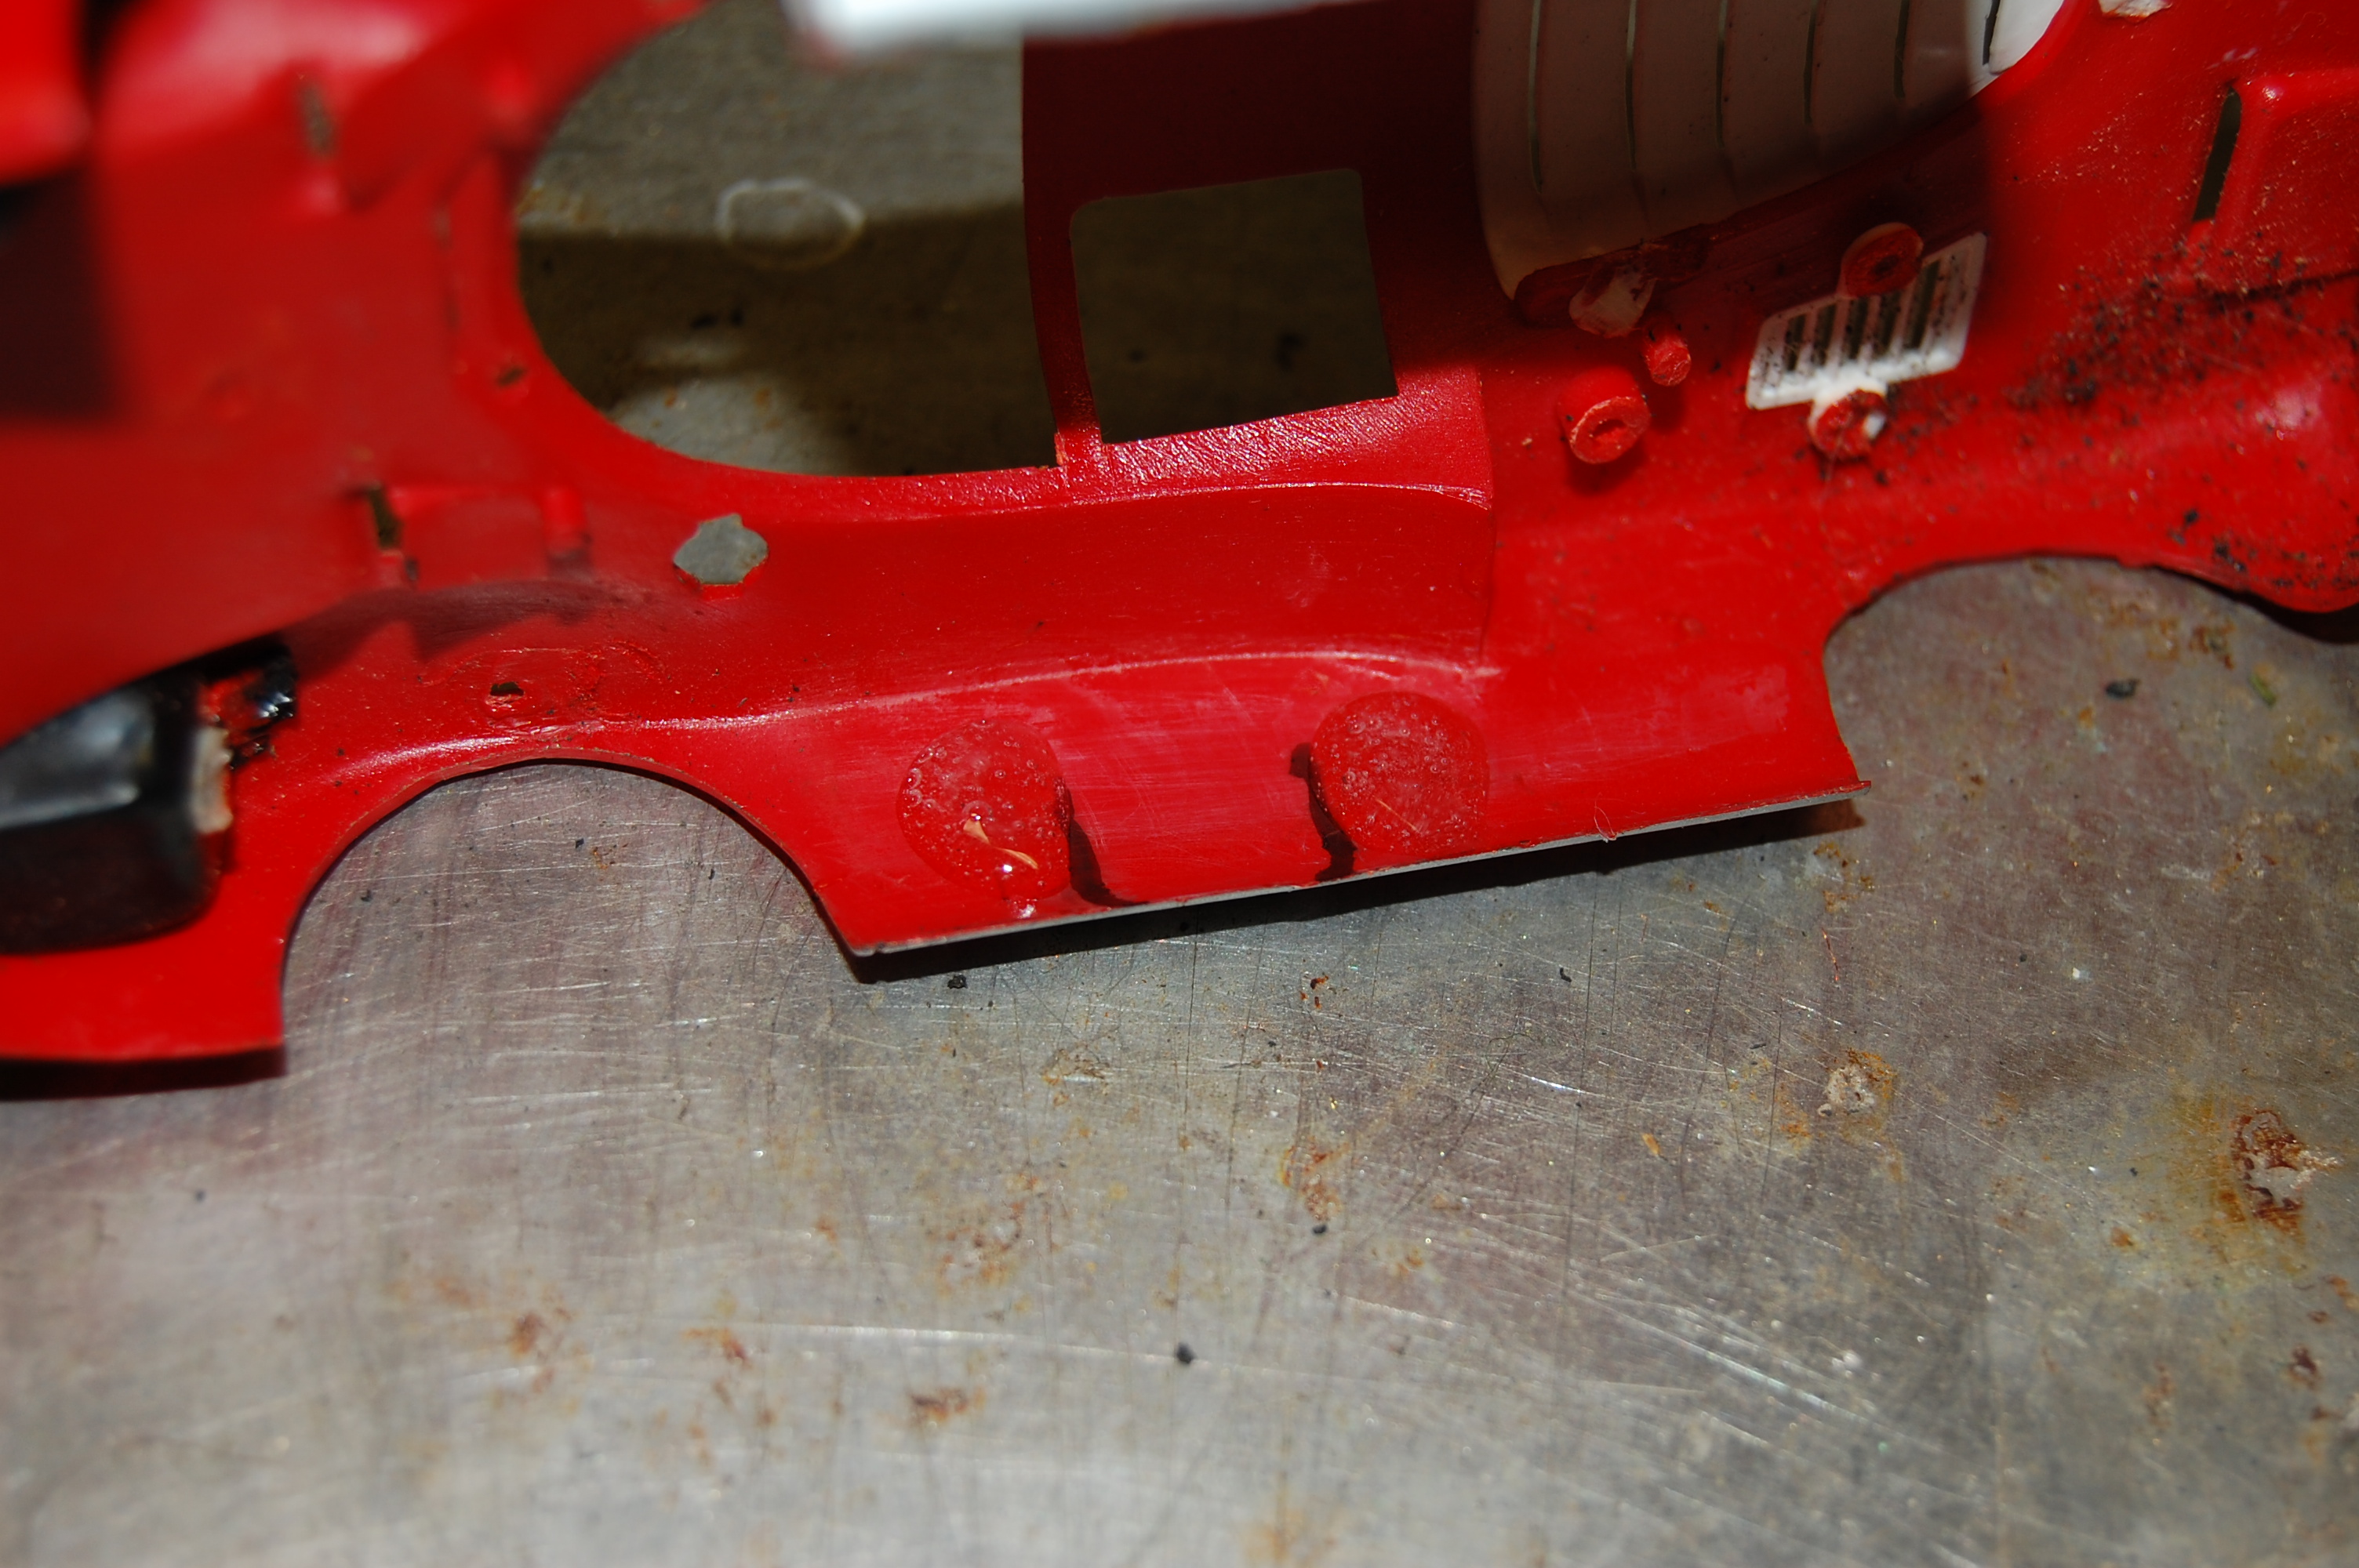
Now after
the epoxy has cured, unscrew the body from the chassis and take a look at the brackets. Sometimes there will be gaps that
were not filled by the epoxy. These need to be filled to give them better strength.
So mix
up some more epoxy and fill in the gaps. Sit the body on its nose or tail and let the epoxy flow in and fill the gaps..
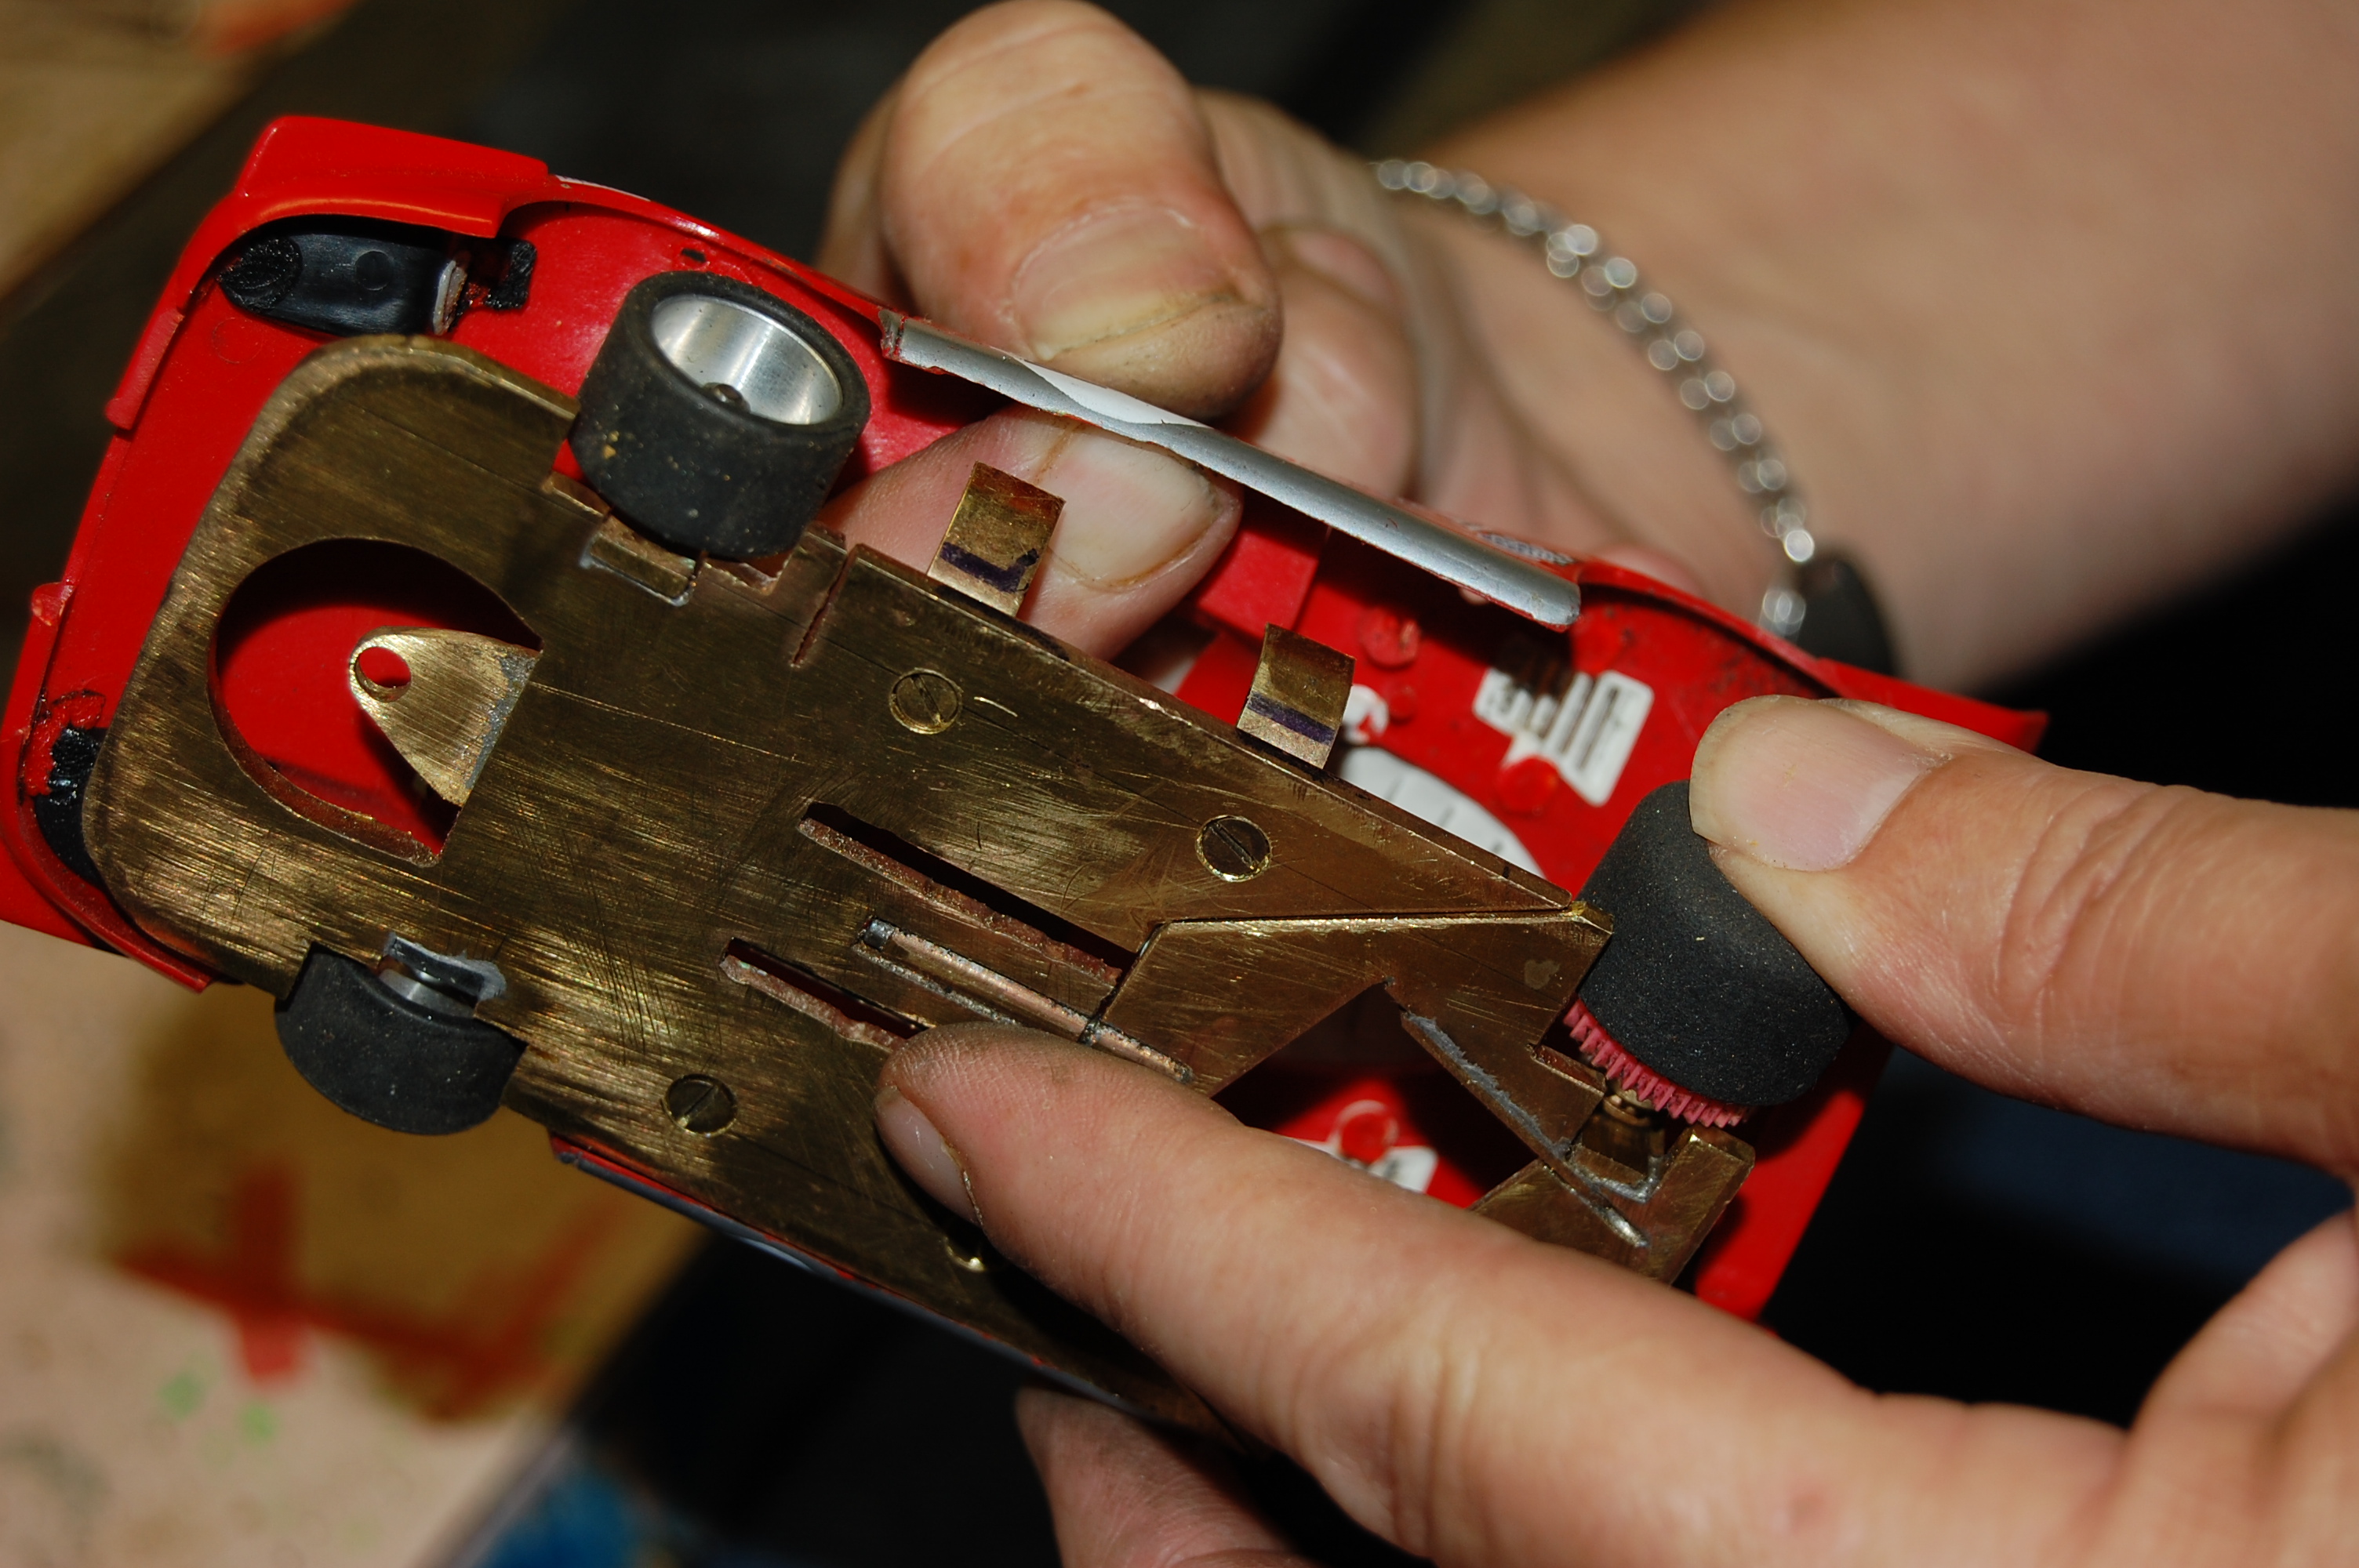
After
that has cured, look the mounts over and clean up any over run of the epoxy around the brackets that might it the sides of
the chassis and interfere with the free movement of the body. I use a Dermal and cut off wheel to do the clean up.
After
cleaning up the over flow, mount the body to the chassis and back the screws out ½ to 1 full turn. If everything was done right when you sit the car on the track or test block the body should move freely
or float on the chassis.
Okay now
let’s make up some of what I call “poor man’s fiber glass”. To reinforce the brackets.
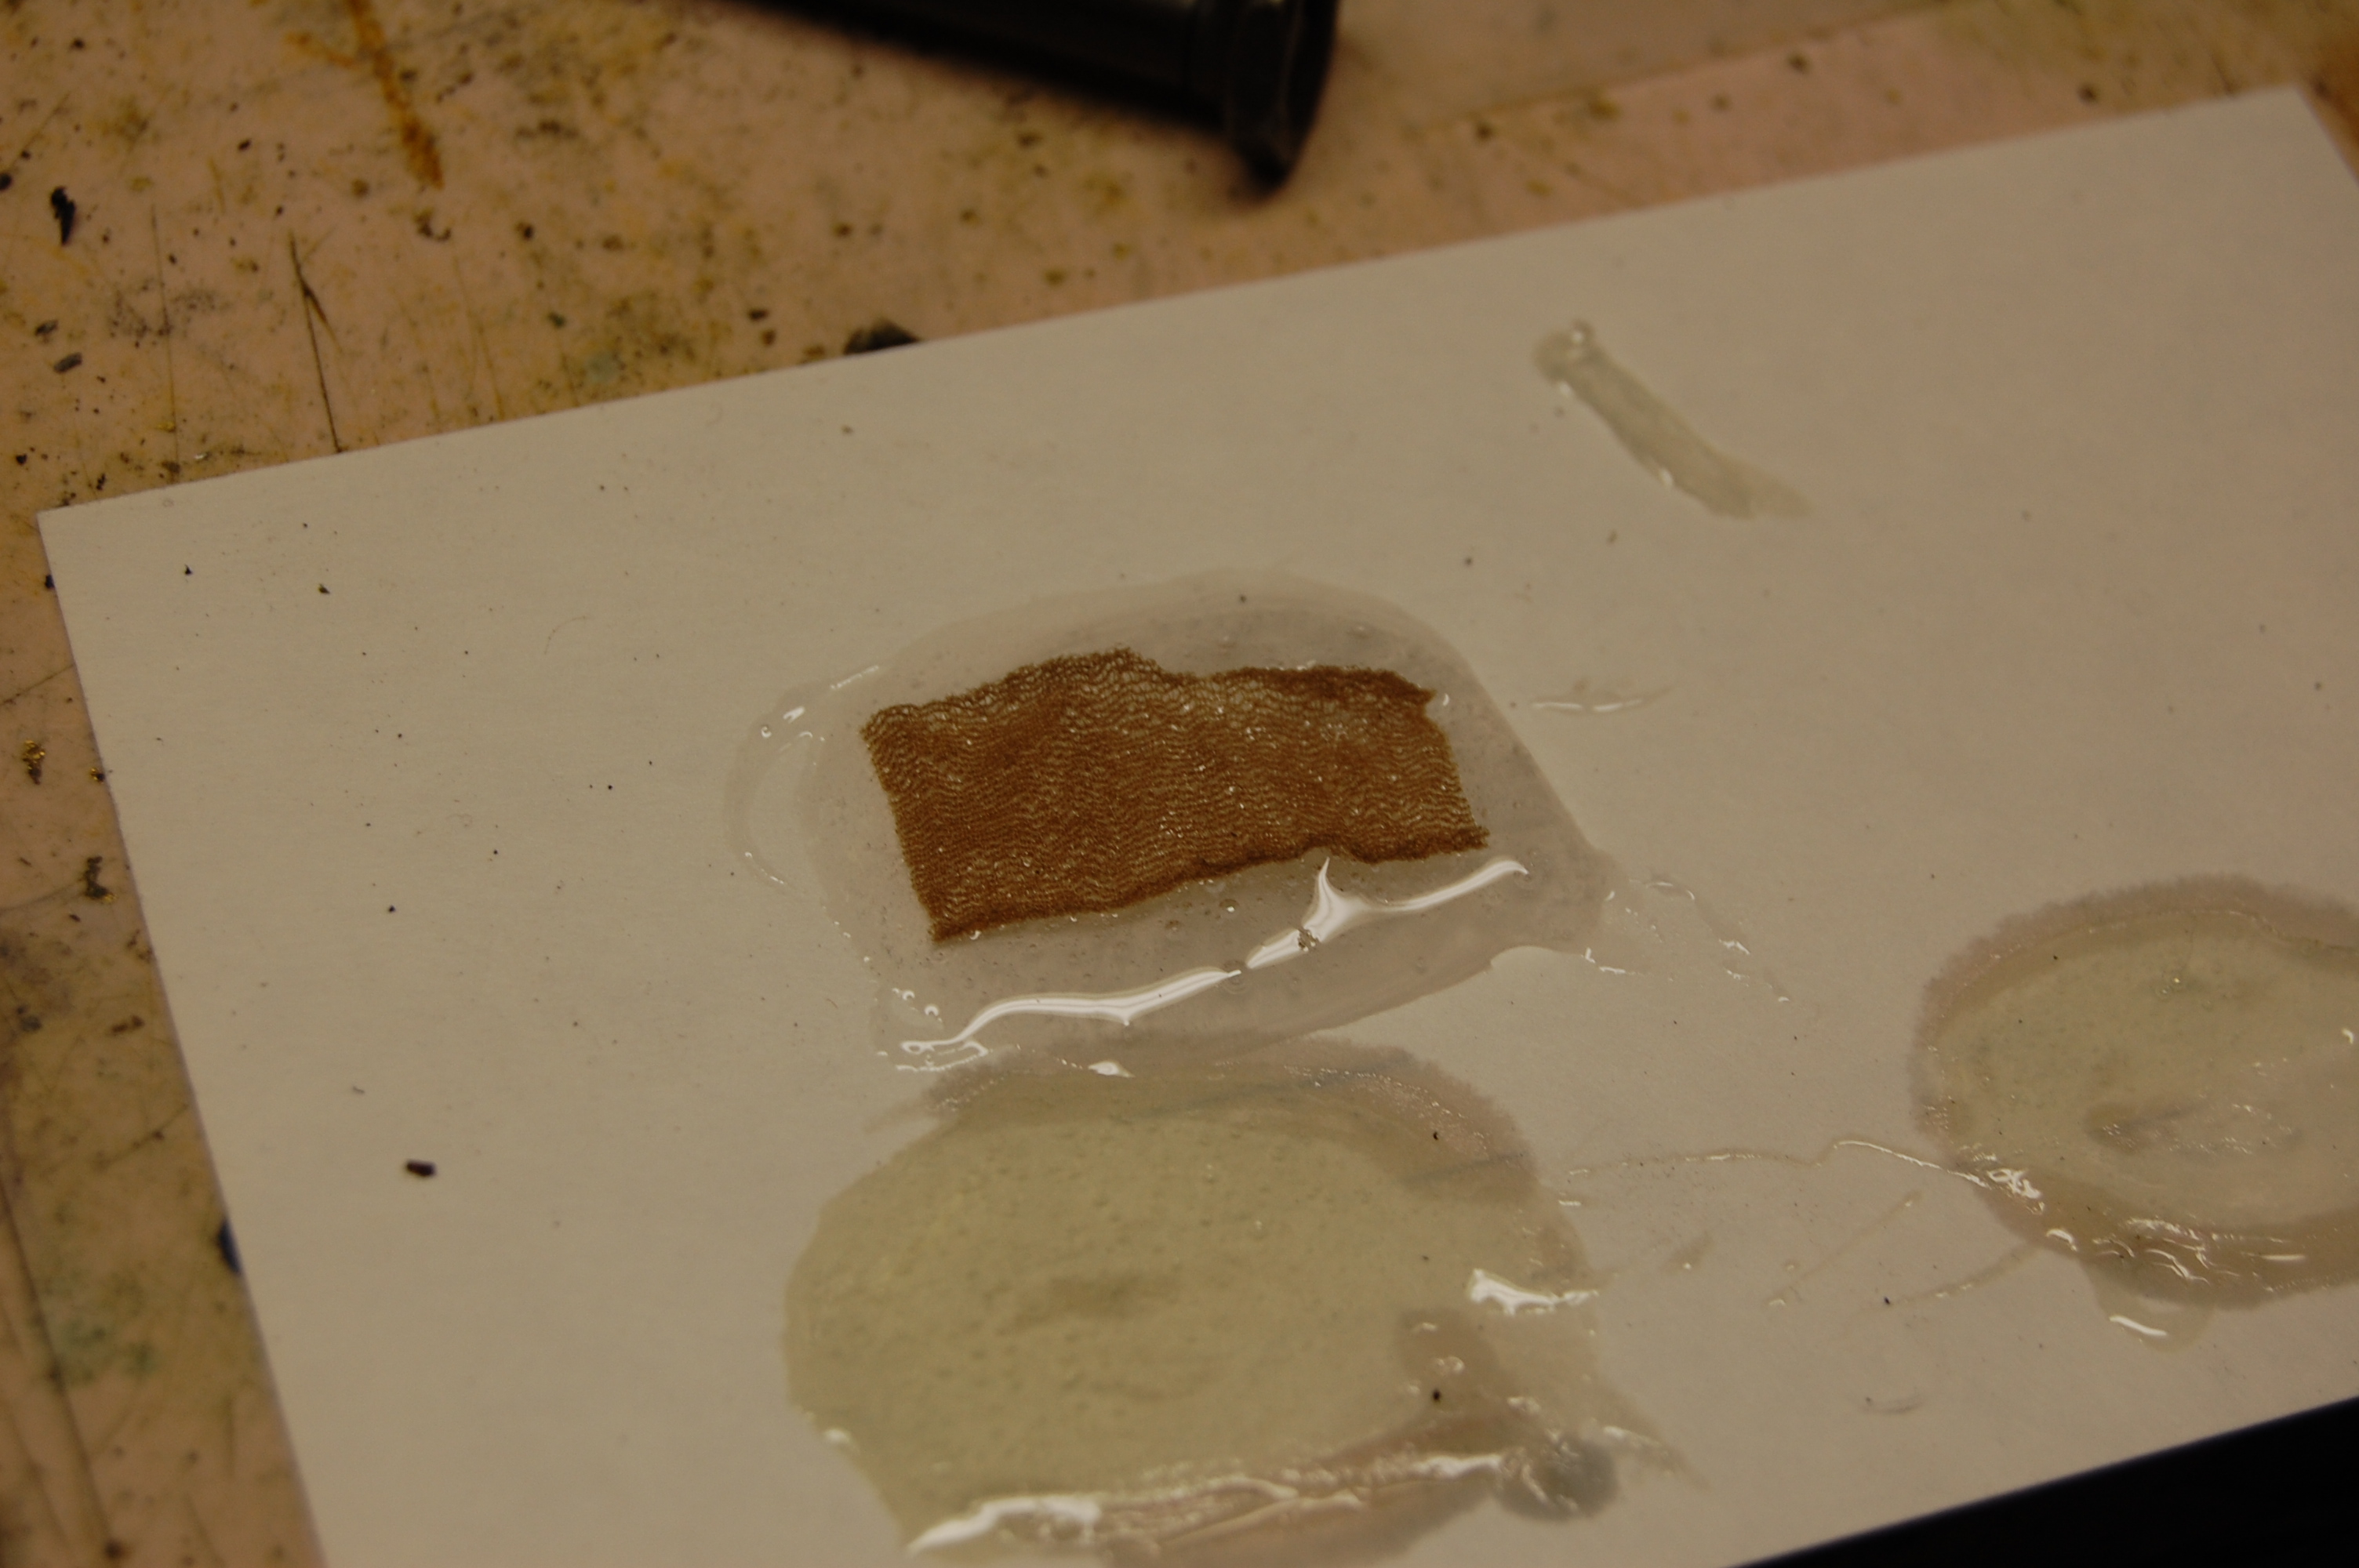
First
thing you need to do is chase down your wife or girlfriend and get her panty hose J who said slot cars aren’t fun……
Now cut the nylon stocking into strips, ½ wide should do it. The length will
very from car to car..
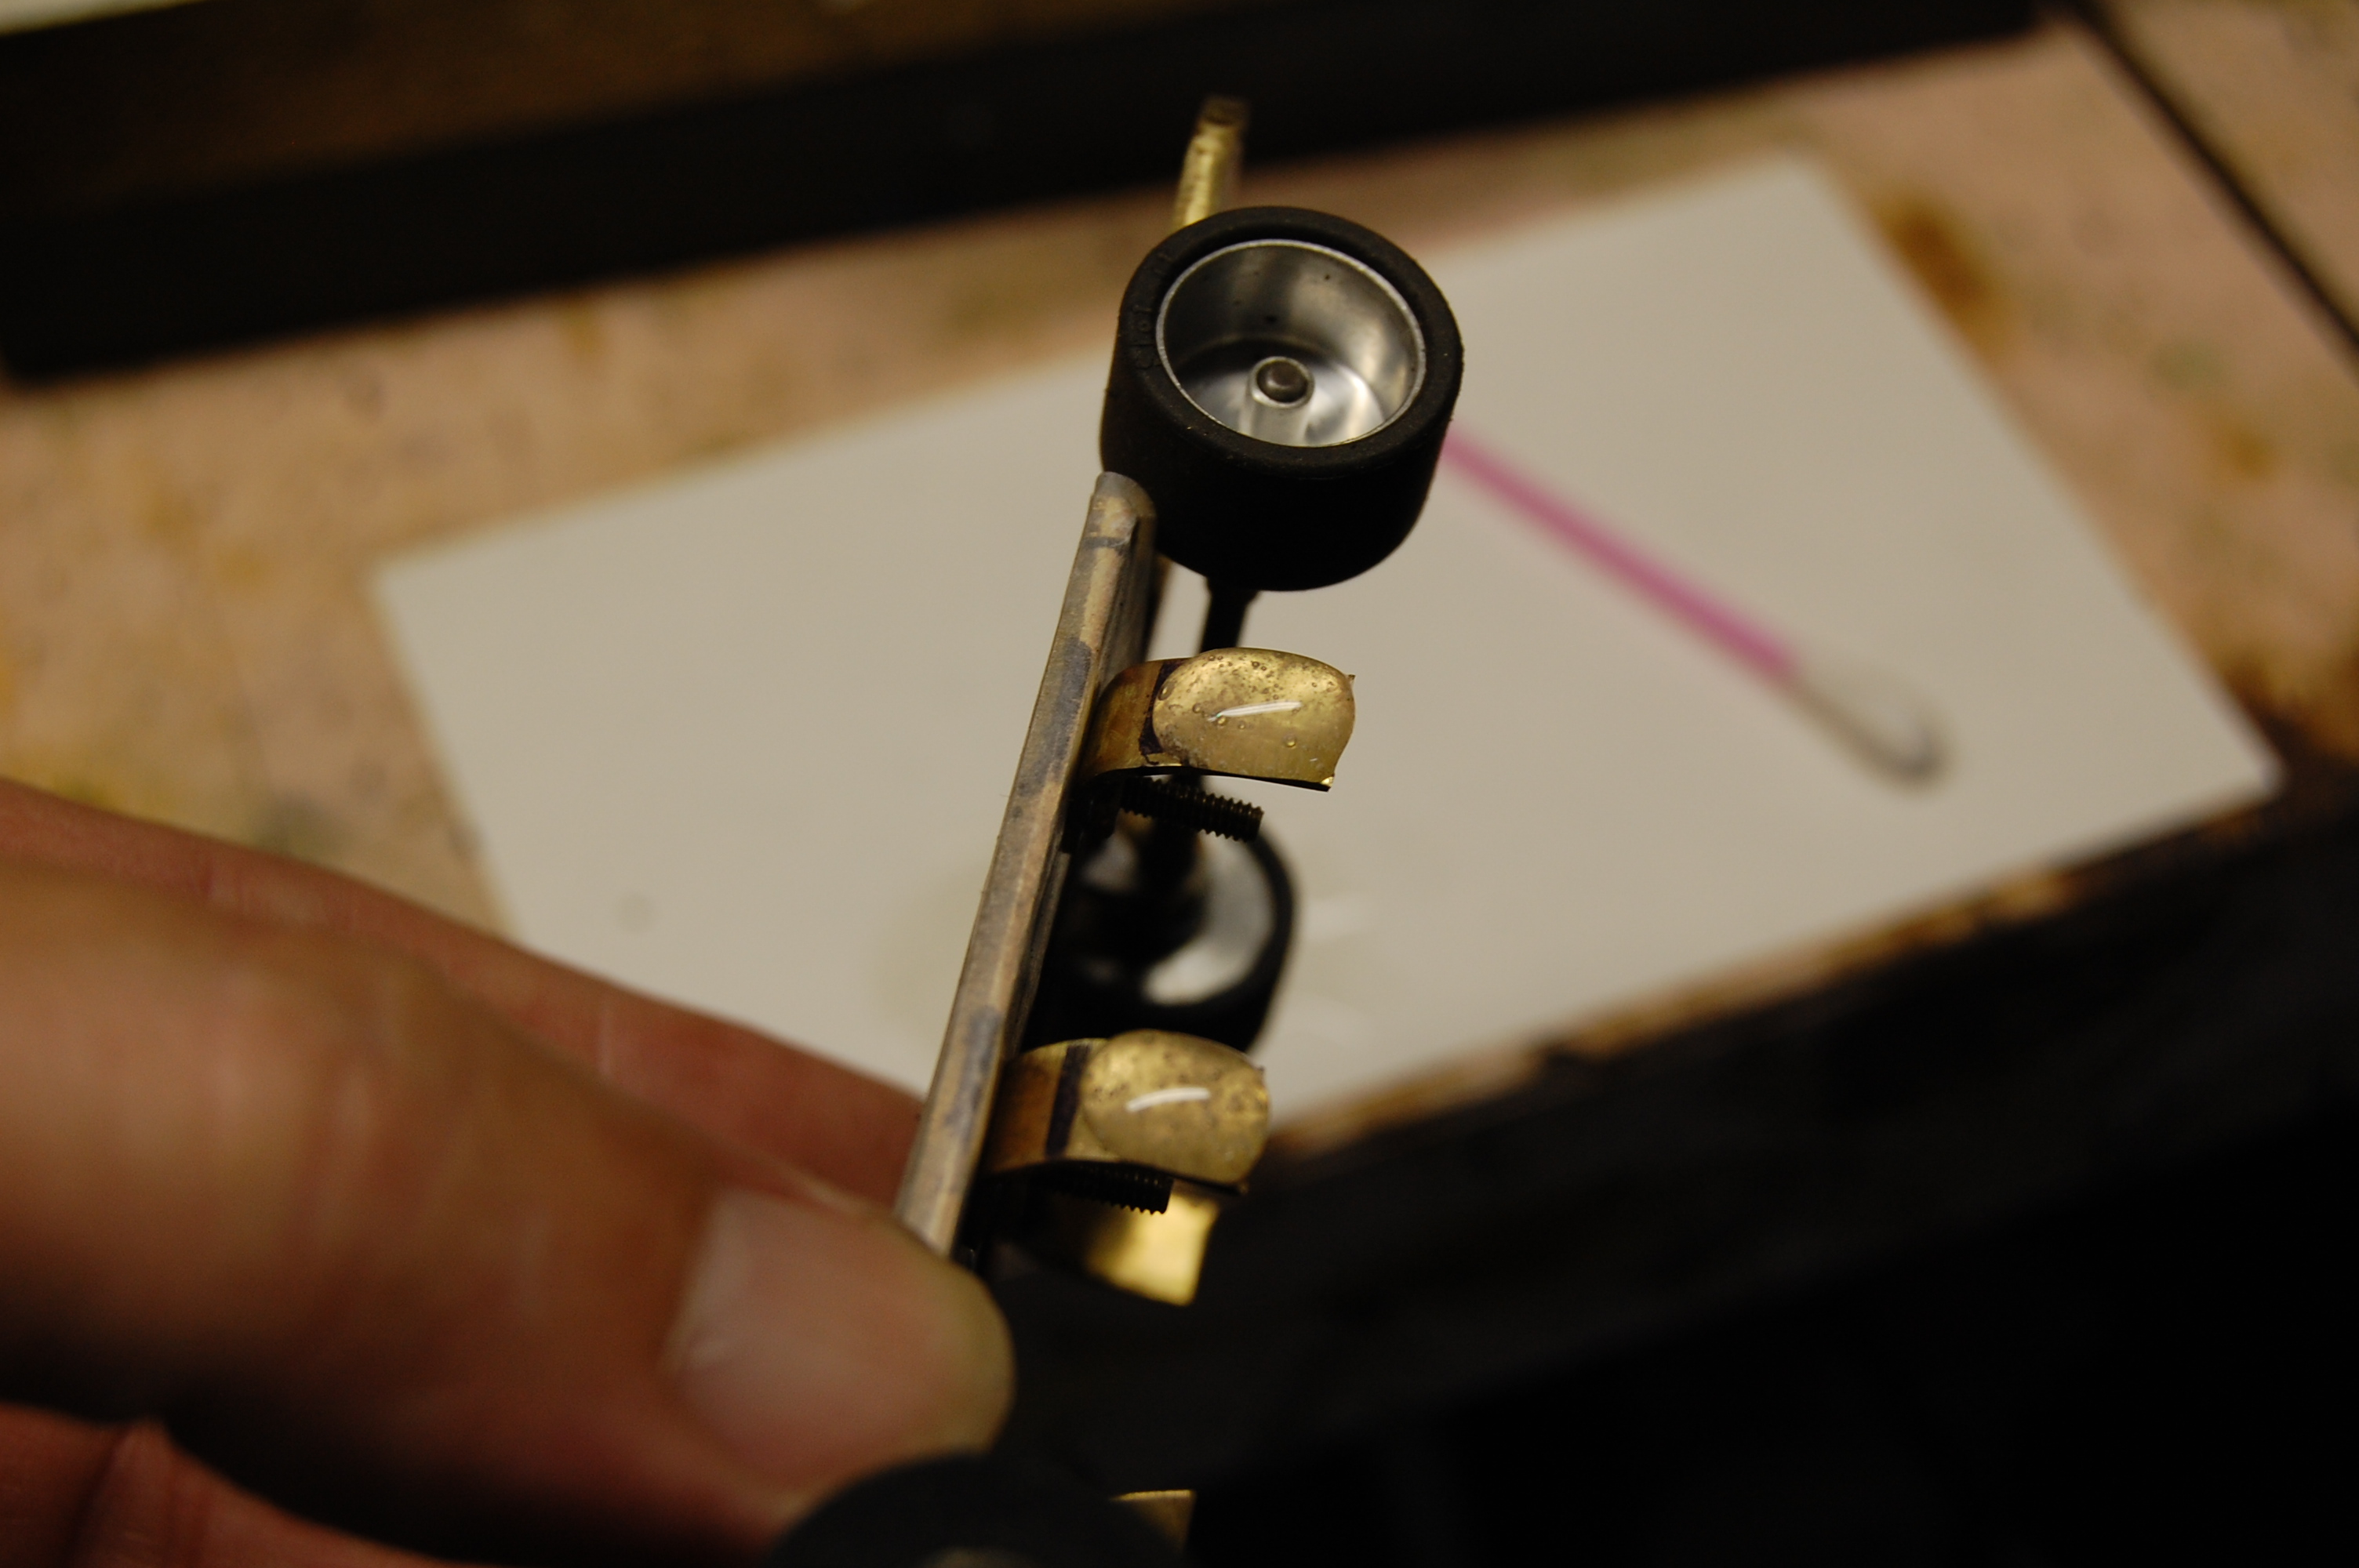
Now mix up a batch of 5 min. Epoxy and place the nylon strip in it to
pick up the epoxy.

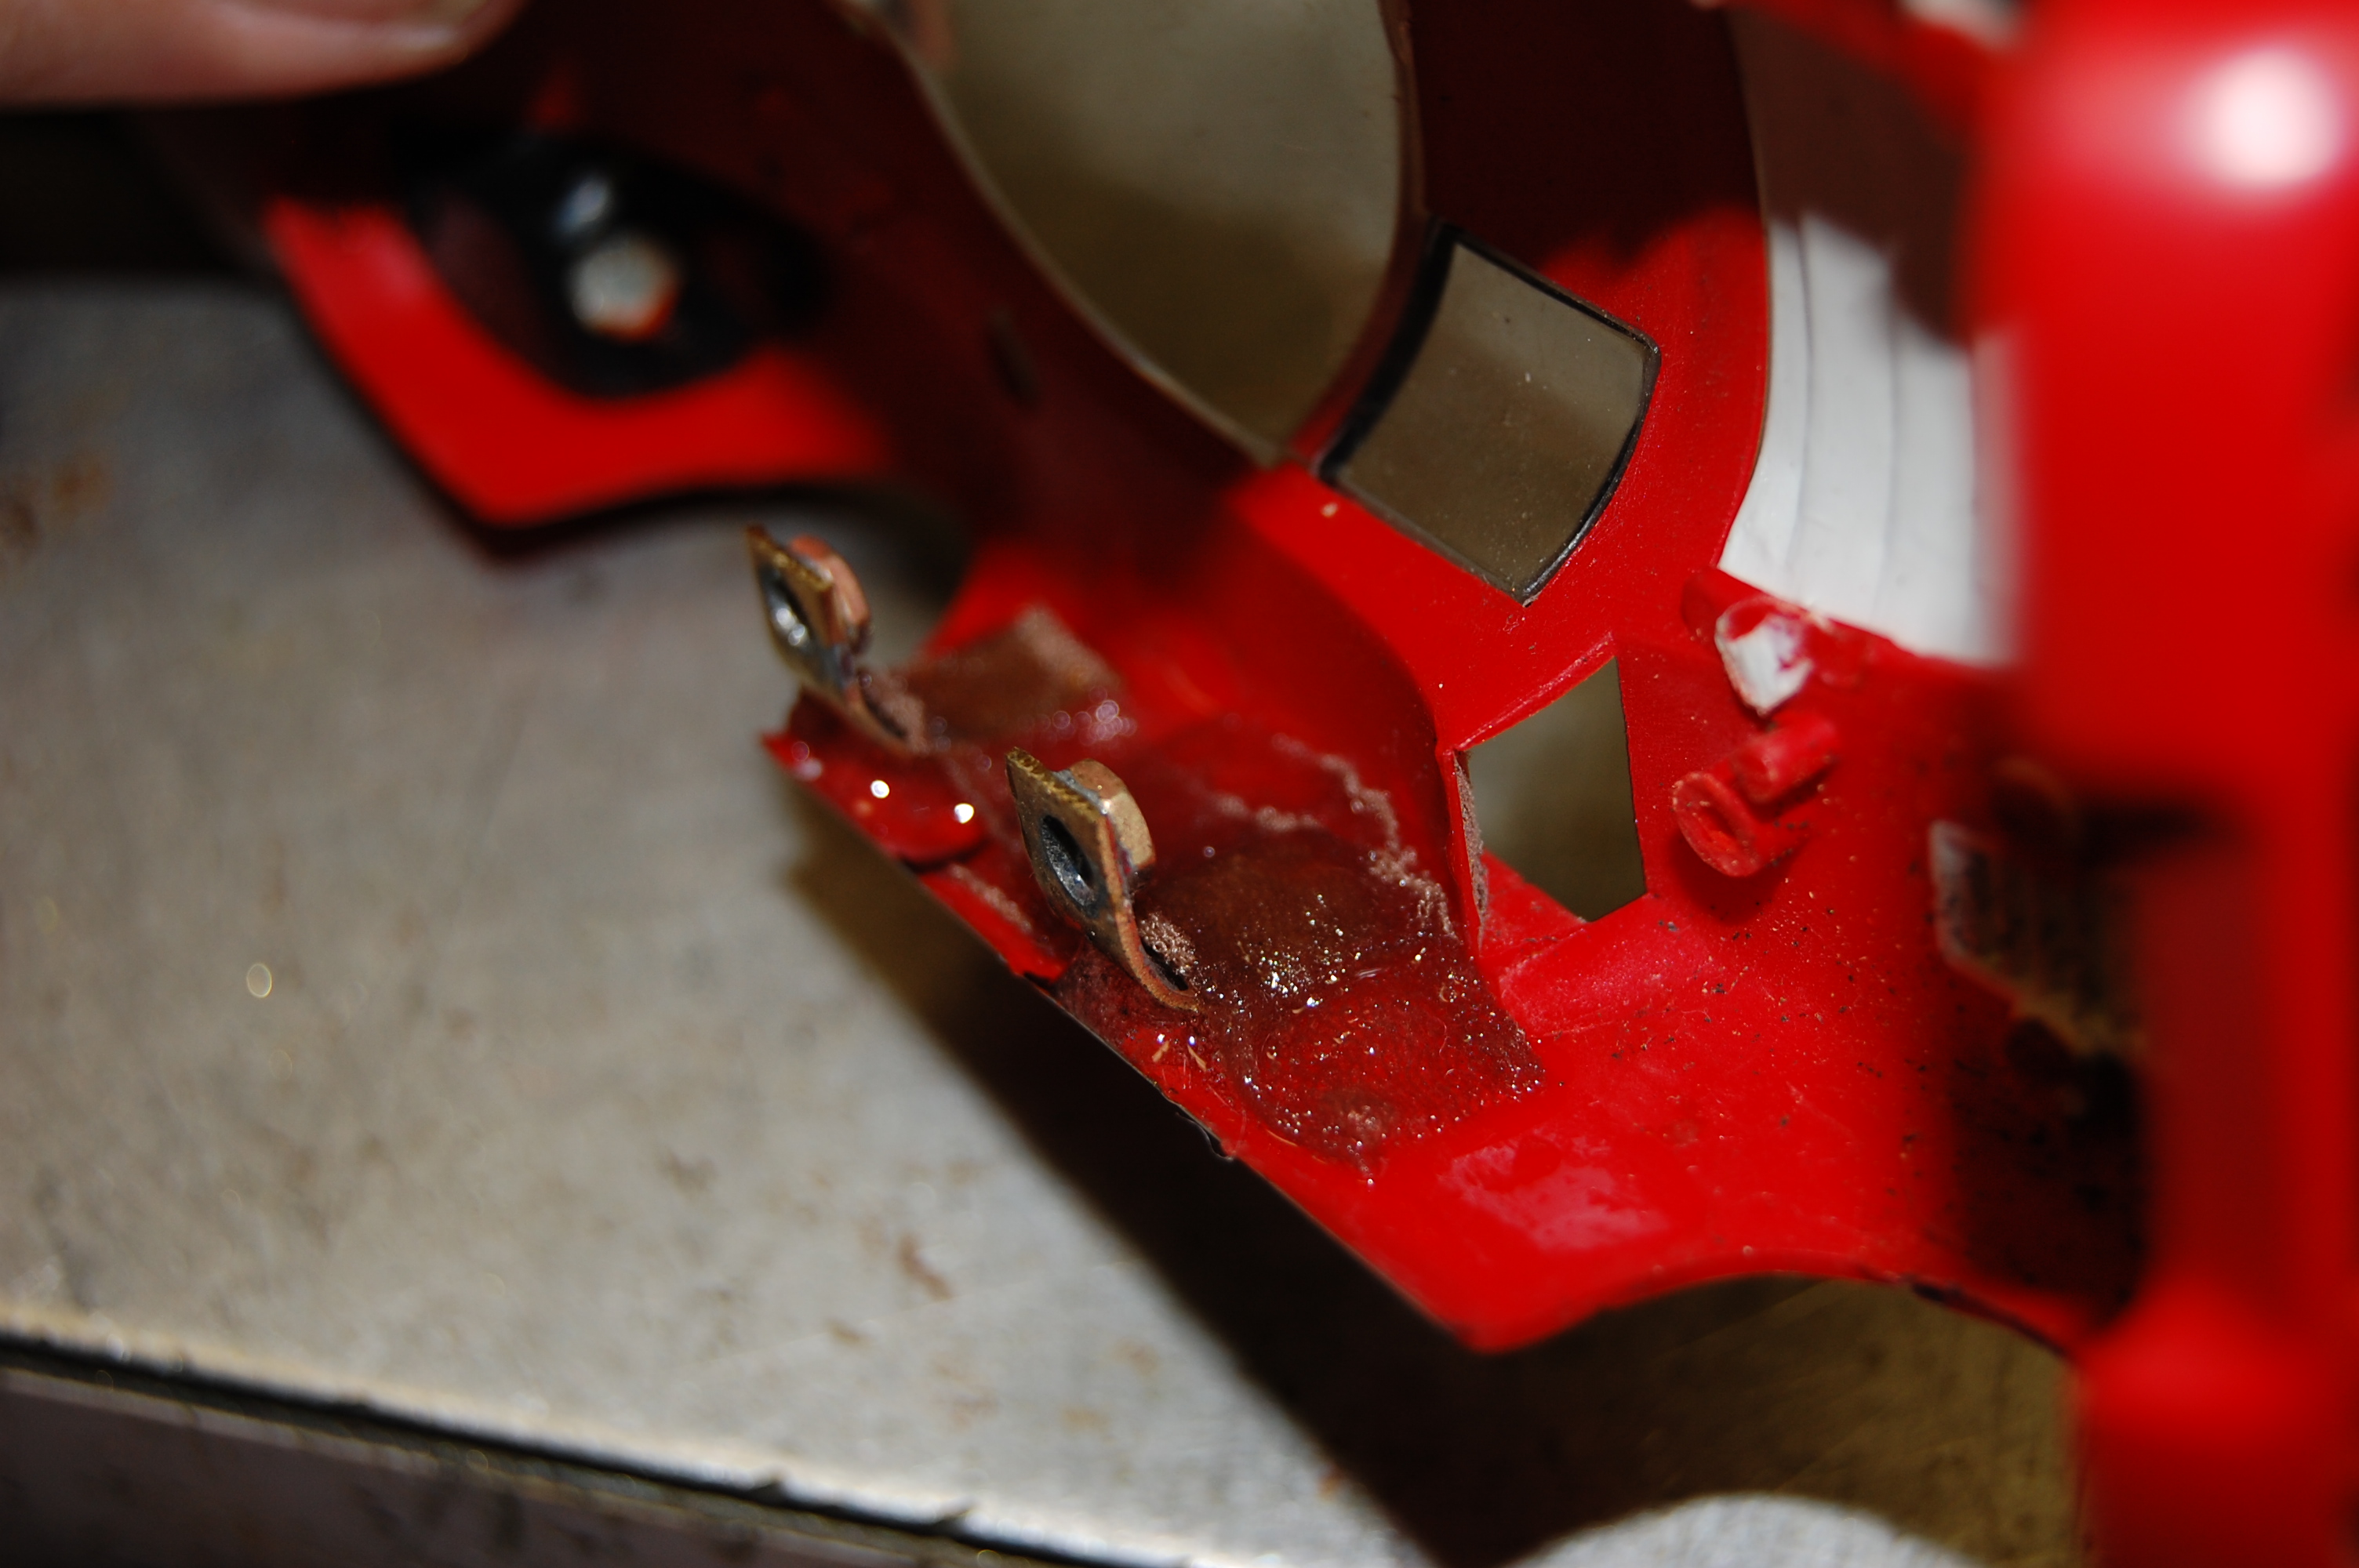
Now take
the strips and place them over the mounting brackets, I use a old set of tweezers to place the strips and to work out any
air bubbles. Set aside and let cure and you should have some nice strong mounting
brackets. I mount almost all my bodies this way and have broken very few mounts. And if you do just epoxy it back in…
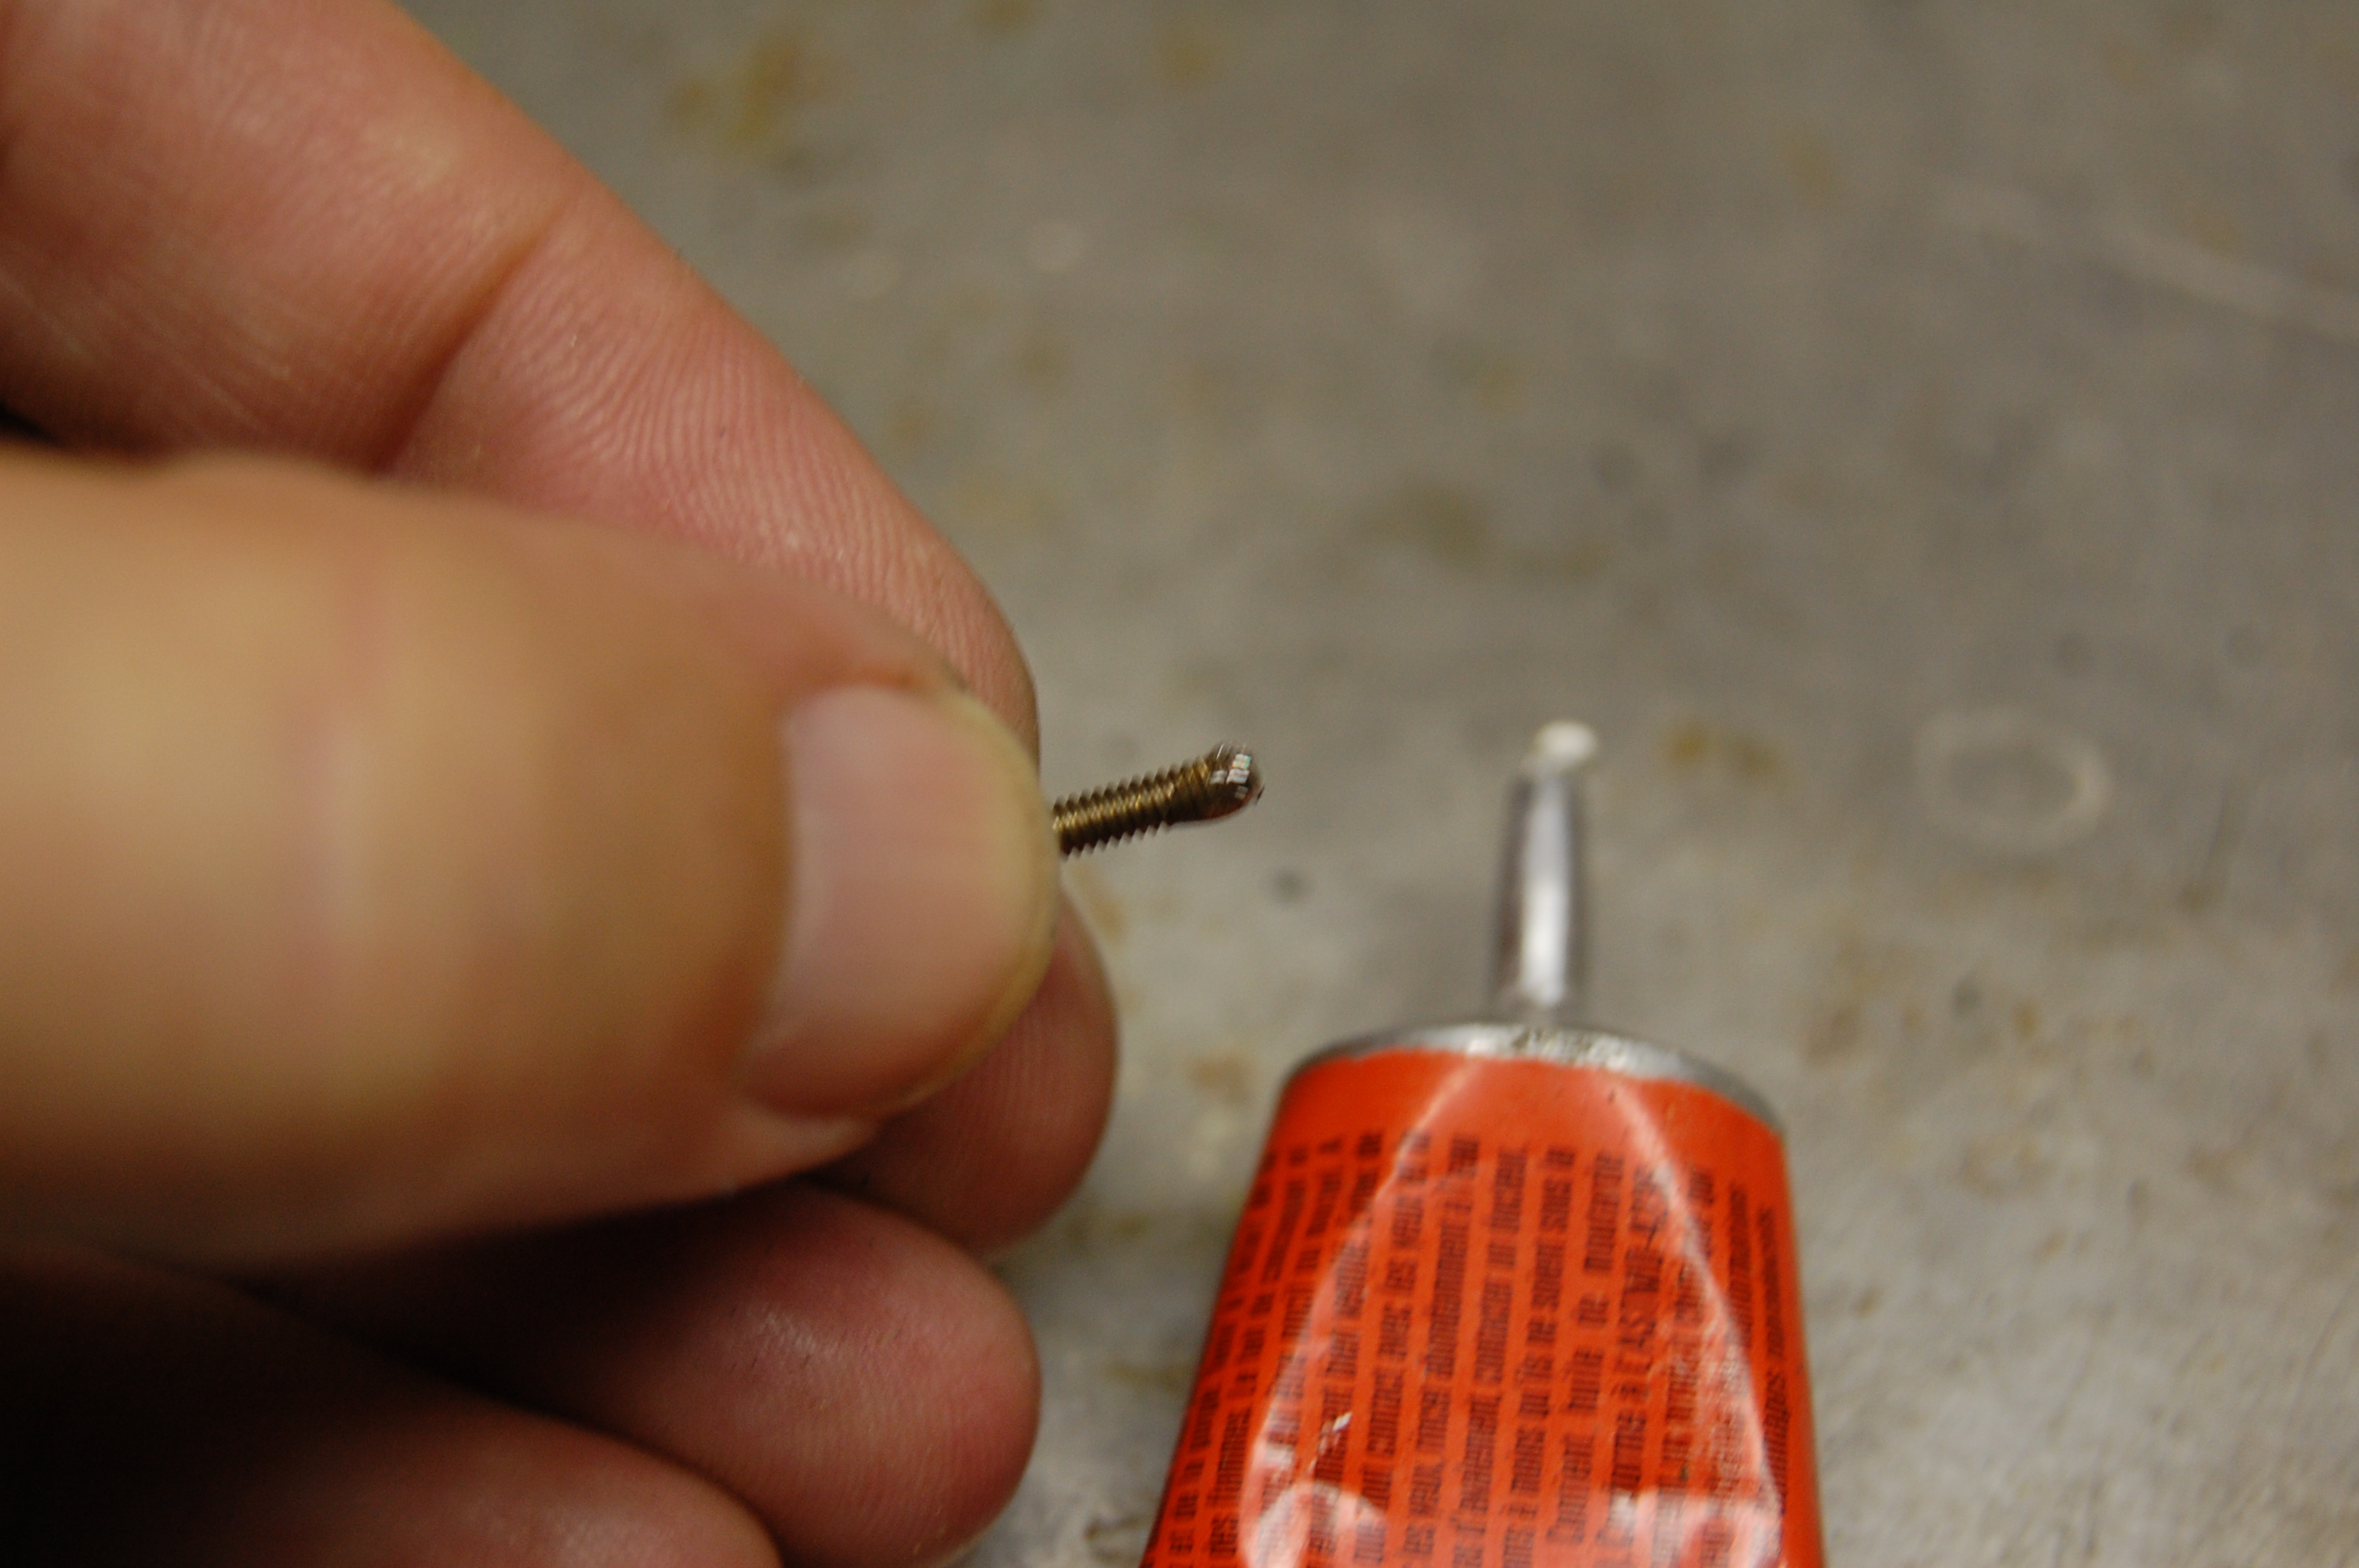
Now for
the final part of getting this to work.. The screws have to be backed out ½ to
1 full turn so the body can float on the chassis.. But to keep the screws from
backing out when running I take a SMALL amount of model glue and put it on the threads of each screw before I screw them in. The glue works like lock tight to hold the screws in place.. Don’t try to use the lock tight as it holds too well and you will break the mount free from the body
trying to unscrew the screws. Trust me I have tried it.
Back to part 2
|