|
By the way the guide holder is made of 1/2" wide stock......
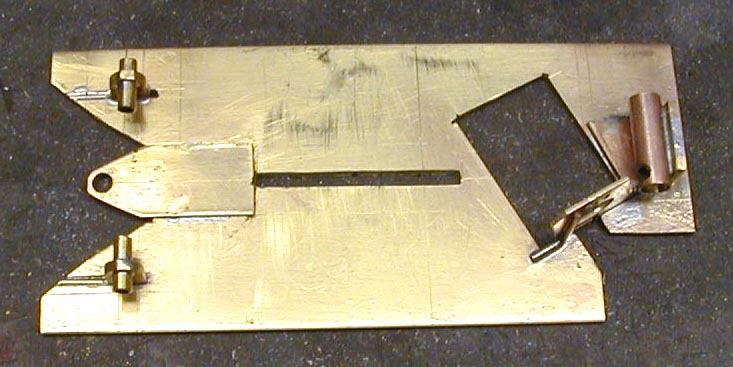
For this chassis I have marked a line across the chassis where one of the cuts will be made to cut the chassis into 2
sections..... and the last 2 holes are on the motor side of the line.... And the cut out will be about 1/4" long.......
|
| center pivoit slot cut out |
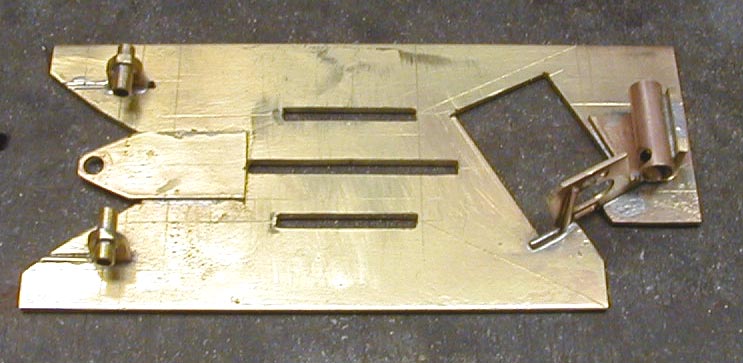
After making the center line cut out I do the cut outs for the Torsion bars...
They are done with same way with a series of 3/32 holes drilled into the chassis up to the layout line I made for the
cross cut mark..... (If you look closely you can see the layout lines running diagonally on each side of the motor cut out......)
The torsion bar slots are cut to a length of 7/8".. And are set in from the sides of the chassis 5/8" on center......
For the hard plastic bodies I am using I have found this length of slot (7/8") gives me just enough Flex from the 1/32
dia. piano wire I use for my torsion bars......
If you want a chassis that has more flex (twist) then you can make the slots longer. If you want less twist in the chassis
then make them shorter.....
Now that you have all the slots cut in the chassis.. The next thing to do is cut to length the square stock for
the center pivot point... The square stock you want to use will fit a 1/16" dia. section of piano wire... Once the square
stock is cut to length you want to solder that into the center slot...
After the square stock is soldered into place you want to make 2 small slots in the top of the stock.... about half way
along the length what will be the front section and the shot rear section...
These slots will be used to put oil into the front section and to solder into the rear section...
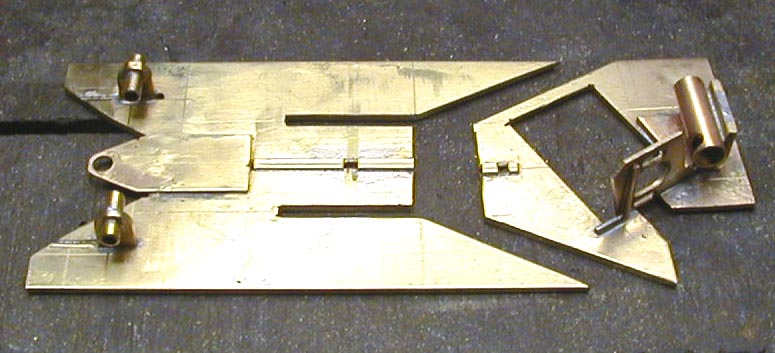
With the center square stock soldered into place and the slots cut into the top of the stock, you now cut the chassis
into 2 sections... I cut the short section that houses the center line first and then the 2 diagonal cuts next.......
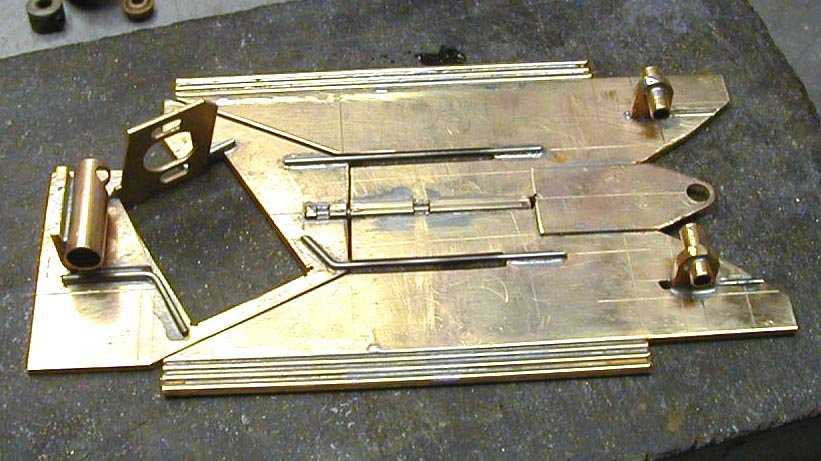
|
| You now have the 3 slots cut in the chassis for the center pivot rod and the torsion bars |
|
| after the center square tub is soldered in.. You make the 3 cuts that will separate the chassis |
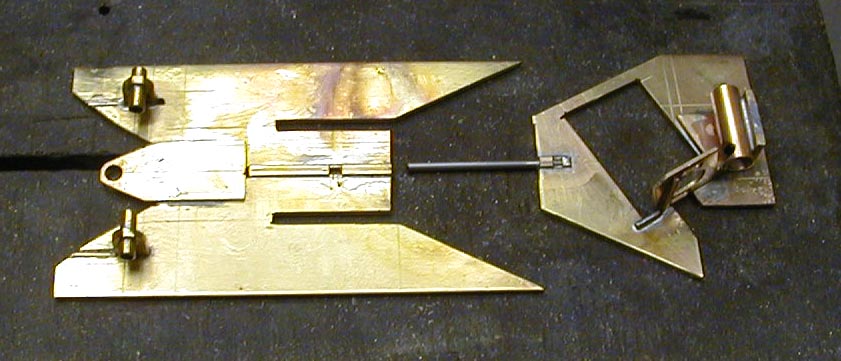
After you have cut the chassis into the 2 sections it is time to add the 1/16" dia. piano wire to the chassis, to make
up your center pivoit point....
Cut the wire to length of the center tube, then put the chassis back into the jig. with all your jig wheels, gears,
axles etc. attached...... This will make sure that everything stays in line...
Now the pivoit rod will be soldered to the rear half of the chassis...
BUT before you do any soldering you want to make sure you put some oil on the front part of the rod...... This
will help prevent the front part of the wire from accidently getting soldered to the front half of the chassis........ YES...
I did that the first time :-))
Now solder in the rear part of the pivoit rod to the rear half of the chassis... When you take the chassis out of the
jig the rear half should come right away form the front half.......
From here put your chassis back in your jig, again with all the axles and things in place....... Again this will ensure
that your chassis stays alined right..
With the chassis back in the jig you can now cut and solder on the 1/32 dia. piano wire that will be your torsion bars......
For the most part your chassis is now finished.... You will still need to make the cut out for your right rear
tire... And on mine I added a extra section of piano wire near where the right tire cut out will be for some extra strength..
And I added some brass rod to the sides of the chassis to get the chassis as wide as I could for the BMW body.......
Well, that's it........ The chassis is not hard or complicated to build...... And is a really nice handling chassis......
At this time my CLK car holds the pole qualifying time for the up coming ALMS race that will be held March 1st. 2003...
And my other cars with the same type chassis are close on it's heals........
If you have any questions please feel free to contact me by Email........
Chris......
|